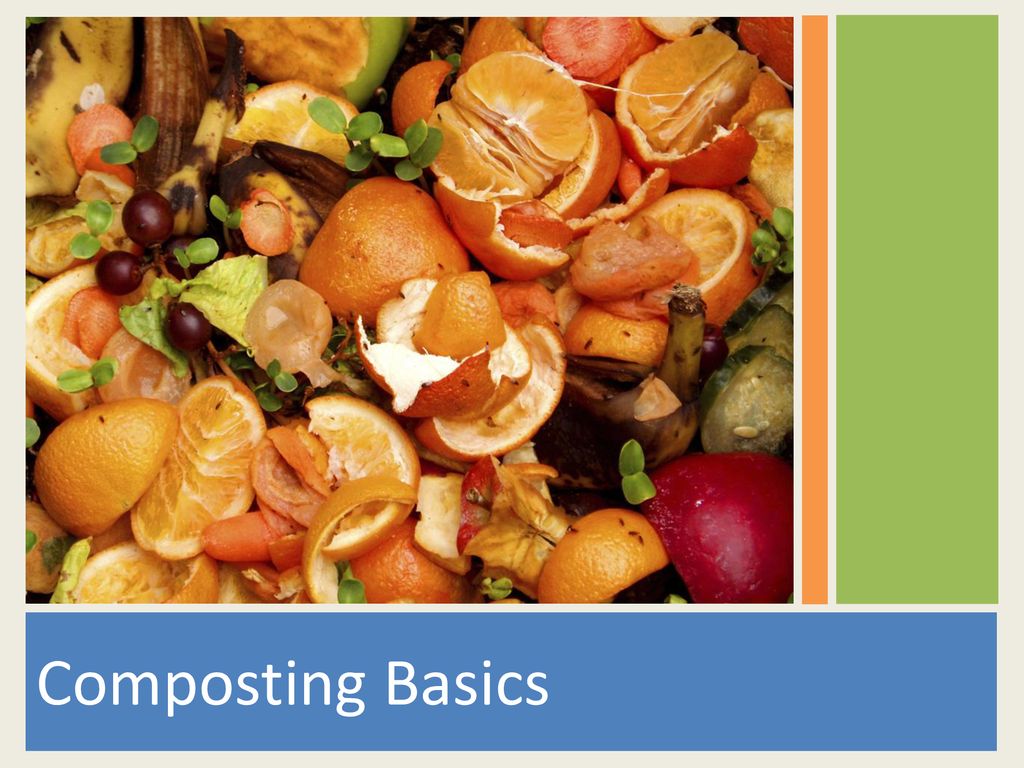
How to Start Composting Kitchen Scraps: A Beginner's Guide

Are you tired of seeing your kitchen waste go to waste? Do you want to turn your organic scraps into nutrient-rich soil for your garden? Composting is the eco-friendly solution you've been looking for. Imagine transforming your banana peels and coffee grounds into a natural fertilizer that enriches your soil and reduces your carbon footprint. Let's dive into the composting basics and learn how to start composting kitchen scraps.
Understanding Composting Basics
Composting is a natural process that converts organic waste into a nutrient-rich material called compost. This organic compost can be used to improve soil structure, enhance water retention, and promote plant growth. The key to successful composting lies in the balance of green and brown materials, moisture, and aeration.
What You Need to Get Started
Before you start composting kitchen scraps, you'll need a few essential items:
- Compost Bin: Choose a bin that suits your space and needs. Options range from small countertop bins to large outdoor tumblers.
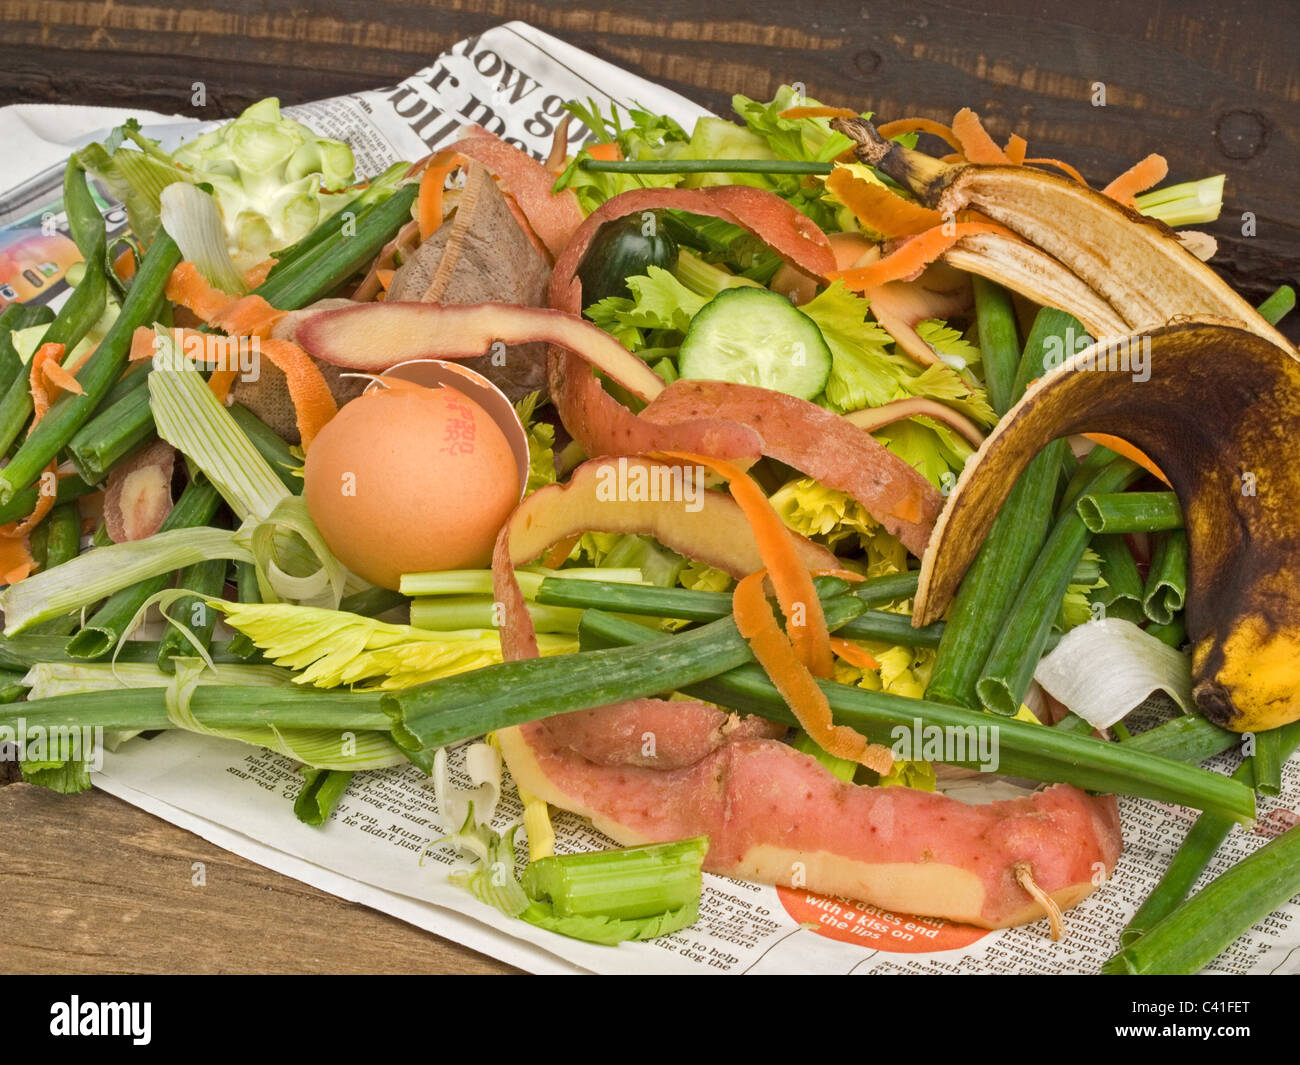
- Green Materials: These include kitchen waste like fruit and vegetable scraps, coffee grounds, and tea bags.
- Brown Materials: These are carbon-rich materials like dry leaves, shredded paper, and cardboard.
- Water: Moisture is crucial for the composting process. Aim for a consistency similar to a damp sponge.
- Air: Aeration helps speed up the decomposition process. Turning your compost pile regularly ensures proper airflow.
Setting Up Your Compost Bin
Choosing the Right Bin
The type of compost bin you choose depends on your space and the amount of kitchen waste you produce. For small spaces, a countertop bin or a small outdoor bin is ideal. If you have a larger garden, consider a tumbler or a traditional compost pile.
Location Matters
Place your compost bin in a shady, well-drained area. Avoid direct sunlight, as it can dry out your compost. Ensure the bin is easily accessible, so you can add kitchen scraps and turn the pile regularly.
What to Compost
Green Materials
Green materials are nitrogen-rich and include:
- Fruit and vegetable scraps
- Coffee grounds and tea bags
- Eggshells
- Grass clippings
Brown Materials
Brown materials are carbon-rich and include:
- Dry leaves
- Shredded paper and cardboard
- Wood chips and sawdust
- Straw and hay
What Not to Compost
Avoid adding the following to your compost pile:
- Meat, bones, and dairy products
- Diseased plants
- Weeds with seeds
- Pet waste
- Chemically treated materials
The Composting Process
Layering Your Compost Pile
Start by layering green and brown materials in your compost bin. Aim for a ratio of 1 part green to 2 parts brown. This balance ensures a healthy composting process.
Maintaining Moisture
Keep your compost pile as moist as a damp sponge. Too much water can lead to a smelly, anaerobic environment, while too little water slows down the decomposition process.
Aerating Your Compost
Turn your compost pile regularly to introduce oxygen and speed up the decomposition process. This can be done with a pitchfork or by using a compost tumbler.
Troubleshooting Common Composting Issues
Smelly Compost
If your compost pile smells, it's likely too wet or has too many green materials. Add more brown materials and turn the pile to introduce oxygen.
Slow Decomposition
If your compost isn't breaking down quickly, it may be too dry or lack sufficient green materials. Add water and more green materials to speed up the process.
Pests and Rodents
To deter pests and rodents, avoid adding meat, bones, and dairy products to your compost pile. Use a bin with a secure lid and keep the area clean.
Using Your Finished Compost
Soil Enrichment
Once your compost is ready, it can be used to enrich your garden soil. Mix it into the top layer of soil or use it as a top dressing around plants.
Potting Mix
Compost can also be used as a component in potting mixes. Combine it with soil and perlite for a nutrient-rich growing medium.
Mulch
Spread a layer of compost around your plants to act as a natural mulch. This helps retain moisture and suppresses weeds.
Conclusion
Starting to compost kitchen scraps is an eco-friendly way to reduce waste and enrich your soil. By understanding the composting basics and following these simple steps, you can turn your organic waste into a valuable resource. So, why wait? Start your composting journey today and watch your garden thrive.
FAQs
How long does it take for compost to be ready?
The time it takes for compost to be ready can vary depending on factors like the size of the pile, the materials used, and the frequency of turning. Generally, it can take anywhere from 2 to 9 months.
Can I compost in the winter?
Yes, you can compost in the winter. The decomposition process slows down in colder temperatures, but it doesn't stop. Insulating your compost pile with a layer of brown materials can help maintain heat.
What is the ideal temperature for composting?
The ideal temperature for composting is between 130°F and 160°F (54°C and 71°C). This temperature range promotes rapid decomposition and kills most pathogens and weed seeds.
How do I know when my compost is ready?
Your compost is ready when it resembles dark, crumbly soil and has a pleasant, earthy smell. There should be no recognizable food scraps or other materials left.
Can I compost if I live in an apartment?
Yes, you can compost in an apartment. Small countertop bins or vermicomposting (composting with worms) are great options for apartment dwellers. Just make sure to manage odors and pests properly.

0 Response to "How to Start Composting Kitchen Scraps: A Beginner's Guide"
Post a Comment