How to Start Worm Composting: Beginner's Guide

Are you tired of seeing your kitchen scraps go to waste? Do you want to turn your organic waste into a rich, nutrient-dense soil amendment? Welcome to the world of worm composting, also known as vermicomposting. This beginner's guide will walk you through everything you need to know to get started. By the end of this article, you'll be ready to dive into the fascinating world of red wigglers and transform your waste into a valuable resource.
What is Worm Composting?
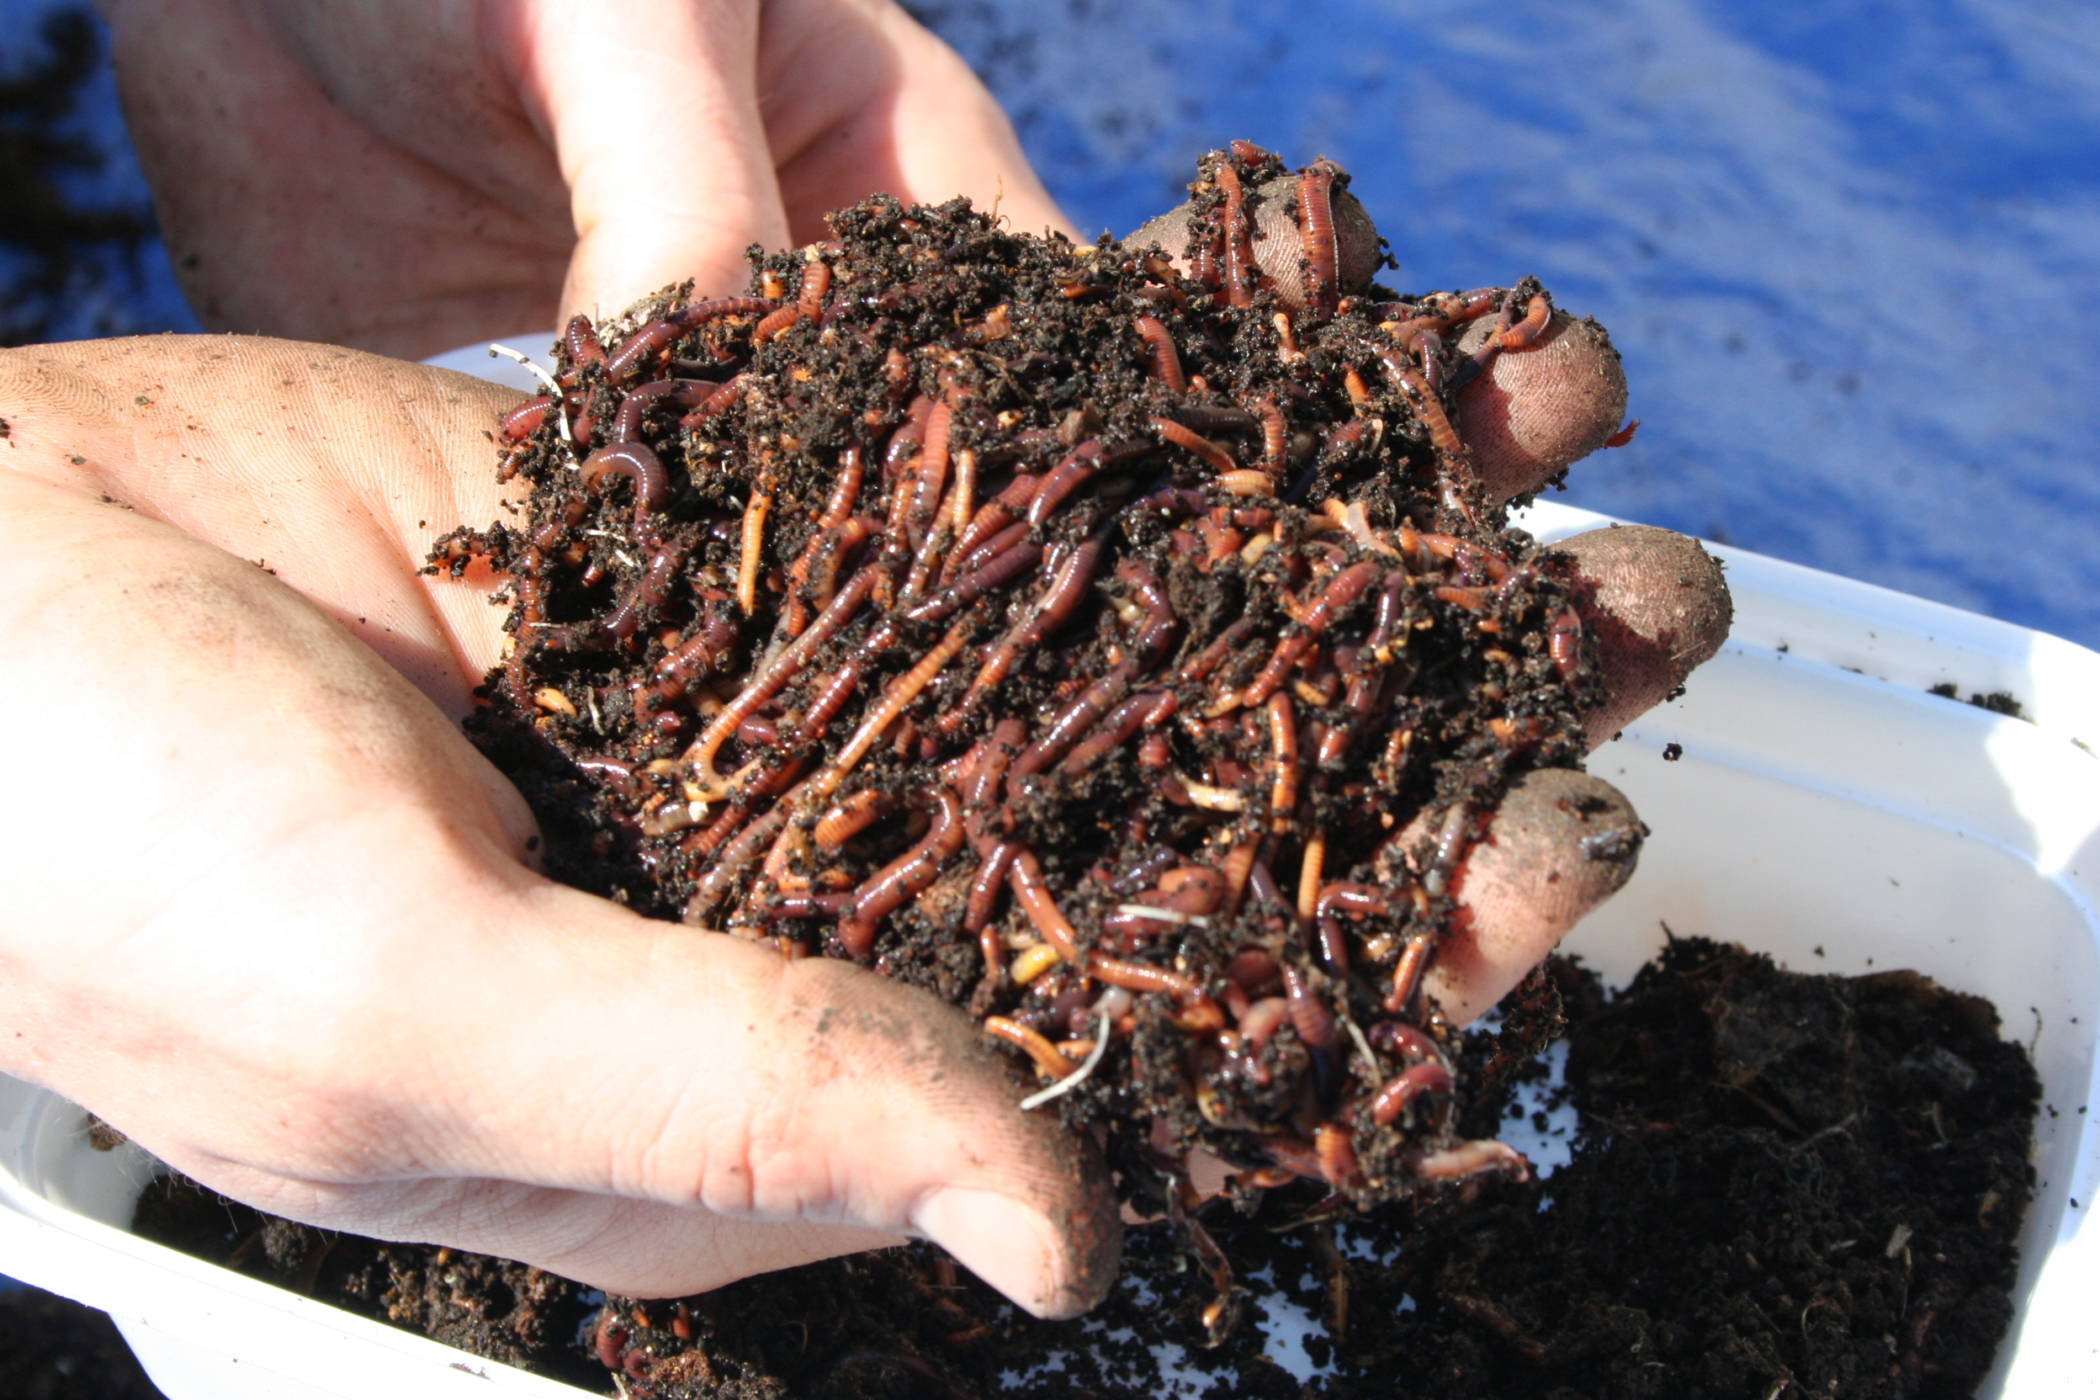
Worm composting, or vermicomposting, is the process of using worms to break down organic waste into a nutrient-rich soil amendment. Unlike traditional composting, which relies on microorganisms, worm composting uses red wigglers (Eisenia fetida) to do the heavy lifting. These tiny creatures are nature's recycling champions, turning your kitchen scraps into a valuable resource for your garden.
Why Start Worm Composting?
Imagine if you could reduce your waste by up to 50% while creating a powerful fertilizer for your plants. That's the magic of worm composting. Not only does it help the environment by reducing waste, but it also improves soil health, enhances plant growth, and can even save you money on fertilizers.
Getting Started with Worm Composting
Choosing the Right Worms
Not all worms are created equal when it comes to composting. Red wigglers are the superstars of the worm world. They thrive in a compost bin environment and can consume up to half their body weight in food each day. You can purchase red wigglers from local garden centers or online retailers.
Setting Up Your Compost Bin
Your compost bin is the heart of your worm composting system. It can be as simple as a plastic storage bin with air holes or a more sophisticated multi-tiered system. The key is to provide a comfortable environment for your worms.
Materials Needed
- A plastic storage bin with a lid
- Drill (to make air holes)
- Newspaper or cardboard
- Water
- Red wigglers
- Kitchen scraps
Steps to Set Up Your Bin
- Drill Air Holes: Use a drill to make small air holes in the lid and sides of your bin. This ensures proper ventilation for your worms.
- Prepare Bedding: Shred newspaper or cardboard and soak it in water until it's damp but not dripping wet. This will serve as the bedding for your worms.
- Add Bedding: Place the damp bedding in the bin, filling it about halfway.
- Introduce Worms: Gently place your red wigglers on top of the bedding. They will burrow down on their own.
- Feed Your Worms: Add a small amount of kitchen scraps to the bin. Start with a handful and gradually increase the amount as your worms get used to their new home.
Feeding Your Worms
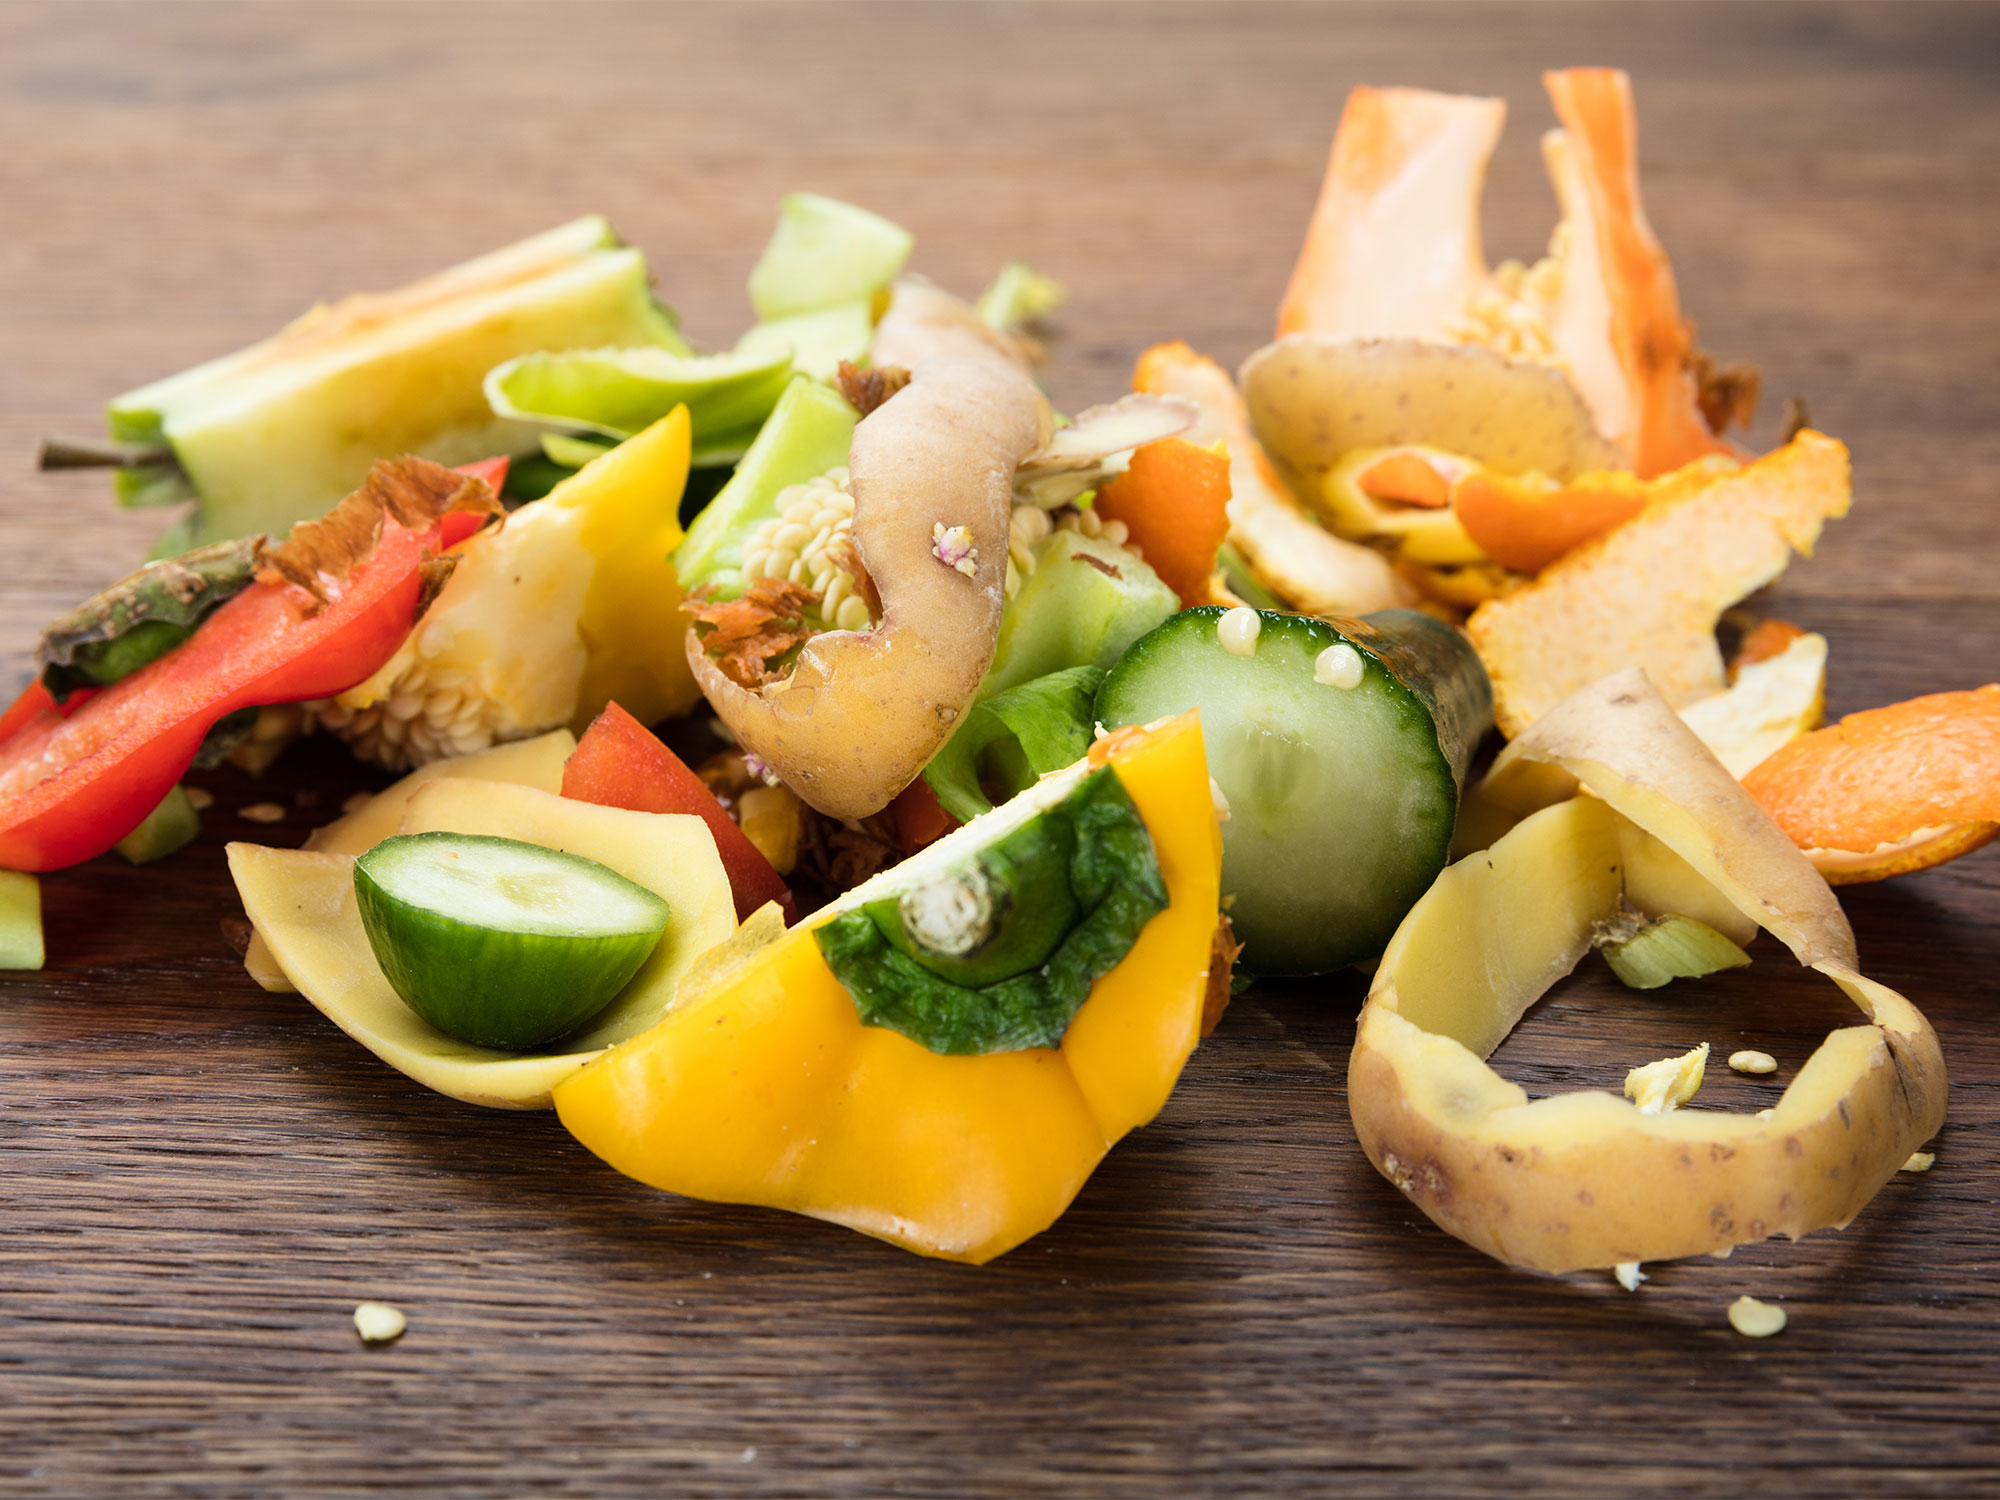
Your worms will happily munch on a variety of kitchen scraps, including fruit and vegetable peels, coffee grounds, and eggshells. Avoid feeding them meat, dairy, and citrus, as these can create unpleasant odors and attract pests.
Tips for Feeding
- Bury the Scraps: Bury the kitchen scraps under the bedding to keep the bin from smelling and to make it easier for the worms to find their food.
- Monitor Moisture: Keep the bin moist but not soggy. If it's too dry, add a bit of water. If it's too wet, add more dry bedding.
- Rotate Feeding Areas: Feed your worms in different areas of the bin to encourage them to move around and aerate the compost.
Maintaining Your Worm Compost Bin
Temperature and Light
Worms prefer a cool, dark environment. Keep your compost bin in a shady spot with temperatures between 55-77°F (13-25°C). Avoid placing it in direct sunlight or near heat sources.
Harvesting the Compost
After a few months, you'll notice a dark, crumbly material at the bottom of your bin. This is your finished compost, ready to be used as a soil amendment. To harvest, simply remove the top layer of bedding and scraps, and scoop out the compost.
Benefits of Worm Composting
Improved Soil Health
Worm compost is packed with nutrients and beneficial microorganisms that improve soil health. It helps retain moisture, suppresses plant diseases, and encourages root growth.
Reduced Waste
By composting your kitchen scraps, you're diverting waste from landfills and reducing your carbon footprint. It's a win-win for you and the environment.
Cost Savings
Instead of buying expensive fertilizers, you can create your own high-quality compost at home. It's a sustainable and cost-effective way to nourish your garden.
Conclusion
Worm composting is a rewarding and eco-friendly way to manage your organic waste. With a little bit of effort and the right knowledge, you can turn your kitchen scraps into a valuable resource for your garden. So, why wait? Start your worm composting journey today and watch your garden thrive!
FAQs
How long does it take to see results from worm composting?
- It typically takes about 3-6 months to see finished compost, depending on the size of your bin and the number of worms.
Can I use earthworms for composting?
- While earthworms are beneficial for soil health, they are not suitable for composting. Red wigglers are the best choice for worm composting.
What should I do if my compost bin smells bad?
- A smelly bin usually indicates that it's too wet or that you've added too much food. Add more dry bedding and reduce the amount of food you're adding.
How often should I feed my worms?
- Feed your worms once or twice a week, depending on how quickly they are consuming the food. Start with small amounts and adjust as needed.
Can I compost meat and dairy products?
- No, meat and dairy products can attract pests and create unpleasant odors. Stick to fruit and vegetable scraps, coffee grounds, and eggshells.

0 Response to "How to Start Worm Composting: Beginner's Guide"
Post a Comment