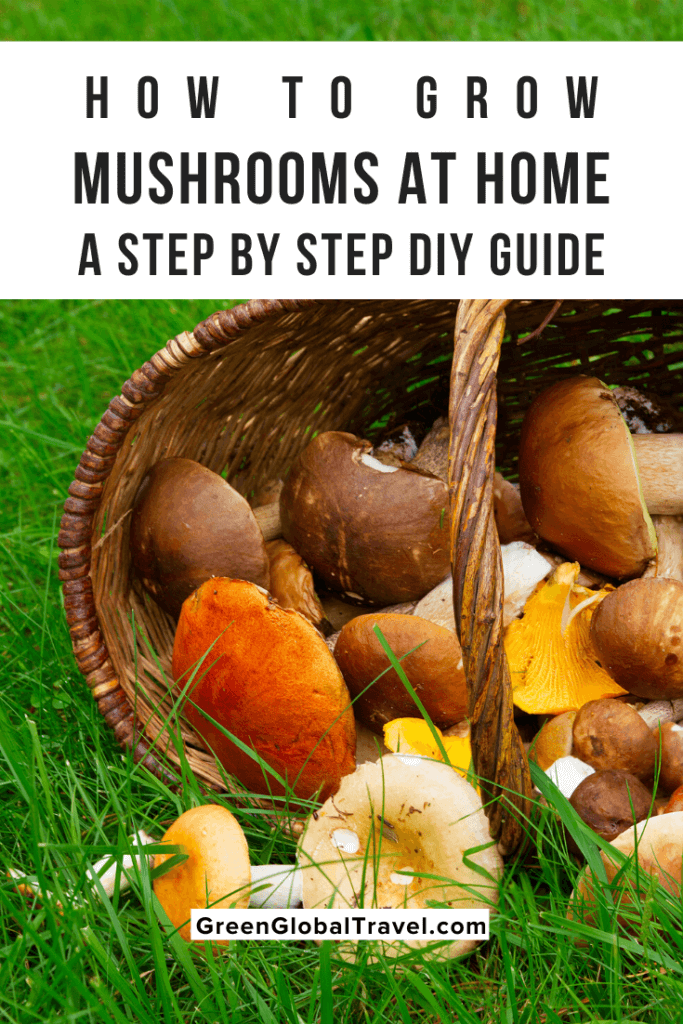
How to Grow Mushrooms at Home Step by Step
Have you ever wondered how you can bring the magic of mushroom cultivation into your own home? Imagine transforming a corner of your living space into a thriving, edible garden. Growing mushrooms at home is not only a rewarding hobby but also a fantastic way to add fresh, organic produce to your meals. Whether you're a seasoned gardener or a curious beginner, this comprehensive guide will walk you through the process step by step.
Why Grow Mushrooms at Home?
Growing mushrooms at home offers numerous benefits. Firstly, it's a sustainable and eco-friendly practice that reduces your carbon footprint. Secondly, home-grown mushrooms are fresher and often more flavorful than store-bought varieties. Lastly, it's a fun and educational DIY project that can engage the whole family.
Getting Started: What You Need
Before you dive into the world of mushroom cultivation, let's gather the essentials. You'll need:
- Mushroom Spawn: This is the "seed" of the mushroom, available in various types like oyster, shiitake, and button mushrooms.
- Substrate: This is the material where the mushrooms will grow. Common substrates include straw, sawdust, and compost.
- Growing Container: A tray, bucket, or bag to hold the substrate and spawn.
- Spray Bottle: For misting the mushrooms to maintain humidity.
- Thermometer and Hygrometer: To monitor temperature and humidity levels.
Step-by-Step Guide to Growing Mushrooms at Home
Step 1: Choose Your Mushroom Type
The first step is to decide which type of mushroom you want to grow. Oyster mushrooms are a popular choice for beginners due to their fast growth and versatility. Shiitake mushrooms are another great option, known for their rich flavor and medicinal benefits.
Step 2: Prepare the Substrate
The substrate is the foundation of your mushroom garden. For oyster mushrooms, straw is a common choice. Here's how to prepare it:
- Soak the Straw: Submerge the straw in water for about 24 hours.
- Pasteurize the Straw: Heat the straw to around 160°F (71°C) for about an hour to kill any competing organisms.
- Drain and Cool: Allow the straw to cool to room temperature before mixing it with the spawn.
Step 3: Inoculate the Substrate
Inoculation is the process of introducing the mushroom spawn to the substrate.
- Mix the Spawn: Evenly distribute the spawn throughout the substrate. Aim for a ratio of about 1 part spawn to 4 parts substrate.
- Pack the Mixture: Place the inoculated substrate into your growing container, packing it gently but firmly.
Step 4: Incubate the Mushrooms
Now it's time to let the mushrooms do their thing.
- Find a Dark Place: Place the container in a dark, humid environment with a temperature between 65°F and 75°F (18°C to 24°C).
- Monitor Humidity: Use a spray bottle to mist the substrate if it starts to dry out.
Step 5: Fruiting the Mushrooms
Once the substrate is fully colonized by the mycelium (the white, thread-like growth), it's time to initiate fruiting.
- Increase Light: Move the container to a location with indirect light.
- Maintain Humidity: Continue to mist the substrate to keep it moist.
- Wait for Mushrooms: Within a few days to a week, you should see small mushrooms starting to form.
Step 6: Harvest Your Mushrooms
When the mushrooms are fully grown, it's time to harvest.
- Gently Twist: Twist the mushrooms off at the base, being careful not to damage the substrate.
- Store Properly: Store your harvested mushrooms in the refrigerator for up to a week.
Tips for Successful Mushroom Cultivation
- Consistency is Key: Maintain consistent temperature and humidity levels throughout the growing process.
- Patience is a Virtue: Mushrooms take time to grow. Don't rush the process.
- Cleanliness is Crucial: Keep your growing area clean to prevent contamination.
External Resources for Further Learning
For more in-depth information, check out these authoritative resources:

Conclusion
Growing mushrooms at home is a rewarding journey that combines the joy of gardening with the satisfaction of harvesting your own food. By following these steps, you can transform a small space into a thriving mushroom garden. Whether you're aiming for a DIY project or a sustainable food source, mushroom cultivation is a fun and educational experience.
So, why not give it a try? You might just discover a new passion and a delicious addition to your meals. Happy growing!
FAQs
What is the best temperature for growing mushrooms? The ideal temperature for growing mushrooms varies by type, but generally, it's between 65°F and 75°F (18°C to 24°C).
How long does it take to grow mushrooms at home? The time it takes to grow mushrooms can vary, but typically, it takes about 2-4 weeks for the mycelium to colonize the substrate and another 1-2 weeks for the mushrooms to fruit.
Can I grow mushrooms indoors? Yes, mushrooms can be grown indoors. In fact, indoor mushroom cultivation is quite common and can be very successful with the right conditions.
What is the best substrate for growing mushrooms? The best substrate depends on the type of mushroom. Common substrates include straw, sawdust, and compost.
Do I need a mushroom growing kit to start? While a mushroom growing kit can make the process easier, it's not necessary. You can gather the materials and follow the steps outlined in this guide to start your own mushroom garden.

0 Response to "How to Grow Mushrooms at Home Step by Step"
Post a Comment