Master Organic Composting Techniques Now
Ever wondered how you can transform your kitchen scraps into nutrient-rich gold for your garden? Envision a world where your leftovers don’t end up in a landfill but instead become a vital part of your personal eco-system. Welcome to the world of organic composting techniques, where you can recycle food scraps and reduce waste while nourishing your plants. Let’s dive into the fascinating process of turning trash into treasure.
Understanding the Basics of Organic Composting
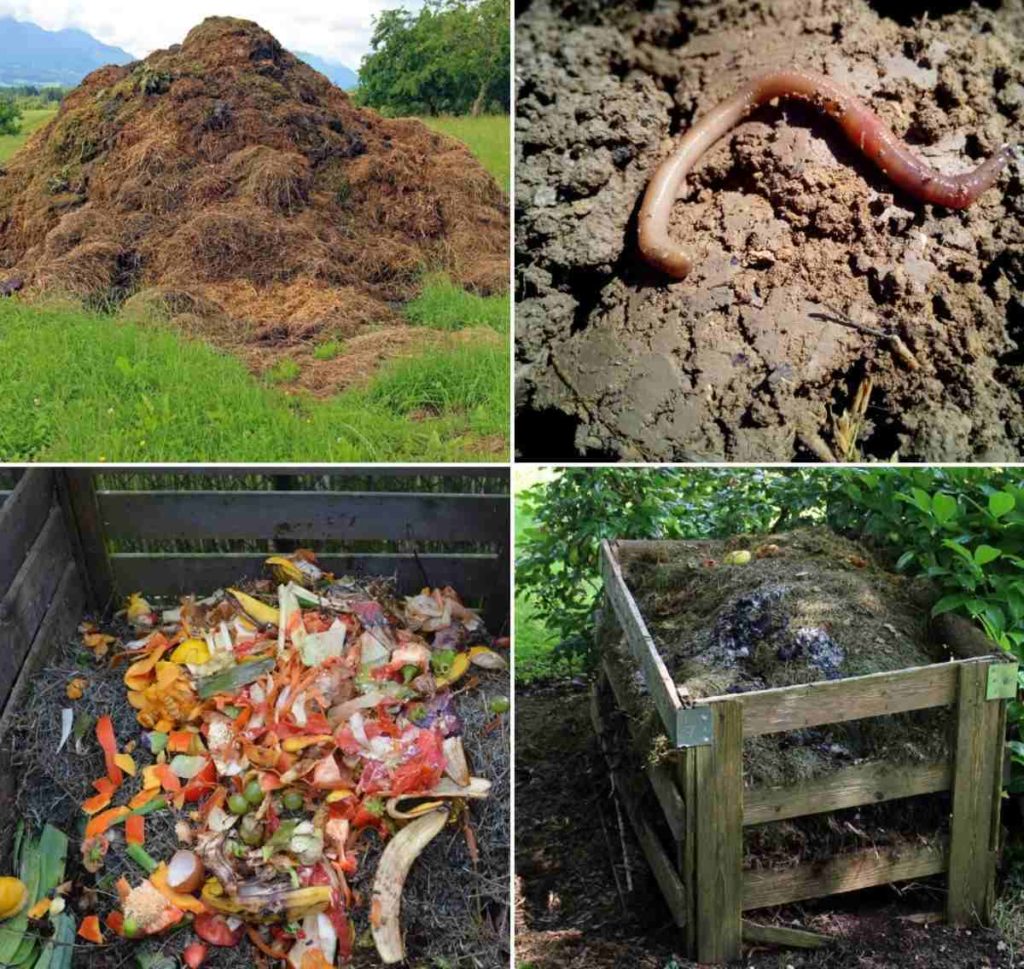
Organic composting is a natural process where organic materials break down into a rich, soil-like substance known as compost. This compost is a fantastic way to recycle food scraps and yard waste, turning them into valuable fertilizer for your plants. Which is better, watching your scraps rot in the trashcan, or using them to feed your garden?
The Importance of Balance
To master the art of organic composting techniques, you need to understand the balance between greens and browns. Greens are nitrogen-rich materials like fruit and vegetable scraps, while browns are carbon-rich materials like dried leaves or cardboard. Think of it as a delicate dance between yin and yang. Too much of one or the other can lead to a smelly or slow-composting pile.
For a balanced compost pile, aim for a ratio of 1 part greens to 3 parts browns by volume. This combination provides the right mix of nutrients for microorganisms to thrive and break down the materials efficiently.
Location Matters
Choosing the right spot for your compost pile is crucial. While you might think sunlight is essential, a spot that receives direct sunlight can actually dry out your compost pile too quickly, halting the decomposition process. Instead, opt for a shady area in your yard or, if space is limited, consider a large brown compost bin in a garage or shed. The ideal location should be convenient, with easy access for adding scraps and turning the pile.
Building Your Compost Pile
Building a compost pile is like layering a cake. Start with a base of browns to promote airflow and prevent waterlogging. Add a layer of greens, then another layer of browns, and so on. Make sure to chop and shred larger items to speed up the process. Think of it as prepping ingredients for a recipe – the more finely chopped, the faster they cook down. Always strive to mix your materials thoroughly to encourage a robust compost pile.
As a rule of thumb, maintain a moisture level similar to that of a wrung-out sponge. Too much water can lead to rot and foul odors, while too little can slow down the composting process. Regularly check the pile and add water if it’s too dry or more browns if it’s too wet.
Aeration: The Key to Success
Airflow is essential for the microorganisms doing the heavy lifting in your compost pile. Regularly turning your compost pile ensures that oxygen reaches all parts of the pile, promoting efficient breakdown and preventing odor problems. You don't need fancy tools; a simple pitchfork or shovel can do the trick. Imagine turning the pages of a book – flipping through each layer to keep everything fresh and active.
For optimal results, turn your compost pile every 3-7 days during the active composting phase. In a few weeks, you’ll see a noticeable reduction in the pile’s size as the materials break down.
Maintaining Your Compost Pile
Once you’ve built your compost pile, the real work begins. Regular maintenance is key to ensuring your pile stays healthy and productive. Keep an eye on the temperature – a well-maintained compost pile can heat up to 140-160°F (60-71°C), which kills harmful pathogens and weed seeds.
Keep your pile going by adding a mix of organics to it, whenever you can. As mentioned, add moisture when necessary and aerate regularly. This ensures that your compost stays active and doesn't become stagnant. Layering additional materials is a great way of polish your efforts and improve the quality of your compost.
Harvesting Your Compost
After 3-6 months, you’ll notice that the bottom of your pile has turned into dark, crumbly compost. This is the finished product that your garden will love. Use a sifting screen to separate any large, undecomposed materials and return them to the pile for further composting. Think of it like sieving flour – straining out the finer particles for your baking needs.
Your harvested compost can be used as a soil amendment, adding nutrients and improving soil structure. Spread a thin layer around your plants or mix it into your garden beds. Your plants will thank you with healthier growth and better yields. You'll be amazed at how much better your plants will respond to the rich nutrients from your compost.
Conclusion
Mastering organic composting techniques is a rewarding journey that benefits both your garden and the environment. By understanding the balance of greens and browns, choosing the right location, building and maintaining your compost pile, and harvesting your nutrient-rich compost, you can turn kitchen scraps and yard waste into garden gold. So, what are you waiting for? Start composting today and watch your garden thrive!
Ready to take your gardening to the next level? Click here to explore more composting tips and techniques that you’ll find super useful!
Frequently Asked Questions
Can I compost meat and dairy products?
It's generally not recommended to compost meat and dairy products as they can attract pests and create unpleasant odors. Stick to fruit and vegetable scraps, coffee grounds, and eggshells for a healthier compost pile.
What are some common composting mistakes?
Common mistakes include not maintaining the right balance of greens and browns, not turning the compost pile enough, and not keeping the pile moist. Avoid these pitfalls by regularly monitoring and maintaining your compost pile.
How long does it take to make compost?
The time it takes to make compost can vary, but with proper maintenance, you can produce finished compost in as little as 3-6 months. Keep turning and aerating your pile to speed up the process.
Can I compost weeds and diseased plants?
It's best to avoid composting weeds that have gone to seed or diseased plants, as the heat from the composting process may not be sufficient to kill the seeds or pathogens. Be cautious about what you add to your pile to avoid spreading unwanted weeds or diseases in your garden.
What can I do with the finished compost?
Finished compost can be used as a soil amendment, mulch, or fertilizer. Spread it around your plants, mix it into your garden beds, or use it as a top dressing for your lawn. Your plants will benefit from the rich nutrients in your homemade compost.
```
0 Response to "Master Organic Composting Techniques Now"
Post a Comment