How to Start a Raised Bed Vegetable Garden: Easy Steps for a Thriving Harvest

Are you dreaming of a lush, productive vegetable garden but feeling overwhelmed by where to start? Imagine transforming a small patch of your backyard into a vibrant oasis of fresh produce. Raised bed gardening is the perfect solution for beginners and seasoned gardeners alike. It's like creating a miniature ecosystem tailored to your plants' needs. So, let's dive in and explore how to start a raised bed vegetable garden with these easy, step-by-step instructions.
Why Choose Raised Bed Gardening?
Raised bed gardening offers numerous benefits. It provides better soil control, improved drainage, and easier access to your plants. Plus, it's a great way to start a garden in areas with poor soil or limited space. Whether you're a novice or an experienced gardener, raised beds can significantly enhance your vegetable gardening experience.
Step 1: Planning Your Raised Bed Garden
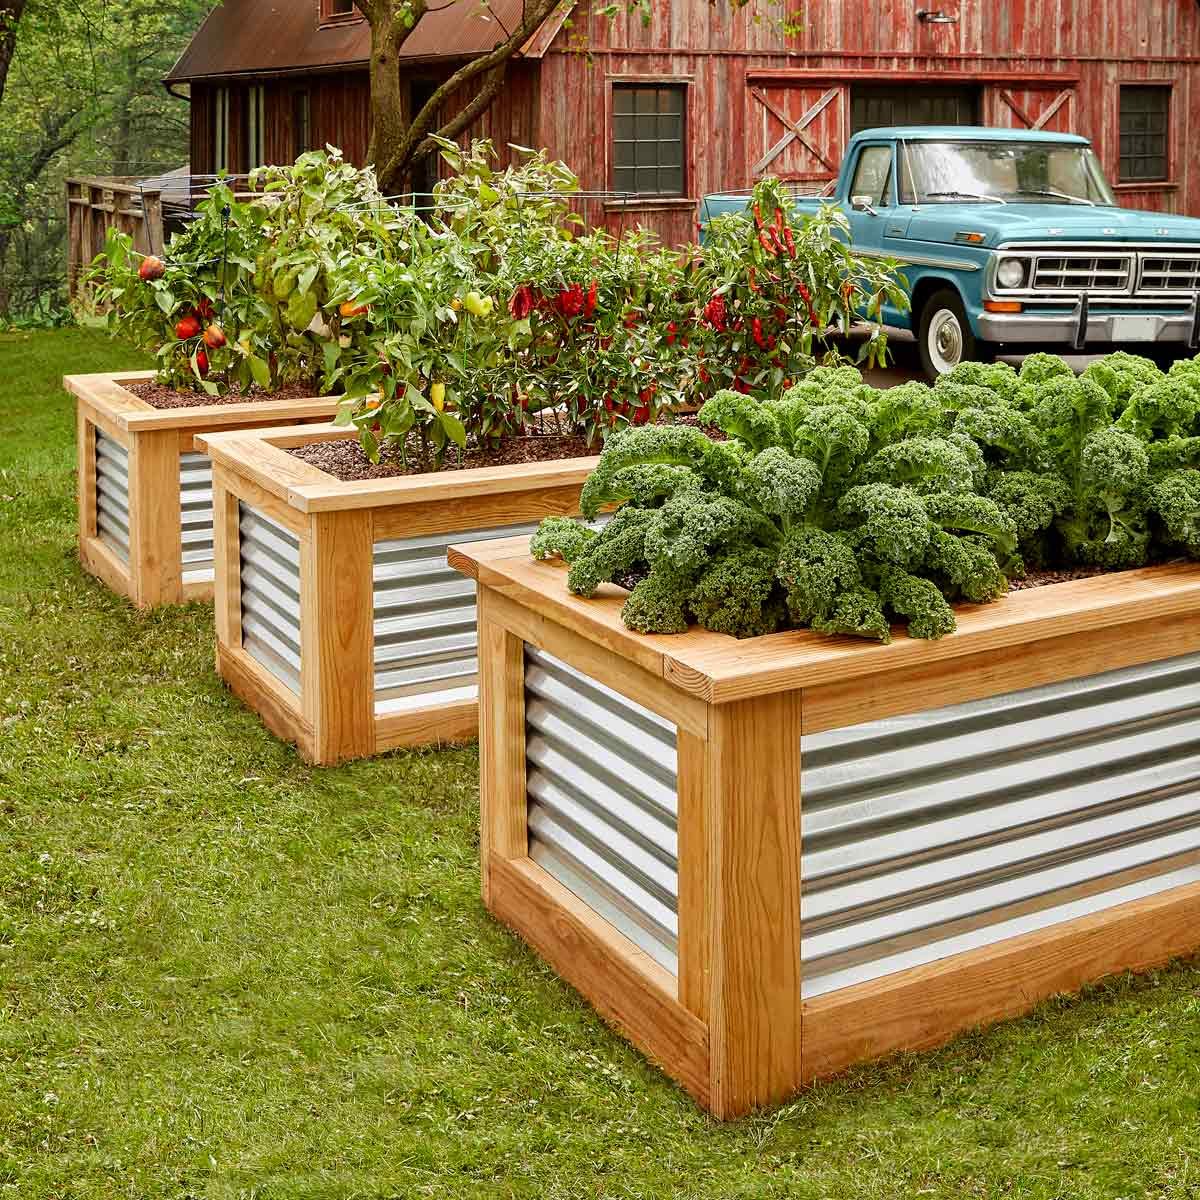
Before you dive into the DIY garden project, take a moment to plan. Consider the size and location of your garden beds. Ideally, your raised beds should be no wider than 4 feet to allow easy access to all plants without stepping into the bed. Length can vary based on your available space.
Choosing the Right Location
Select a spot that receives at least 6-8 hours of sunlight daily. Sunlight is crucial for healthy plant growth. Also, ensure the area has good drainage and is relatively flat.
Step 2: Building Your Raised Beds
Now comes the fun part—building your raised beds. You can use various materials, such as wood, metal, or composite materials. Wood is a popular choice due to its affordability and ease of use.
Materials Needed
- Untreated lumber (avoid pressure-treated wood)
- Screws or nails
- Drill or hammer
- Level
- Tape measure
Construction Steps
- Measure and Cut: Cut your lumber to the desired lengths. For a 4x8-foot bed, you'll need two 4-foot pieces and two 8-foot pieces.
- Assemble the Frame: Attach the pieces together using screws or nails. Ensure the corners are square.
- Level the Bed: Place the frame in your chosen location and use a level to ensure it's even.

Step 3: Filling Your Raised Beds
Once your beds are built, it's time to fill them with the right soil mix. A good blend of topsoil, compost, and potting soil will provide the nutrients your plants need.
Soil Mix Recipe
- 60% topsoil
- 30% compost
- 10% potting soil
Mix these components thoroughly before filling your beds. This blend ensures excellent drainage and nutrient availability.
Step 4: Planting Your Vegetables
With your beds filled, it's time to start planting. Choose vegetables that suit your climate and personal preferences. Some popular options include tomatoes, lettuce, peppers, and cucumbers.
Planting Tips
- Spacing: Follow the seed packet instructions for proper spacing. Overcrowding can lead to poor growth and disease.
- Depth: Plant seeds at the recommended depth to ensure they germinate properly.
- Watering: Water your plants consistently, but avoid overwatering. Aim for about 1 inch of water per week.
Step 5: Maintaining Your Raised Bed Garden
Regular maintenance is key to a successful garden. Keep an eye out for pests and diseases, and address any issues promptly.
Weeding and Mulching
- Weeding: Regularly remove weeds to prevent them from competing with your vegetables for nutrients and water.
- Mulching: Apply a layer of organic mulch around your plants to retain moisture and suppress weeds.

Step 6: Harvesting Your Produce
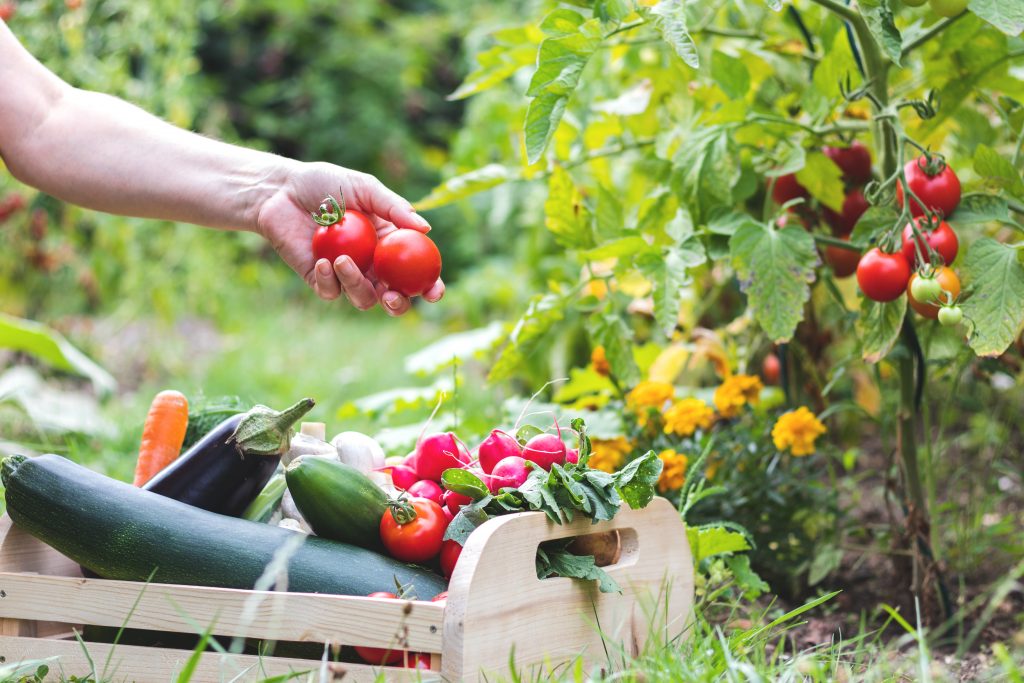
The most rewarding part of gardening is harvesting your fresh produce. Each vegetable has its own harvesting guidelines, so be sure to follow them for the best results.
Harvesting Tips
- Timing: Harvest vegetables at their peak ripeness for the best flavor.
- Storage: Store your produce properly to extend its shelf life.
Conclusion
Starting a raised bed vegetable garden is a rewarding journey that brings fresh, homegrown produce right to your table. By following these easy steps, you can create a thriving garden that not only beautifies your space but also nourishes your body. So, why wait? Get started today and enjoy the fruits (and vegetables) of your labor.
FAQs
-
What is the best depth for a raised bed garden?
- A depth of 12-18 inches is ideal for most vegetables. This depth allows for good root development and drainage.
-
Can I use pressure-treated wood for my raised beds?
- It's best to avoid pressure-treated wood as it can leach chemicals into the soil, potentially harming your plants and the environment.
-
How often should I water my raised bed garden?
- Aim for about 1 inch of water per week. Adjust based on weather conditions and the specific needs of your plants.
-
What is the best soil mix for a raised bed garden?
- A mix of 60% topsoil, 30% compost, and 10% potting soil provides a balanced blend of nutrients and drainage.
-
How can I prevent pests in my raised bed garden?
- Regularly inspect your plants for signs of pests. Use organic pesticides and physical barriers like row covers to deter pests.
By following these steps and tips, you'll be well on your way to a successful raised bed vegetable garden. Happy gardening!
0 Response to "How to Start a Raised Bed Vegetable Garden: Easy Steps for a Thriving Harvest"
Post a Comment