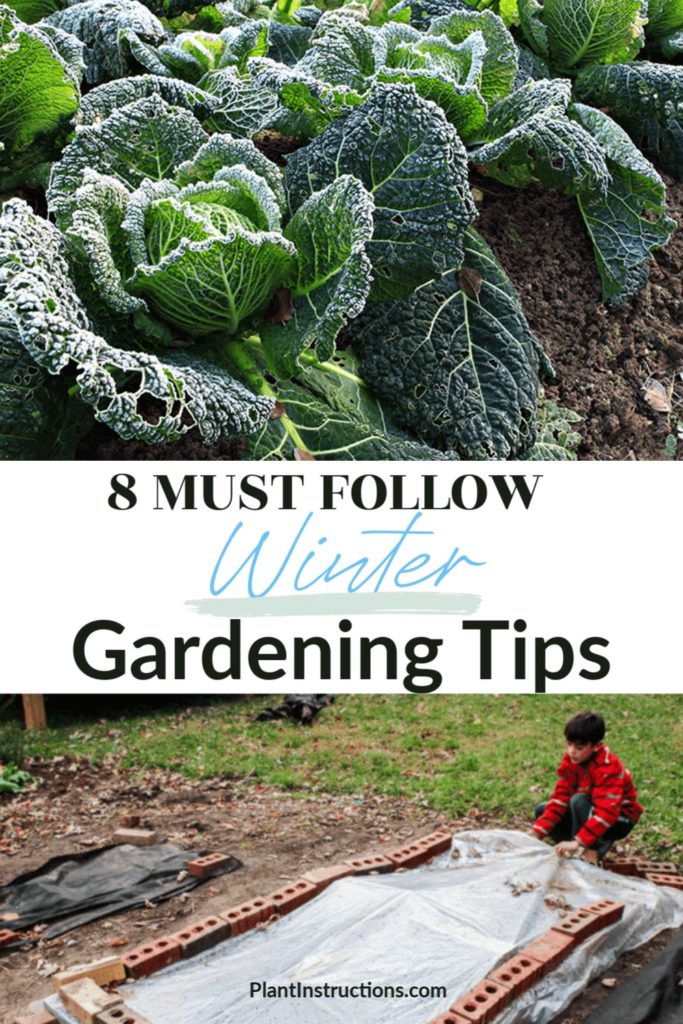
How to Start Winter Seedlings Indoors: A Comprehensive Guide

As the winter chill sets in, many gardeners find themselves longing for the vibrant colors and fresh scents of spring. But why wait? Starting winter seedlings indoors can be a rewarding way to get a head start on your garden and beat the winter blues. Imagine nurturing tiny seeds into robust plants, all from the comfort of your home. This guide will walk you through the process, ensuring you have everything you need to start your indoor seeding journey successfully.
Why Start Winter Seedlings Indoors?
Starting seeds inside offers numerous benefits. It allows you to control the growing environment, protects your seedlings from pests and harsh weather, and gives you a jump start on the growing season. Plus, it's a fantastic way to stay connected to nature during the colder months.
Essential Tools and Materials
Before you begin, gather the following essentials:
- Seeds: Choose varieties suitable for indoor seeding.
- Seed Trays or Pots: Ensure they have drainage holes.
- Seed Starting Mix: A light, well-draining mix is ideal.
- Watering Can: A small one with a fine nozzle works best.
- Grow Lights: If natural light is insufficient.
- Heating Mat: Optional, but helpful for seeds that require warmth.
Step-by-Step Guide to Starting Winter Seedlings Indoors
Preparing Your Seed Trays
Fill your seed trays or pots with a high-quality seed starting mix. Avoid using regular potting soil, as it can be too heavy and may contain pathogens. Moisten the mix lightly with water, ensuring it's damp but not soggy.
Planting the Seeds
Read the seed packet instructions carefully. Some seeds need to be planted at a specific depth, while others can be scattered on the surface. Generally, plant seeds at a depth about twice their size. Cover them lightly with more seed starting mix.
Providing the Right Environment
Seeds need warmth and moisture to germinate. Place your trays in a warm spot, such as on top of the refrigerator or near a heating vent. A heating mat can also be used to maintain a consistent temperature. Cover the trays with a clear plastic dome or plastic wrap to create a humid environment.
Watering and Light
Once the seeds germinate, remove the plastic cover. Water the seedlings gently from the bottom by placing the trays in a shallow dish of water. Allow the soil to absorb water from below. Provide plenty of light, either from a sunny window or grow lights. Seedlings need 14-16 hours of light per day.

Caring for Your Seedlings
As your seedlings grow, they'll need consistent care. Keep the soil moist but not waterlogged. Rotate the trays regularly to ensure even light exposure. If using grow lights, adjust them as the seedlings grow to maintain a consistent distance.
Transplanting and Hardening Off
Once your seedlings have developed their first set of true leaves, it's time to transplant them into larger pots. Handle them gently to avoid damaging the roots. Gradually acclimate them to outdoor conditions through a process called hardening off. Start by placing them in a shady spot for a few hours each day, gradually increasing their exposure to sunlight and wind.
Winter Gardening Tips
- Choose the Right Seeds: Select varieties known for their cold hardiness and quick growth.
- Maintain Consistent Temperatures: Avoid placing seedlings near drafty windows or heat sources.
- Monitor for Pests: Indoor environments can attract pests like aphids and spider mites. Regularly inspect your seedlings and treat any issues promptly.
Common Challenges and Solutions
Damping Off
This fungal disease can cause seedlings to wilt and die. To prevent it, use sterile seed starting mix and avoid overwatering. Ensure good air circulation around your seedlings.
Leggy Seedlings
Seedlings that don't get enough light can become leggy, with long, thin stems. Provide adequate light and rotate the trays regularly to encourage even growth.
Overwatering
Too much water can lead to root rot. Water your seedlings only when the top layer of soil feels dry to the touch.

Conclusion
Starting winter seedlings indoors is a rewarding way to bring a touch of spring into your home during the colder months. With the right tools, a bit of patience, and consistent care, you can nurture robust plants that will thrive in your garden come spring. Embrace the joy of indoor seeding and watch your garden grow from the ground up.
FAQs
What is the best time to start winter seedlings indoors?
- The best time to start winter seedlings indoors is typically 6-8 weeks before the last expected frost date in your area. This gives the seedlings enough time to grow and be ready for transplanting outdoors.
How often should I water my indoor seedlings?
- Water your seedlings when the top layer of soil feels dry to the touch. Overwatering can lead to root rot, while underwatering can stunt growth. Aim for a balance.
Do I need grow lights for starting seeds inside?
- While natural light from a sunny window can be sufficient, grow lights can provide more consistent and controlled lighting. They are particularly useful if your home doesn't get enough natural light.
How do I know when my seedlings are ready to be transplanted?
- Seedlings are ready to be transplanted when they have developed their first set of true leaves. True leaves are the second set of leaves that emerge after the initial seed leaves (cotyledons).
What should I do if my seedlings become leggy?
- If your seedlings become leggy, increase the amount of light they receive. You can also gently brush the tops of the seedlings with your hand to simulate wind, which encourages stronger stem growth.
By following this comprehensive guide, you'll be well on your way to successfully starting winter seedlings indoors. Happy gardening!
0 Response to "How to Start Winter Seedlings Indoors: A Comprehensive Guide"
Post a Comment