How to Set Up Drip Irrigation for Home Garden: A Comprehensive Guide

Imagine your garden as a symphony, where each plant is a musician. Just as musicians need the right instruments and sheet music to create beautiful melodies, your plants need the right amount of water and care to flourish. This is where drip irrigation comes in—a water-efficient system that ensures your plants get the hydration they need without wasting a single drop. Let's dive into how to set up drip irrigation for your home garden, transforming it into a lush, thriving oasis.
Understanding Drip Irrigation
Drip irrigation, also known as micro-irrigation, is a garden irrigation system that delivers water directly to the roots of your plants. This method is highly water-efficient, reducing waste and ensuring that your plants receive the precise amount of water they need. Unlike traditional sprinklers, which can lead to overwatering and runoff, a drip system targets the root zone, promoting healthier plant growth.
Benefits of Drip Irrigation
Water Efficiency
One of the primary advantages of drip irrigation is its water efficiency. By delivering water directly to the roots, you minimize evaporation and runoff, saving up to 50% of the water compared to traditional sprinkler systems.
Plant Care
Drip irrigation promotes healthier plants by providing consistent moisture levels. This reduces the risk of diseases and pests that thrive in overly wet or dry conditions.
Cost Savings
With less water usage, you can expect lower water bills. Additionally, the reduced need for fertilizers and pesticides can further cut down on gardening expenses.
Setting Up Drip Irrigation: Step-by-Step Guide
Materials Needed
Before you start, gather the necessary materials:
- Drip irrigation tubing
- Emitters
- Fittings and connectors
- Garden stakes
- Timer (optional)
- Pressure regulator (optional)
Step 1: Plan Your Layout
The first step is to plan your irrigation layout. Sketch a map of your garden, noting the locations of your plants. This will help you determine the length and placement of your drip tubing.
Step 2: Install the Main Line
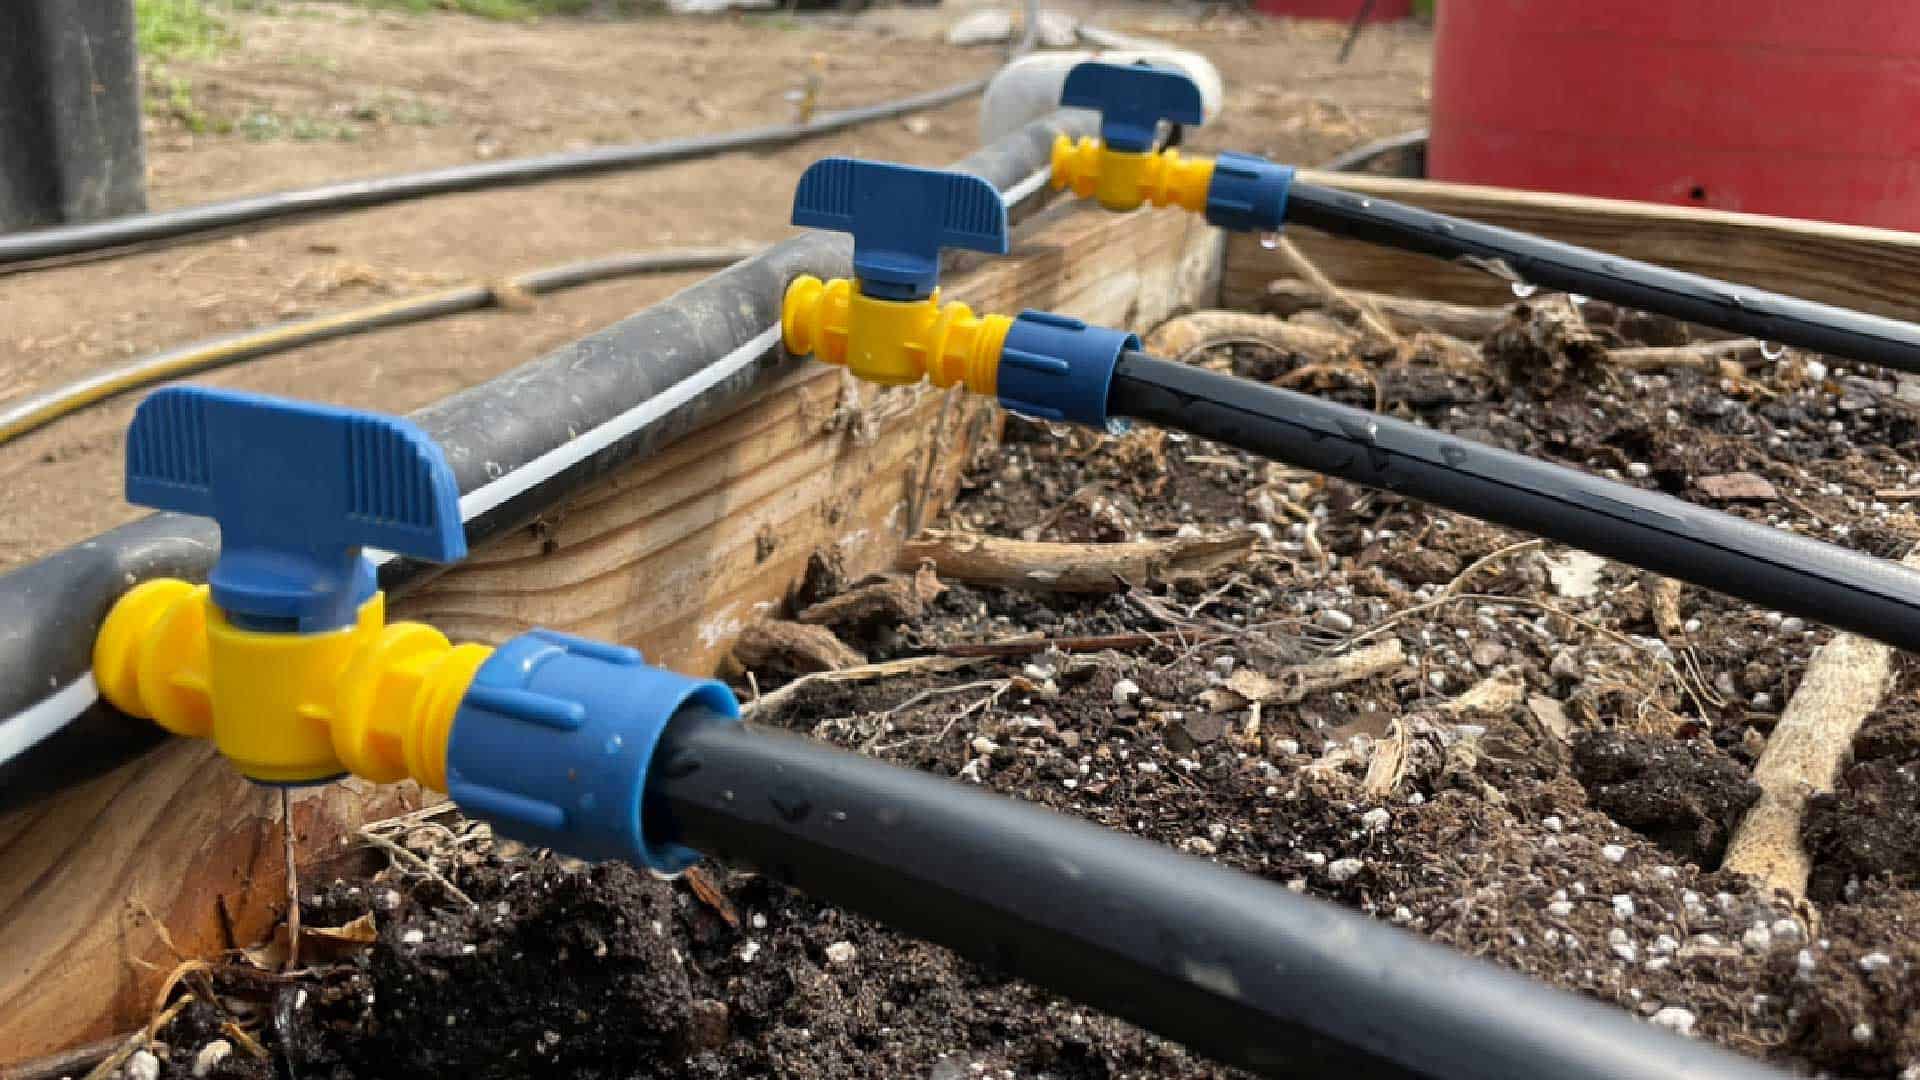
Start by laying out the main drip irrigation tubing. This will serve as the backbone of your system, delivering water to various sections of your garden. Secure the tubing with garden stakes to keep it in place.
Step 3: Add Emitters
Emitters are small devices that release water at a controlled rate. Attach emitters to the main line at intervals that match the spacing of your plants. Make sure to choose emitters with the appropriate flow rate for your plants' needs.
Step 4: Connect to Water Source
Connect one end of the main line to your water source, such as a garden hose or spigot. You may want to install a pressure regulator to ensure consistent water flow and a timer to automate the watering schedule.
Step 5: Test the System
Turn on the water and check for leaks. Adjust the emitters as needed to ensure even water distribution. Once everything is working correctly, you can cover the tubing with mulch to hide it and protect it from sunlight.
Maintaining Your Drip Irrigation System
Regular Inspections
Regularly inspect your drip system for clogs, leaks, and damaged tubing. Replace any faulty components promptly to maintain optimal performance.
Winterizing
In colder climates, it's essential to winterize your drip irrigation system to prevent freeze damage. Drain the system and store any removable parts indoors during the winter months.
Cleaning
Periodically clean your emitters and tubing to remove any mineral deposits or debris that can clog the system. This will ensure consistent water flow and prolong the life of your drip irrigation setup.
Conclusion
Setting up drip irrigation for your home garden is a smart investment that pays off in healthier plants, lower water bills, and reduced maintenance. By following this comprehensive guide, you can transform your garden into a water-efficient oasis that thrives with minimal effort. So, why wait? Start planning your drip irrigation system today and watch your garden flourish!
FAQs
1. How often should I water my garden with a drip irrigation system?
The frequency of watering depends on various factors, including plant type, soil conditions, and weather. Generally, watering once or twice a week for 30-60 minutes is sufficient. However, it's essential to monitor your plants and adjust the watering schedule as needed.
2. Can I use a drip irrigation system for potted plants?
Yes, drip irrigation systems can be used for potted plants. You can install emitters directly into the pots or use a specialized drip kit designed for container gardening.
3. How do I know if my drip irrigation system is working correctly?
Regularly inspect your system for leaks, clogs, and damaged tubing. Ensure that water is being evenly distributed to all plants. If your plants show signs of overwatering or underwatering, adjust the emitters or watering schedule accordingly.
4. Can I install a drip irrigation system myself?
Yes, installing a drip irrigation system is a DIY-friendly project. With the right materials and a bit of planning, you can set up a functional and efficient drip system in your home garden.
5. What are the best plants for a drip irrigation system?
Drip irrigation systems are suitable for a wide range of plants, including vegetables, flowers, shrubs, and trees. However, plants with shallow root systems or those that require consistent moisture levels benefit the most from drip irrigation.


By following this guide and addressing common questions, you'll be well on your way to creating a beautiful, water-efficient garden that thrives with minimal effort. Happy gardening!
0 Response to "How to Set Up Drip Irrigation for Home Garden: A Comprehensive Guide"
Post a Comment