How to Make a Self-Watering Container Garden: A Comprehensive Guide

Imagine a garden that waters itself, thriving even when you're away or forgetful. Sounds like a dream? It's not. Welcome to the world of self-watering container gardens. This innovative approach to urban farming ensures your plants stay hydrated and healthy with minimal effort. Let's dive into the fascinating world of self-watering planters and explore how you can create your own water-efficient garden paradise.
Understanding Self-Watering Container Gardens
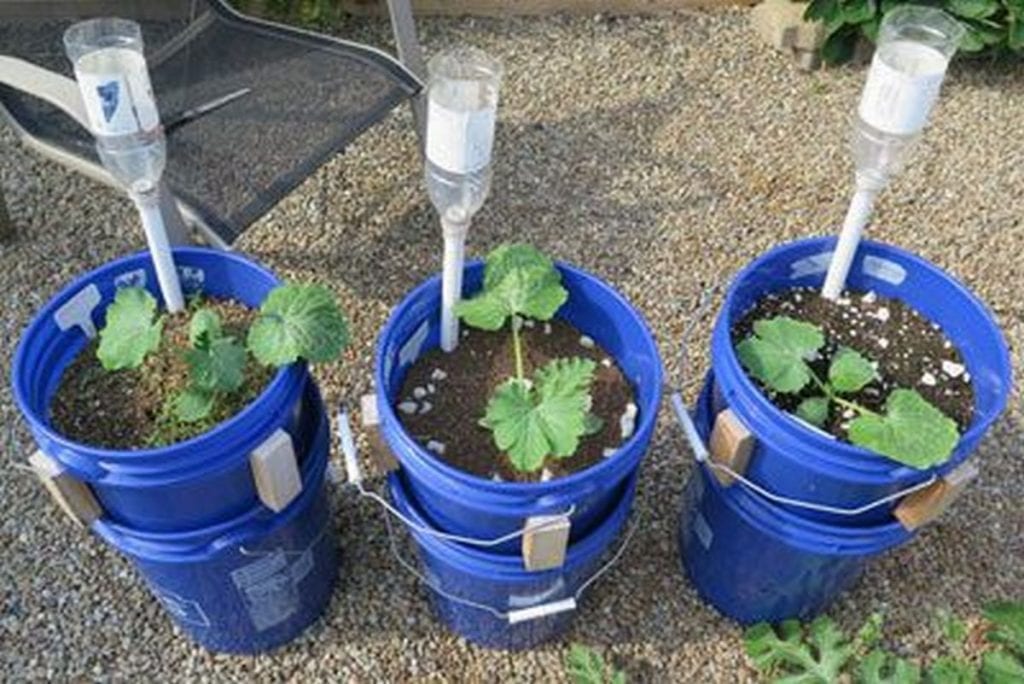
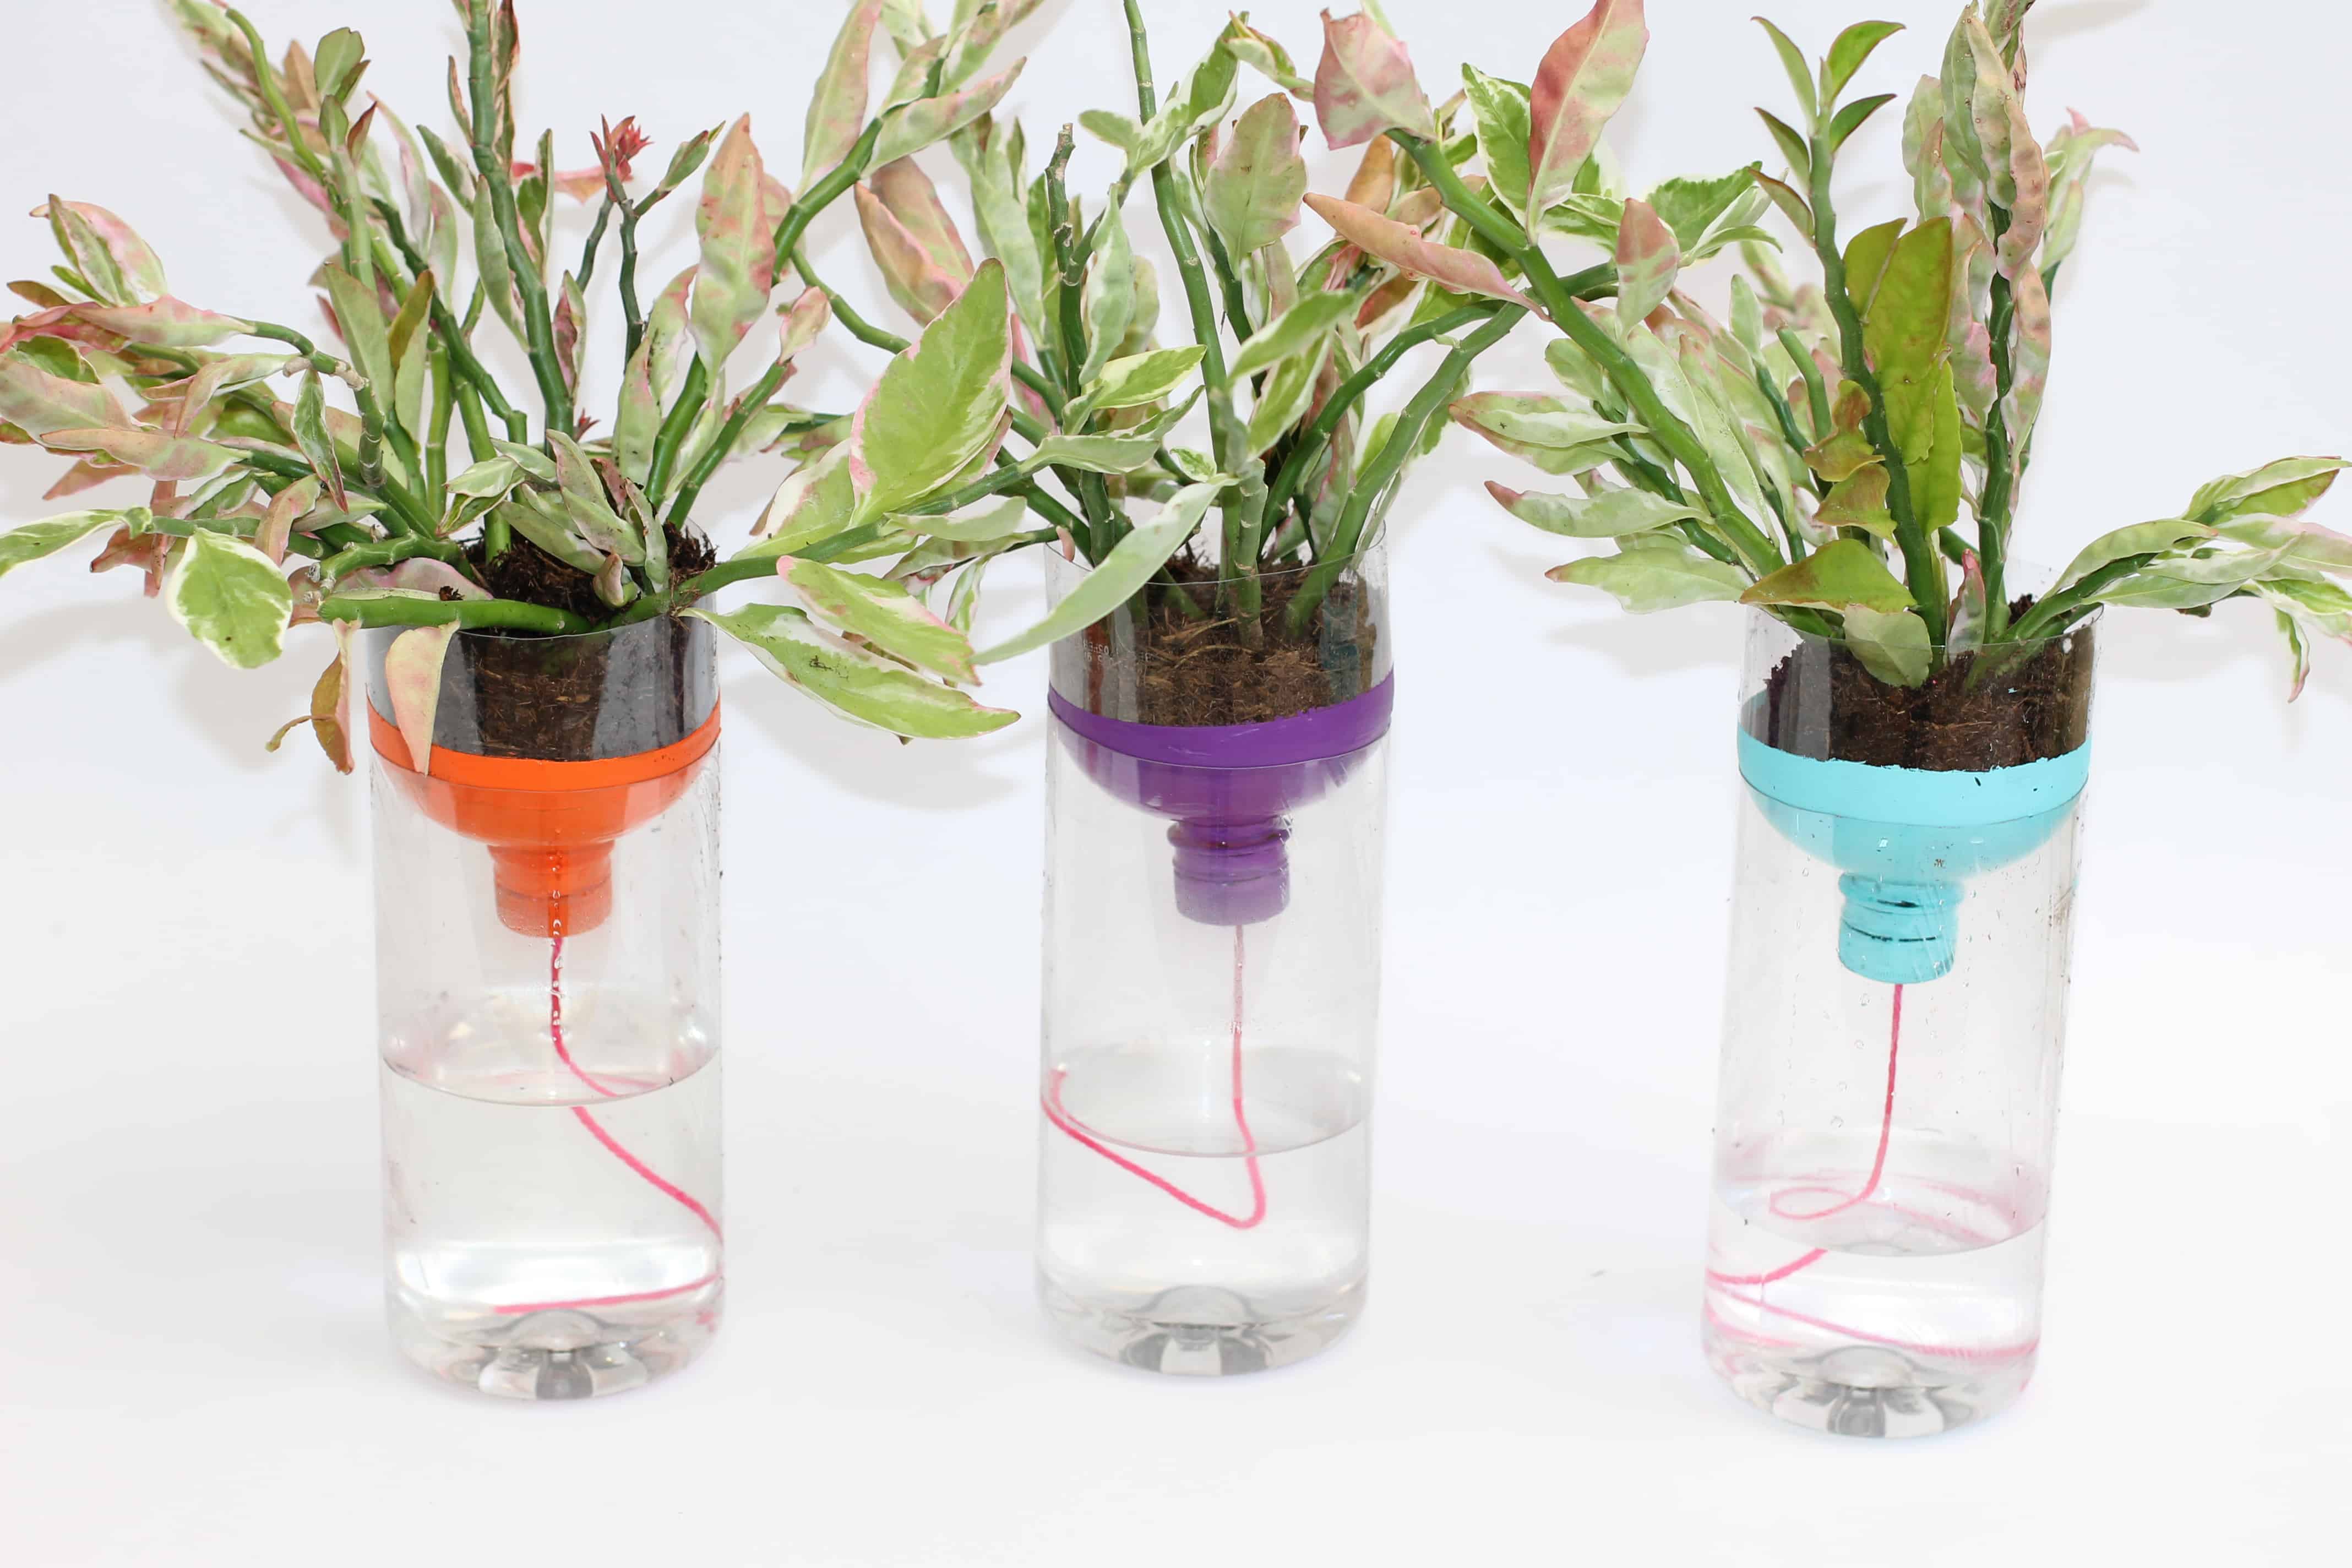
Self-watering container gardens are designed to provide a consistent water supply to your plants. These clever systems use a reservoir at the bottom of the container, which slowly feeds water to the plant roots through a wick or capillary action. This method not only saves water but also ensures your plants receive the right amount of hydration, reducing the risk of overwatering or underwatering.
Benefits of Self-Watering Planters
Water Efficiency
Self-watering planters are incredibly water-efficient. They use up to 50% less water than traditional pots, making them an eco-friendly choice for urban farming.
Time-Saving
With a self-watering system, you can go on vacation without worrying about your plants. These containers can keep your greenery hydrated for weeks, freeing up your time for other activities.
Healthier Plants
Consistent watering promotes healthier plant growth. Self-watering containers ensure your plants receive a steady supply of water, reducing stress and promoting vigorous growth.
How to Make a Self-Watering Container Garden
Materials Needed
- Two plastic containers (one slightly smaller than the other)
- A plastic bottle or tube for the water reservoir
- Potting soil
- Plants of your choice
- Scissors or a sharp knife
- Optional: Drill for making holes
Step-by-Step Guide
Step 1: Prepare the Containers
Take the larger container and cut a hole in the bottom for the water reservoir. This hole should be large enough to fit the neck of the plastic bottle or tube.
Step 2: Create the Water Reservoir
Cut the bottom off the plastic bottle or tube to create a reservoir. Insert the bottle neck-first into the hole in the larger container. Ensure the bottle is secure and won't leak.
Step 3: Add the Inner Container
Place the smaller container inside the larger one. Make sure there's enough space between the two containers for water to flow freely.
Step 4: Fill with Soil
Fill the smaller container with potting soil. Leave enough space for your plants.
Step 5: Plant Your Greenery
Plant your chosen greenery in the soil. Make sure the roots are well-covered and the plants are secure.
Step 6: Water Your Plants
Fill the reservoir with water. The water will slowly seep into the soil, keeping your plants hydrated.

Container Gardening Tips
Choose the Right Plants
Not all plants are suitable for self-watering containers. Opt for plants that thrive in moist soil, such as herbs, leafy greens, and some flowers. Avoid plants that prefer dry conditions, like succulents.
Monitor Water Levels
While self-watering containers are low-maintenance, they still require some attention. Regularly check the water reservoir to ensure it doesn't run dry.
Provide Adequate Light
Like any garden, your self-watering container garden needs plenty of light. Place your containers in a sunny spot to promote healthy plant growth.
DIY Irrigation Systems
If you're feeling adventurous, you can create more complex DIY irrigation systems. These can include drip irrigation systems, wicking beds, or even automated systems with timers. The possibilities are endless, and the internet is full of tutorials to guide you.

Embracing Urban Farming
Self-watering container gardens are a fantastic way to embrace urban farming. They allow you to grow fresh produce and beautiful flowers, even in small spaces. Whether you have a balcony, a patio, or a tiny yard, these gardens can transform your urban environment into a lush oasis.
Conclusion
Creating a self-watering container garden is a rewarding project that combines creativity, sustainability, and a love for plants. With minimal effort, you can enjoy a thriving garden that practically takes care of itself. So, why wait? Grab your containers, get your hands dirty, and start your urban farming journey today.
FAQs
1. What are the best plants for self-watering containers?
Plants that thrive in moist soil are ideal for self-watering containers. These include herbs like basil and mint, leafy greens like spinach and lettuce, and flowers like impatiens and begonias.
2. How often do I need to refill the water reservoir?
The frequency depends on the size of your reservoir and the water needs of your plants. Generally, you may need to refill the reservoir every 1-2 weeks.
3. Can I use self-watering containers indoors?
Yes, self-watering containers can be used indoors. Just ensure they receive adequate light and are placed in a suitable location.
4. What if my plants are getting too much water?
If your plants show signs of overwatering, such as yellowing leaves or root rot, you may need to adjust the size of the reservoir or the type of soil you're using.
5. Can I make a self-watering container garden with recycled materials?
Absolutely! Using recycled materials is a great way to reduce waste and save money. Old plastic bottles, buckets, and even milk jugs can be repurposed into self-watering containers.
0 Response to "How to Make a Self-Watering Container Garden: A Comprehensive Guide"
Post a Comment