DIY Cold Frames for Winter Gardening: Extend Your Growing Season with Ease

As the days grow shorter and the air crisper, many gardeners reluctantly bid farewell to their beloved hobby. But what if you could extend your growing season, nurturing vibrant greens and hardy vegetables despite the frost? Enter DIY cold frames for winter gardening—your secret weapon against the big chill. Let's dive in and explore how you can create and utilize these insulated cold frames to defy the seasons and keep your green thumb active all year round.
Understanding Cold Frames: Your Garden's Winter Haven
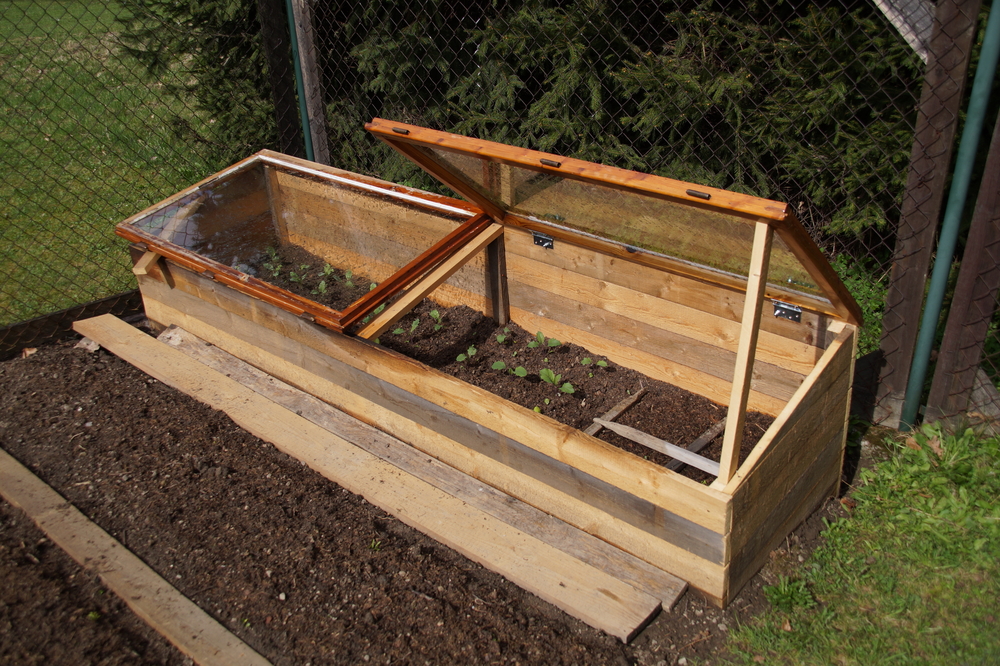
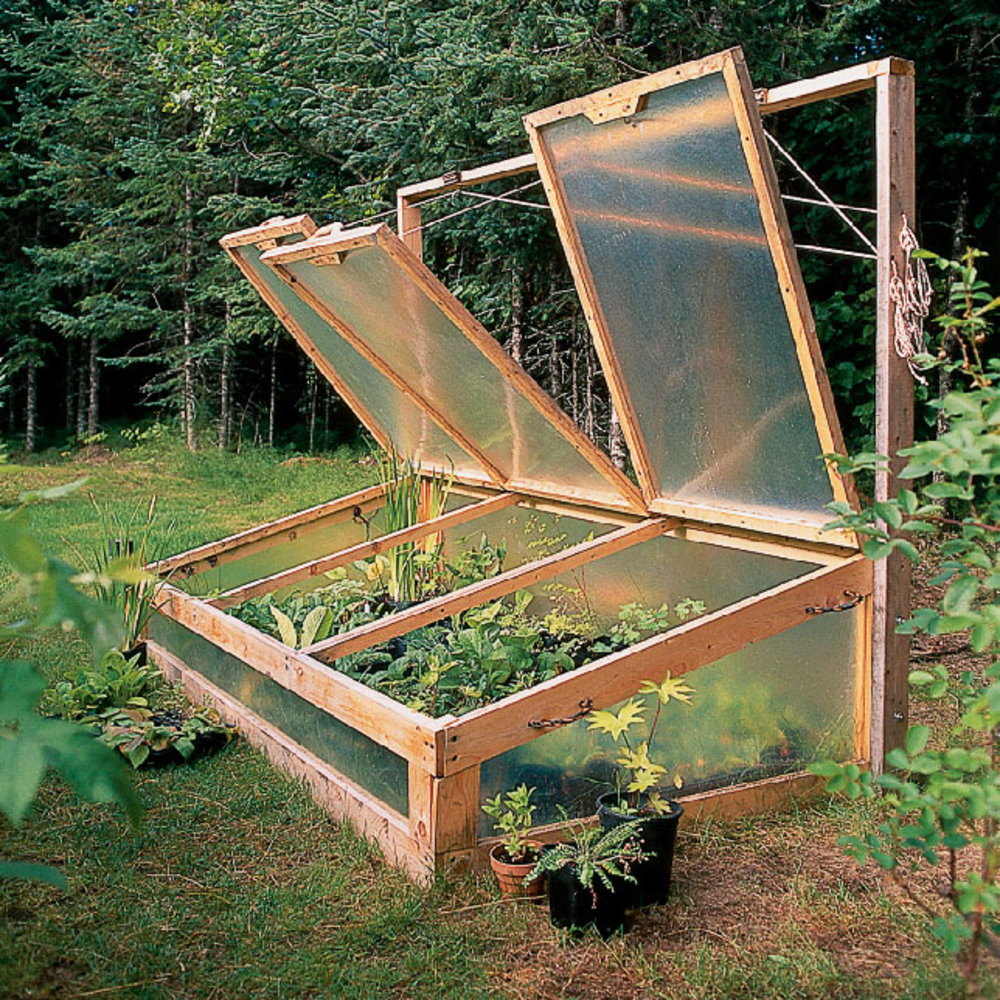
Cold frames are essentially miniature greenhouses, designed to provide winter protection for your plants. They trap solar heat, creating a cozy microclimate that shields your greenery from the harsh elements. Think of them as garden cloches on a larger scale, offering a sanctuary for your plants when the mercury drops.
Why DIY Cold Frames?
Building your own cold frame is not only cost-effective but also immensely satisfying. It allows you to customize the size, shape, and materials to suit your garden's unique needs. Plus, it's an eco-friendly approach, as you can repurpose old windows, doors, or other materials that might otherwise go to waste.
Building Your DIY Cold Frame: A Step-by-Step Guide
Ready to get your hands dirty? Let's walk through the process of creating your own cold frame.
Materials and Tools
- Old windows or clear plastic sheeting
- Untreated wood (e.g., cedar or redwood)
- Hinges and screws
- Tape measure
- Saw
- Drill
- Optional: Insulation material (e.g., foam board)
Steps
Measure and Cut: Start by measuring the dimensions of your cold frame. Cut the wood to size, ensuring you have two pairs of equal lengths for the sides and ends.
Assemble the Frame: Using screws, attach the sides to the ends, creating a rectangular frame. Ensure the corners are square for a sturdy structure.
Add the Lid: Attach the old window or plastic sheeting to the frame using hinges. This will serve as the lid, allowing sunlight in and trapping heat.
Optional Insulation: For added warmth, line the inside of the frame with insulation material. This can help maintain a more consistent temperature within the cold frame.
Place and Secure: Position your cold frame in a sunny spot in your garden. Ensure it's level and secure, as you don't want it shifting with the wind or rain.

Maximizing Your Cold Frame: Tips and Tricks
Now that your cold frame is built, let's ensure you get the most out of it.
Choosing the Right Plants
Not all plants are suited for cold frames. Opt for hardy, cool-season vegetables like spinach, lettuce, kale, and radishes. These plants thrive in the cooler temperatures and shorter days of winter.
Ventilation is Key
Even in winter, your cold frame can get too hot. Overheating can be just as detrimental as freezing, so ensure proper ventilation. Open the lid on warmer days to allow excess heat to escape.
Monitor Temperature and Humidity
Invest in a simple thermometer to keep an eye on the temperature inside your cold frame. Aim for a range between 40°F and 70°F (4°C and 21°C). Also, watch for excessive humidity, which can lead to mold and rot.
Water Wisely
Overwatering can be a common mistake in cold frames. The enclosed environment retains moisture, so you'll need to water less frequently than in an open garden. Check the soil moisture before watering to avoid drowning your plants.
Season Extension: Beyond the Cold Frame
While cold frames are excellent for winter protection, they're just one tool in your season extension arsenal. Consider combining them with other methods like row covers and hoop houses to create a comprehensive strategy for year-round gardening.
Row Covers
Row covers are lightweight fabrics that can be draped over your plants to provide an extra layer of protection. They're particularly useful for early spring or late fall gardening, offering a gentle buffer against frost.
Hoop Houses
Hoop houses are larger structures that can cover entire garden beds. They provide more space and flexibility than cold frames, making them ideal for taller plants or larger gardens.

Conclusion: Embrace the Chill with DIY Cold Frames
Winter gardening doesn't have to be a daunting task. With DIY cold frames, you can extend your growing season, enjoy fresh produce year-round, and keep your gardening skills sharp even in the coldest months. So, why not give it a try? Your garden (and your taste buds) will thank you.
FAQs
What is the ideal size for a cold frame? The ideal size depends on your garden's needs. A common size is 3 feet by 6 feet, which provides ample space for a variety of plants without being too cumbersome to manage.
Can I use a cold frame in summer? While cold frames are primarily used for winter protection, they can also be useful in early spring or late fall. However, they're generally not suitable for summer use, as they can become too hot and trap excessive heat.
How do I prevent pests in my cold frame? Regularly inspect your plants for signs of pests. Use physical barriers like row covers, and consider introducing beneficial insects like ladybugs to help control pest populations naturally.
What if my cold frame gets too hot? If your cold frame gets too hot, open the lid to allow excess heat to escape. You can also shade the cold frame with a cloth or other material to reduce the amount of sunlight it receives.
Can I grow flowers in a cold frame? Yes, you can grow flowers in a cold frame. Opt for hardy, cool-season flowers like pansies, violas, and snapdragons, which can tolerate the cooler temperatures and shorter days of winter.
Happy gardening!
0 Response to "DIY Cold Frames for Winter Gardening: Extend Your Growing Season with Ease"
Post a Comment