How to Start Seeds Indoors Successfully: A Comprehensive Guide
Starting seeds indoors is like nurturing a tiny spark into a blazing fire. It's a rewarding journey that, with a bit of know-how and patience, can yield a bountiful garden. But where do you begin? Let's dive into the world of indoor seed starting and explore the steps to success.
Why Start Seeds Indoors?
Starting seeds indoors gives you a head start on the growing season. It allows you to control the environment, protect your seedlings from pests and diseases, and choose from a wider variety of plants. Plus, it's a fun and satisfying way to connect with nature.
What You'll Need
Before we dive into the process, let's gather our tools. You'll need:
- Seeds
- Seed trays or pots
- Soil mix
- Grow lights
- Watering can or spray bottle
- Heat mat (optional)
Choosing the Right Seeds
Not all seeds are created equal. Some are better suited for indoor starting than others. Vegetables like tomatoes, peppers, and eggplants, as well as many flowers, do well when started indoors. Always check the seed packet for specific instructions.
Preparing Your Soil Mix
The right soil mix is crucial for successful seed starting. You want a light, well-draining mix that's free from disease. Many gardeners prefer to use a seed-starting mix, which is specifically formulated for this purpose. You can find these at your local garden center or online.
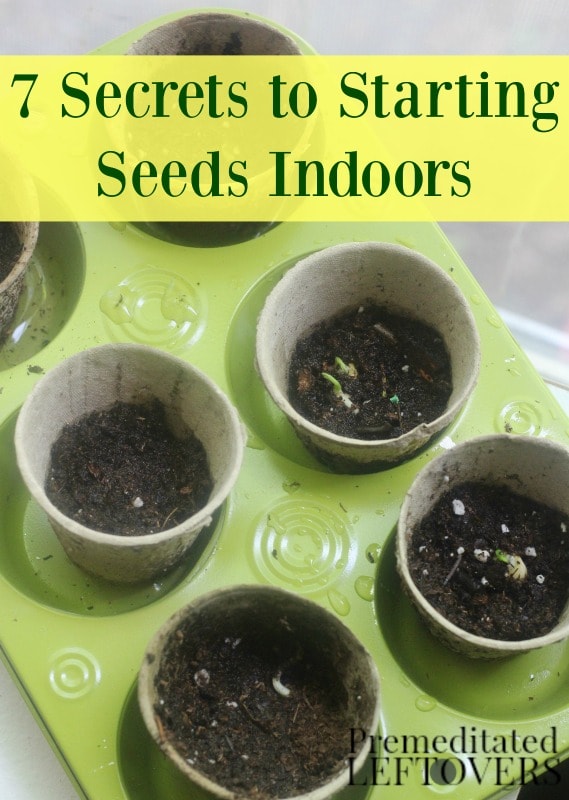
Planting Your Seeds
Now comes the fun part—planting your seeds. Fill your seed trays or pots with your soil mix, leaving a bit of space at the top. Moisten the soil with water, then place your seeds on the surface. The general rule of thumb is to plant seeds at a depth equal to two or three times their diameter. But again, always check your seed packet for specific instructions.
Providing the Right Environment
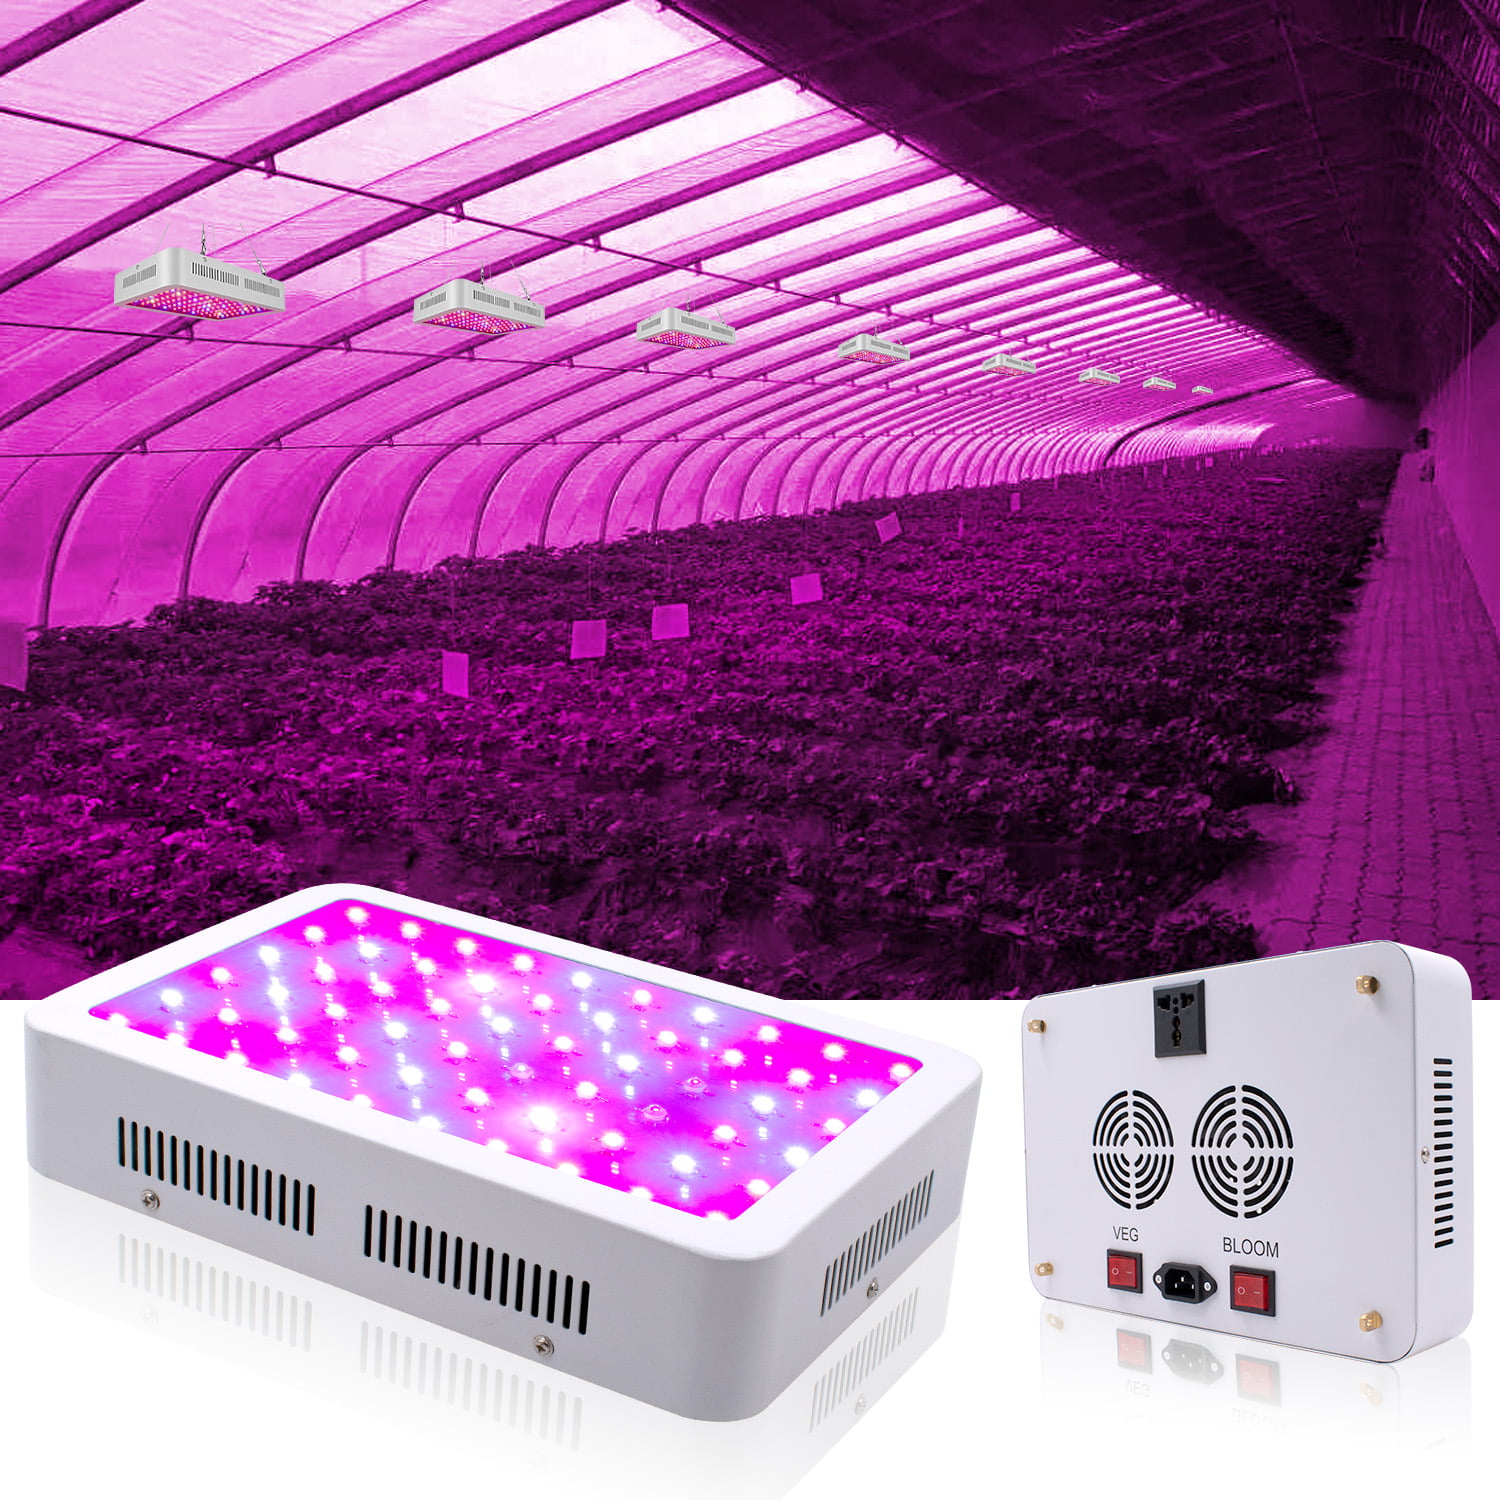
Seeds need warmth and moisture to germinate. Most seeds prefer temperatures between 65-75°F (18-24°C). You can use a heat mat to provide consistent warmth. Once your seeds have germinated, they'll need plenty of light. Grow lights are a great way to ensure your seedlings get the light they need.
Caring for Your Seedlings
Once your seeds have sprouted, it's time to shift your focus to seedling care. Here are a few key points to remember:
Watering Schedule
Watering is a delicate balance. Too much water can lead to rot, while too little can cause your seedlings to dry out. Aim to keep the soil consistently moist but not waterlogged. A spray bottle can be helpful for gentle watering.
Light Requirements
Seedlings need plenty of light to grow strong and healthy. If you're using grow lights, aim for 14-16 hours of light per day. Position the lights about 2-4 inches above the seedlings and adjust as they grow.
Fertilizing
Once your seedlings have their first set of true leaves, you can start fertilizing. Use a diluted, balanced fertilizer to give your seedlings the nutrients they need.
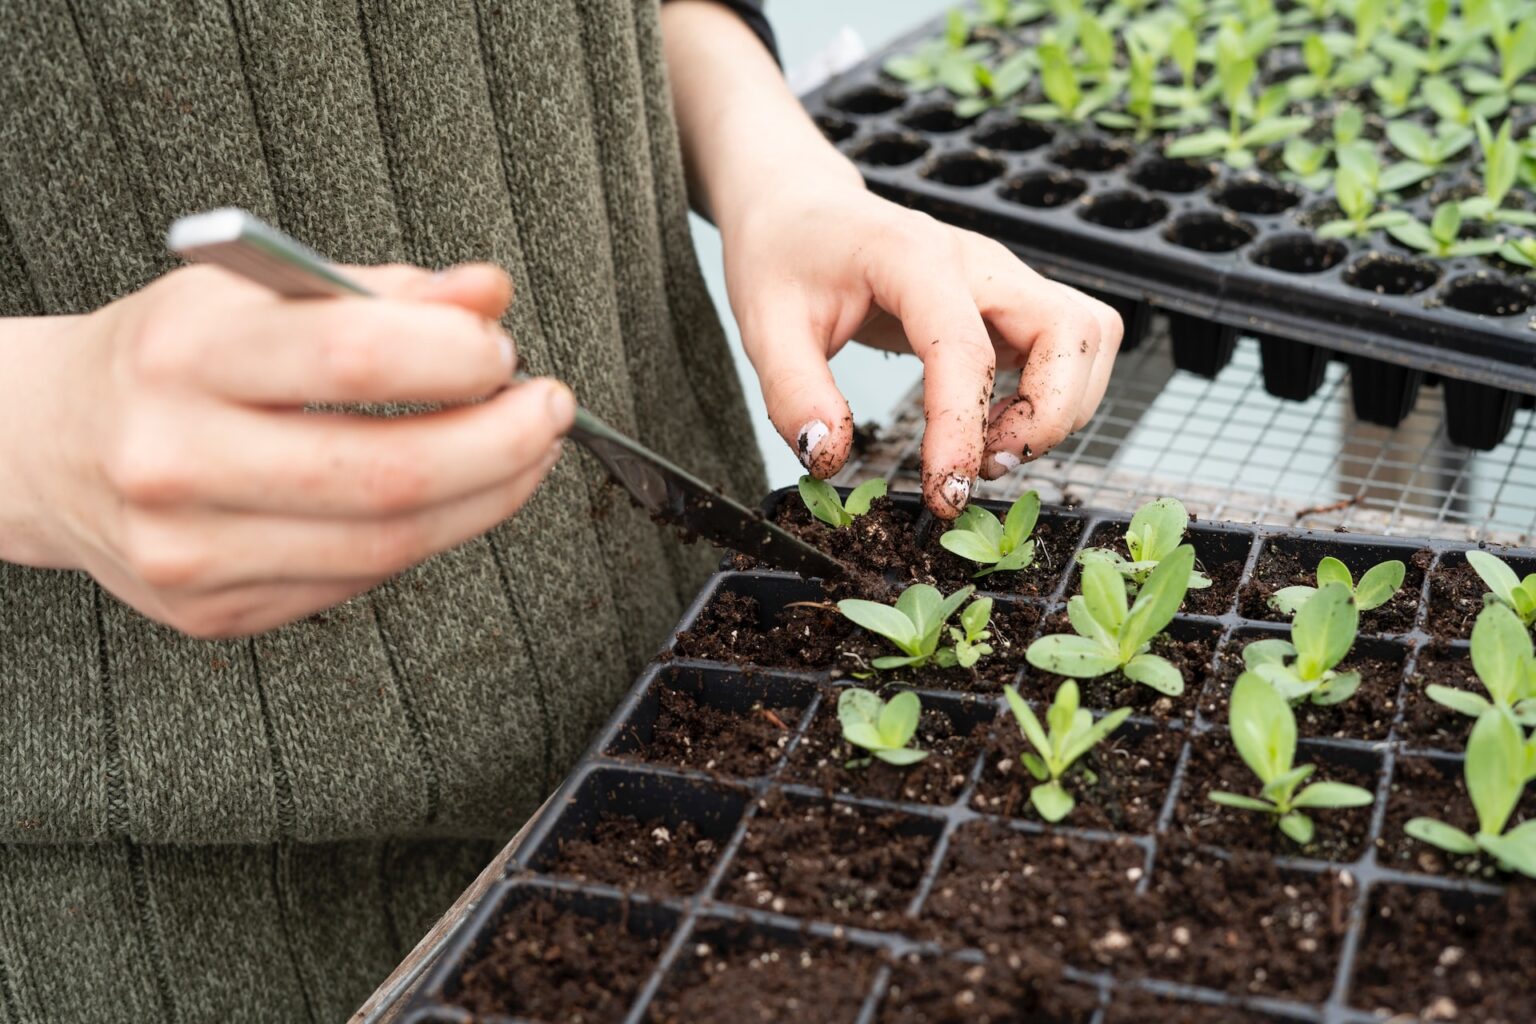
Transplanting Your Seedlings
When your seedlings have grown their second set of true leaves, it's time to transplant them into larger pots or directly into your garden. This process, known as "pricking out," helps prevent your seedlings from becoming root-bound.
Hardening Off Your Seedlings
Before your seedlings can move outdoors permanently, they need to be hardened off. This process involves gradually exposing your seedlings to outdoor conditions. Start by placing them in a shady spot for a few hours each day, then gradually increase their exposure to sunlight and wind.
Common Mistakes to Avoid
Even the most seasoned gardeners make mistakes. Here are a few common pitfalls to avoid:
- Overwatering: This can lead to damping off, a fungal disease that can kill your seedlings.
- Not enough light: Seedlings need plenty of light to grow strong and healthy.
- Planting too deep: Planting your seeds too deep can hinder their ability to germinate.
Conclusion
Starting seeds indoors successfully is a journey filled with wonder and discovery. From choosing the right seeds to providing the perfect environment, each step brings you closer to a thriving garden. Remember, gardening is a learning process. Don't be discouraged by setbacks. Embrace the journey, and enjoy the fruits of your labor.
Happy gardening!
FAQs
How long does it take for seeds to germinate? Germination times vary depending on the type of seed. Some seeds can germinate in as little as a few days, while others may take several weeks. Always check your seed packet for specific information.
What is damping off and how can I prevent it? Damping off is a fungal disease that can affect seedlings. It's often caused by overwatering or poor air circulation. To prevent damping off, ensure your seedlings have good airflow and avoid overwatering.
When should I start my seeds indoors? The best time to start your seeds indoors depends on your climate and the type of plants you're growing. Aim to start your seeds 6-8 weeks before the last expected frost date in your area.
Can I reuse seed trays? Yes, you can reuse seed trays. However, it's important to sterilize them between uses to prevent the spread of disease. You can sterilize your trays with a solution of one part bleach to nine parts water.
What if my seedlings become leggy? Leggy seedlings are often a sign of insufficient light. If your seedlings are becoming leggy, try moving them closer to your grow lights or increasing the amount of light they receive.
For more detailed information, you can visit resources like the National Gardening Association or the USDA Plant Hardiness Zone Map.

0 Response to "How to Start Seeds Indoors Successfully: A Comprehensive Guide"
Post a Comment