How to Grow Microgreens Indoors for Beginners
Are you ready to bring a touch of nature into your home? Imagine transforming your kitchen counter into a lush, edible garden. Growing microgreens indoors is not only a rewarding hobby but also a fantastic way to add fresh, nutritious greens to your meals. Whether you're a seasoned gardener or a beginner, this guide will walk you through the process step-by-step. So, let's dive in and discover the joy of indoor microgreens!
What Are Microgreens?
Microgreens are the immature plants of various vegetables and herbs, harvested just after the first true leaves develop. They are packed with nutrients and offer a burst of flavor, making them a popular addition to salads, sandwiches, and garnishes. From arugula to radish, the variety of microgreens is vast, and each type offers its unique taste and texture.
Why Grow Microgreens Indoors?
Growing microgreens indoors offers numerous benefits. Firstly, it's a space-efficient way to garden, perfect for urban dwellers with limited outdoor space. Secondly, microgreens grow quickly, often ready to harvest in just a week or two. Lastly, indoor gardening allows you to control the environment, ensuring optimal growing conditions year-round.
Getting Started: Essential Tools and Supplies
Before you embark on your microgreen adventure, you'll need a few essential tools and supplies. Here's a checklist to get you started:
- Microgreen Seeds: Choose from a variety of seeds like broccoli, kale, arugula, and radish.
- Growing Trays: Shallow trays with drainage holes are ideal.
- Growing Medium: Use a seed-starting mix or coconut coir.
- Watering Can or Spray Bottle: For gentle watering.
- Grow Lights: Optional, but helpful for ensuring consistent light.
Step-by-Step Guide to Growing Microgreens Indoors
Step 1: Choose Your Seeds
Selecting the right seeds is crucial. Microgreen seeds are readily available online or at local garden centers. Popular choices include broccoli, kale, arugula, and radish. Each type has its unique flavor profile, so feel free to experiment!
Step 2: Prepare Your Growing Medium
Fill your growing trays with a seed-starting mix or coconut coir. Ensure the medium is evenly distributed and lightly moistened. Avoid overwatering, as this can lead to mold growth.
Step 3: Plant Your Seeds
Sprinkle your chosen seeds evenly across the surface of the growing medium. There's no need to bury them deeply; a light covering of soil will suffice. Gently mist the seeds with water to ensure they are moist but not waterlogged.
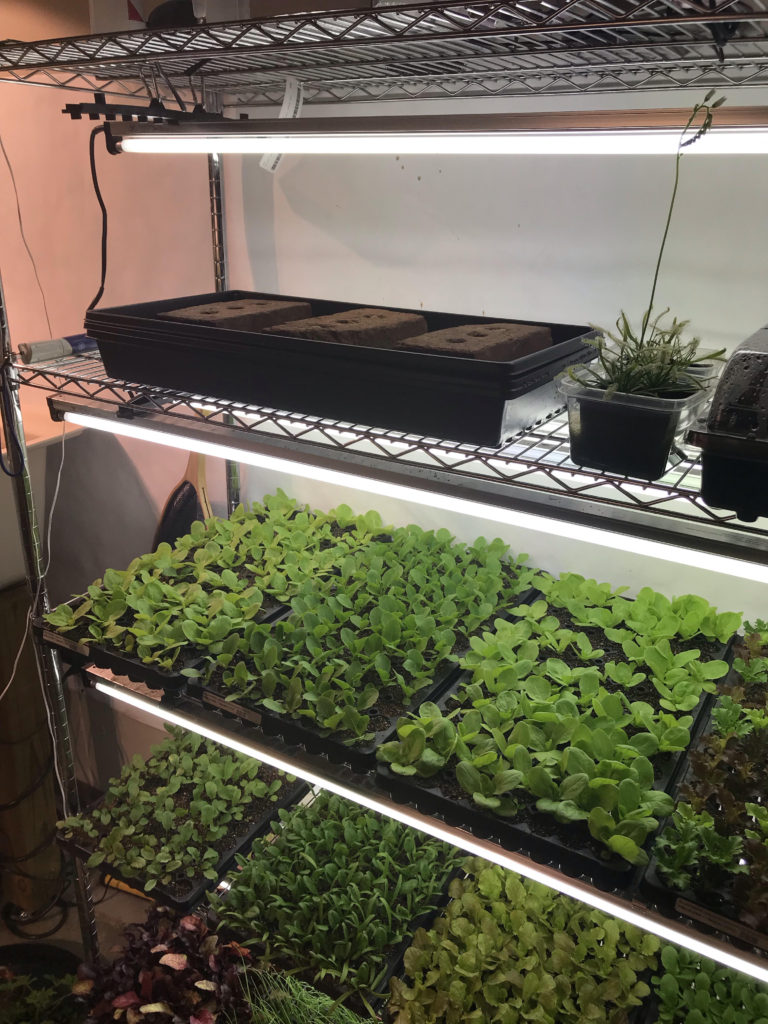
Step 4: Provide Optimal Growing Conditions
Place your trays in a location with indirect sunlight. Microgreens thrive in temperatures between 65-75°F (18-24°C). If natural light is limited, consider using grow lights to ensure consistent illumination.
Step 5: Water and Care
Water your microgreens regularly, but avoid overwatering. A spray bottle is ideal for gentle misting. Keep an eye out for any signs of mold or pests, and address them promptly to ensure healthy growth.
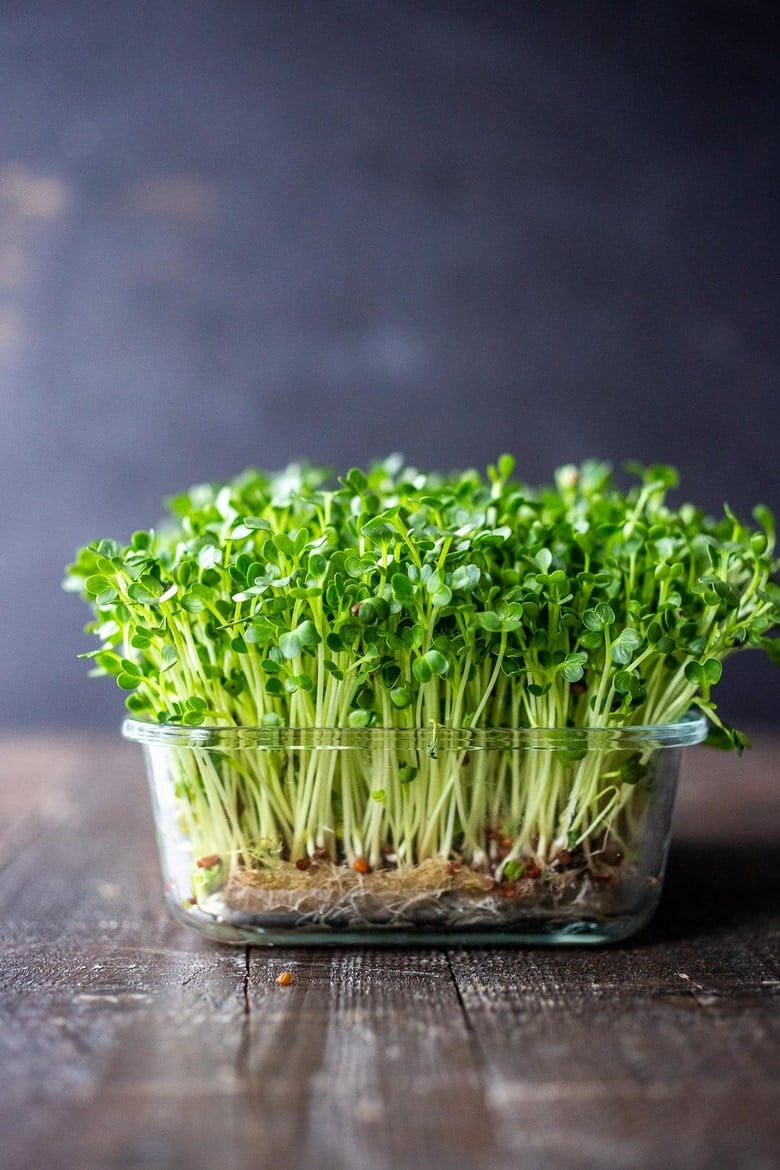
Step 6: Harvest Your Microgreens
Once your microgreens have developed their first true leaves, they are ready to harvest. Use a pair of scissors to snip the greens just above the soil line. Rinse them gently and enjoy your fresh, homegrown microgreens!
Tips for Successful Indoor Microgreen Gardening
- Consistent Moisture: Ensure your growing medium remains consistently moist but not waterlogged.
- Light Management: Provide ample light, either through natural sunlight or grow lights.
- Ventilation: Good air circulation helps prevent mold and pests.
- Patience: While microgreens grow quickly, avoid the temptation to overwater or over-fertilize.
Common Challenges and Solutions
Mold Growth
Mold can be a common issue, especially in humid environments. To prevent mold, ensure your growing medium is well-drained and avoid overwatering. If mold appears, remove affected areas and improve air circulation.
Pests
Indoor gardening can attract pests like fungus gnats. To deter pests, maintain cleanliness around your growing area and use sticky traps if necessary.
Slow Growth
If your microgreens are growing slowly, it may be due to insufficient light or improper temperature. Ensure your greens receive adequate light and maintain optimal growing temperatures.
Conclusion
Growing microgreens indoors is a rewarding and enjoyable hobby that brings fresh, nutritious greens right to your kitchen. With the right tools, a bit of patience, and some basic gardening know-how, you can transform your indoor space into a thriving microgreen garden. So, why not give it a try? Your taste buds and your health will thank you!
FAQs
What are the best seeds for growing microgreens indoors? Popular choices include broccoli, kale, arugula, and radish. Each type offers unique flavors and nutritional benefits.
How often should I water my microgreens? Water your microgreens regularly, ensuring the growing medium remains moist but not waterlogged. A spray bottle is ideal for gentle misting.
What temperature is best for growing microgreens indoors? Microgreens thrive in temperatures between 65-75°F (18-24°C). Maintain a consistent temperature to promote healthy growth.
How do I prevent mold growth in my microgreens? Ensure your growing medium is well-drained and avoid overwatering. Good air circulation also helps prevent mold.
Can I use regular soil for growing microgreens? While regular soil can be used, a seed-starting mix or coconut coir is recommended for optimal growth and to minimize the risk of pests and diseases.


0 Response to "How to Grow Microgreens Indoors for Beginners"
Post a Comment