How to Grow Microgreens at Home: A Comprehensive Guide
Are you looking to add a burst of freshness and nutrition to your meals? Growing microgreens at home is not only a rewarding hobby but also a fantastic way to enjoy nutrient-rich greens right from your kitchen. Imagine having a miniature garden that provides you with fresh, vibrant microgreens within a week or two. Sounds exciting, right? Let's dive into the world of indoor gardening and discover how to grow microgreens at home.
What Are Microgreens?
Microgreens are the immature plants of various vegetables and herbs, harvested just after the first true leaves develop. They are packed with nutrients and offer a delightful crunch and flavor to salads, sandwiches, and more. From radishes to broccoli, the variety of microgreens seeds available is vast, making it easy to find something that suits your taste.
Why Grow Microgreens at Home?
Growing microgreens at home is akin to having a miniature farm right in your kitchen. Not only do they add a pop of color and flavor to your dishes, but they are also incredibly nutritious. Microgreens are known to contain higher concentrations of vitamins and antioxidants compared to their mature counterparts. Plus, indoor gardening is a therapeutic activity that can bring a sense of accomplishment and joy.
Getting Started: What You Need
Before you embark on your microgreens adventure, you'll need a few essentials:
- Microgreens Seeds: Choose from a variety of seeds like broccoli, radish, arugula, or a mix.
- Growing Trays: Shallow trays with drainage holes are ideal.
- Growing Medium: Use a seed-raising mix or coconut coir.
- Watering Can or Spray Bottle: To keep your microgreens hydrated.
- Light Source: A sunny windowsill or grow lights for optimal growth.
Step-by-Step Guide to Growing Microgreens
Step 1: Prepare Your Growing Trays
Start by filling your growing trays with a thin layer of the growing medium. Ensure the medium is evenly distributed and lightly compacted.
Step 2: Sow Your Seeds
Sprinkle your microgreens seeds evenly across the surface of the growing medium. You don't need to bury them; just press them gently into the soil.
Step 3: Water Gently
Use a spray bottle to mist the seeds lightly. Avoid overwatering, as this can lead to mold or rot.
Step 4: Provide Light and Warmth
Place your trays in a location with indirect sunlight or under grow lights. Microgreens need about 14-16 hours of light per day.
Step 5: Maintain Moisture
Keep the growing medium consistently moist but not waterlogged. Check your trays daily to ensure they have the right amount of water.
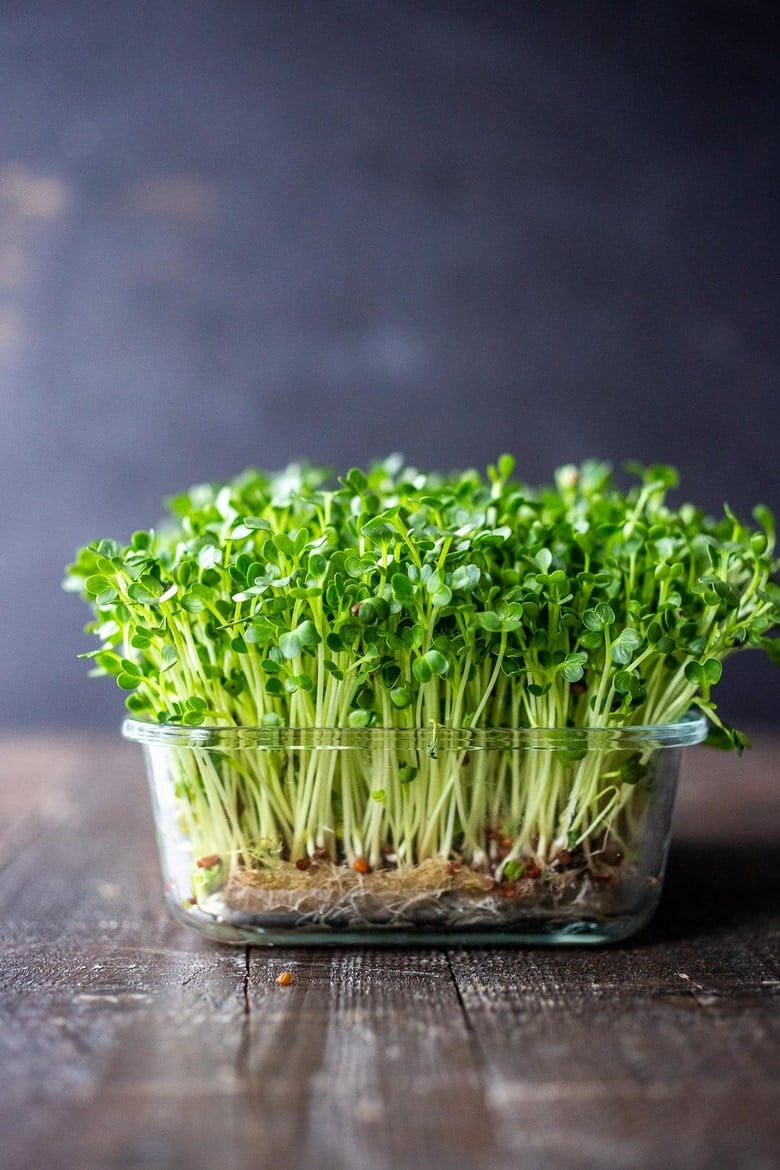
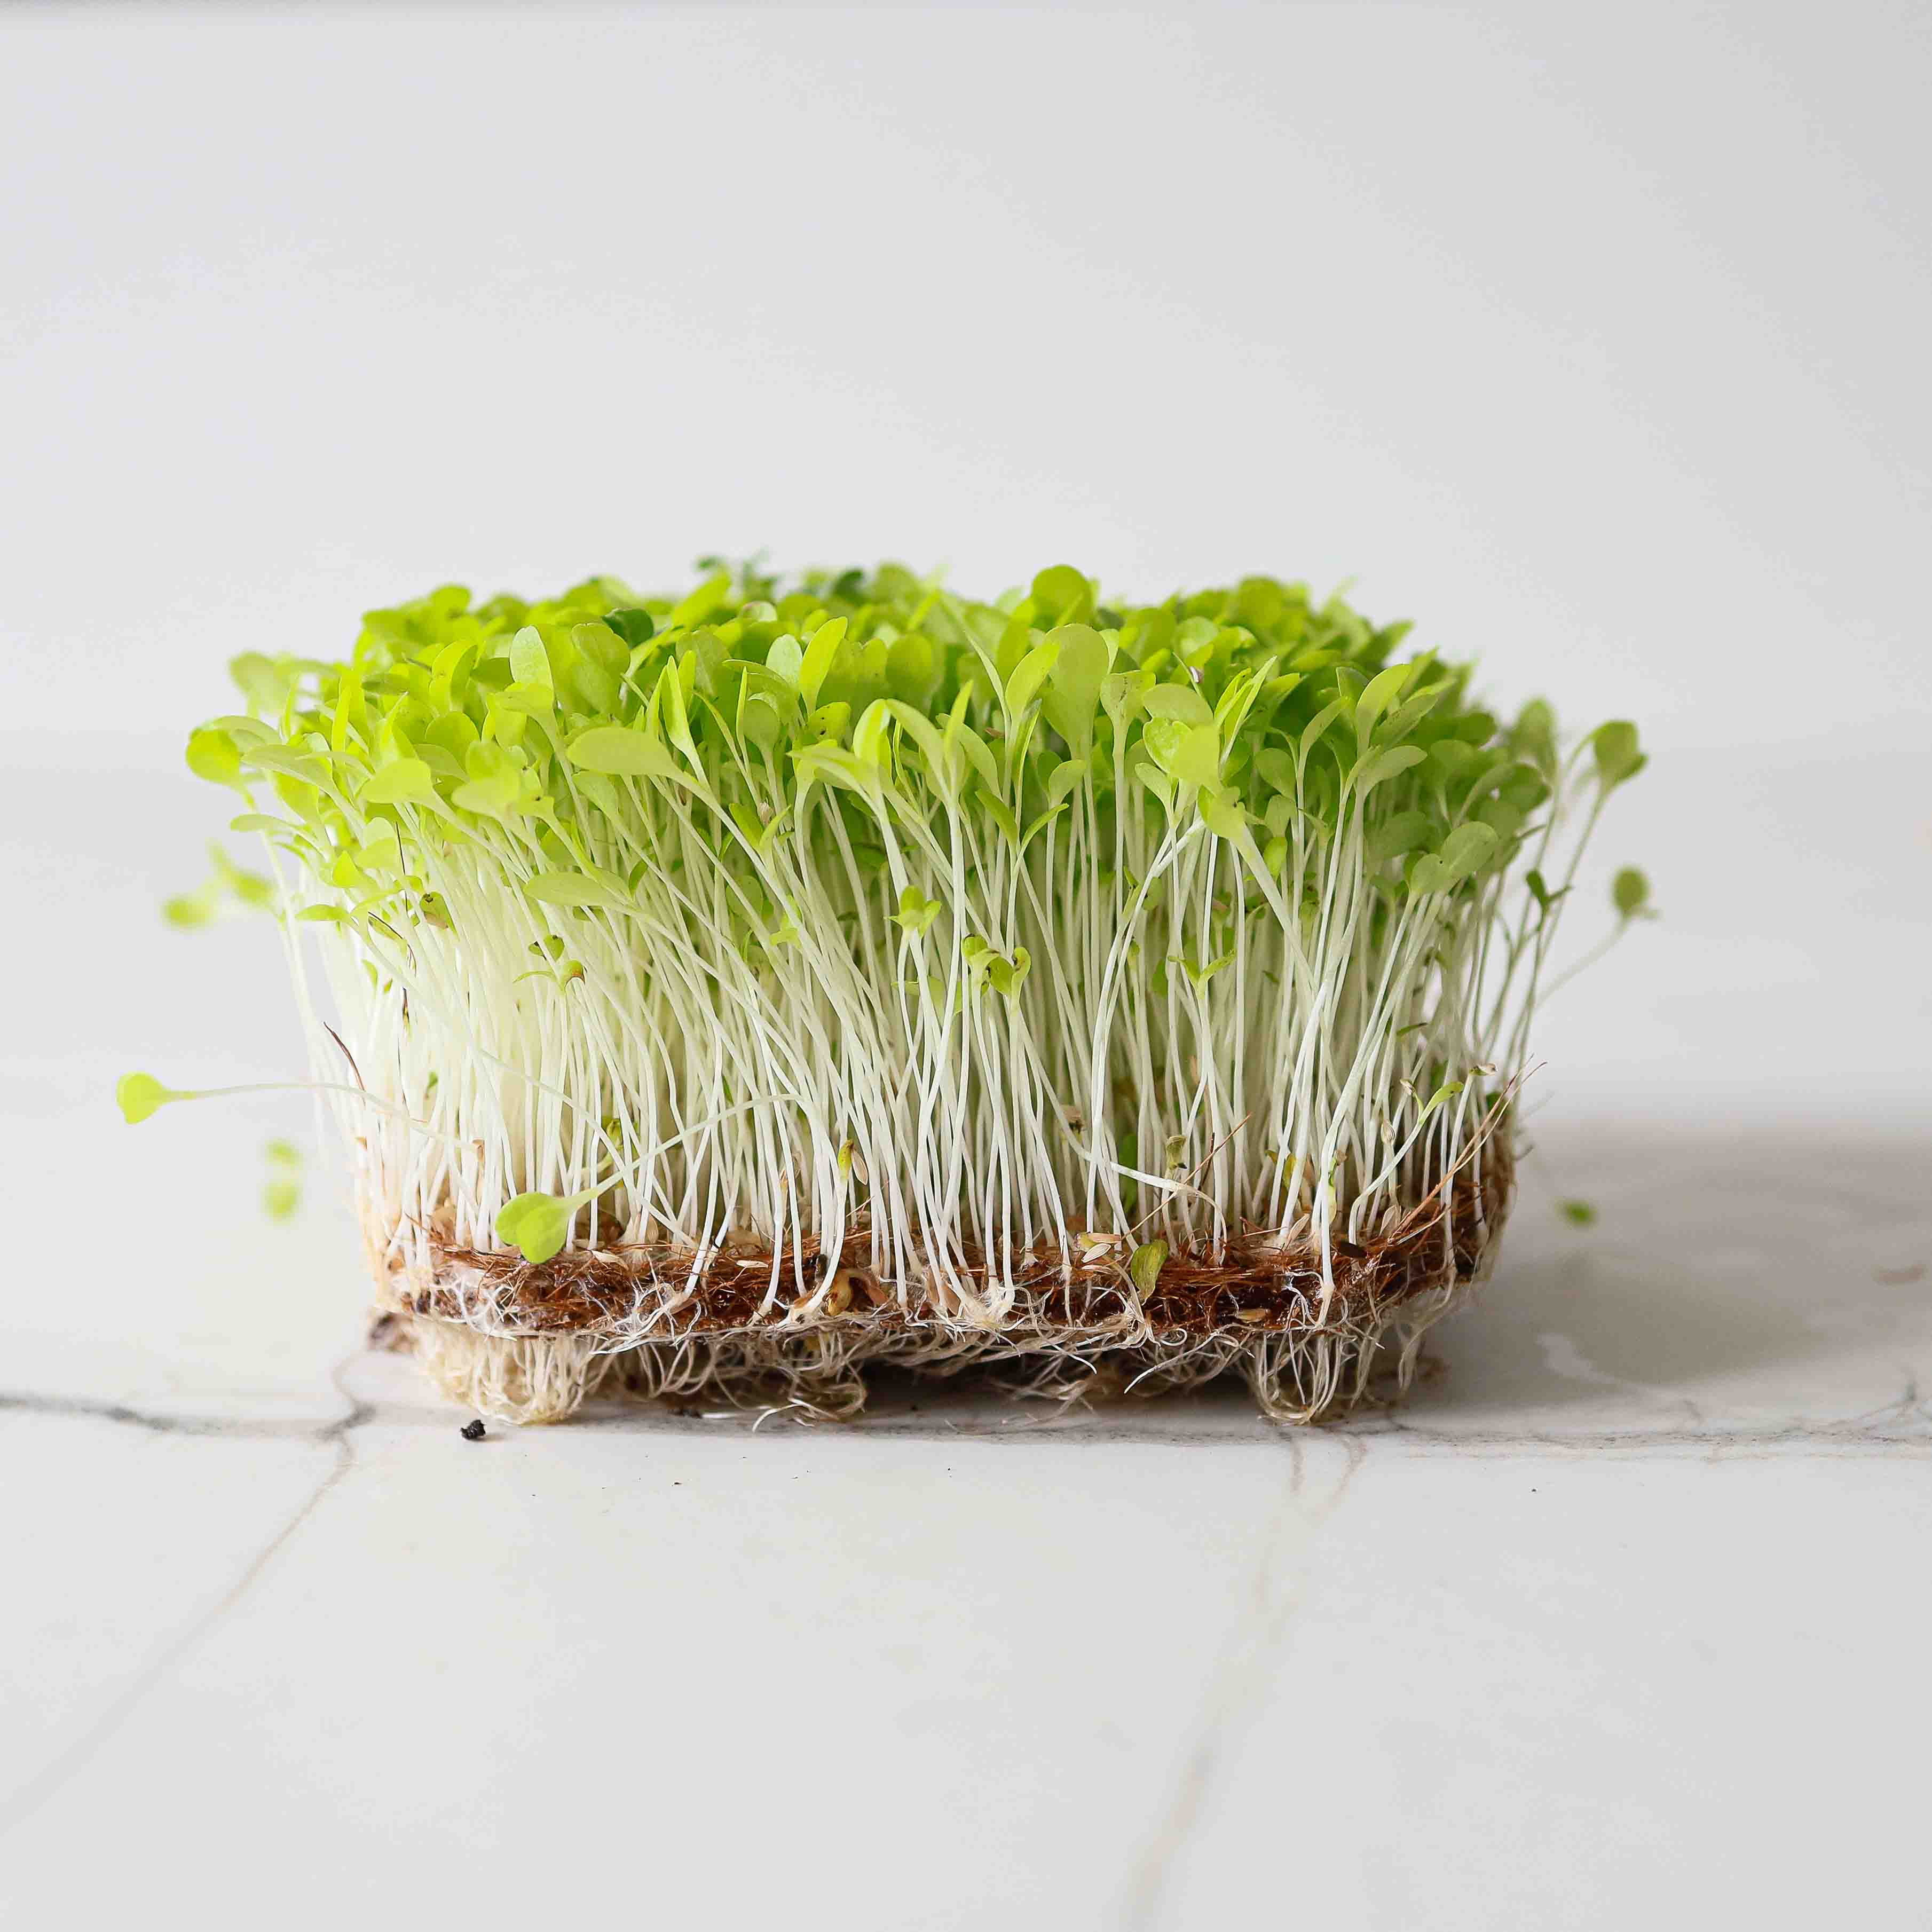
Step 6: Harvesting Microgreens
Once your microgreens have developed their first set of true leaves, they are ready to harvest. Use a pair of scissors to snip them just above the soil line.
Tips for Successful Microgreens Growing
- Choose the Right Seeds: Opt for seeds specifically labeled for microgreens to ensure the best results.
- Use Clean Equipment: Sterilize your growing trays and tools to prevent contamination.
- Monitor Temperature: Microgreens thrive in temperatures between 65-75°F (18-24°C).
- Rotate Your Crops: Grow different types of microgreens to keep your indoor garden interesting and nutritious.
The Benefits of Growing Microgreens at Home
Growing microgreens at home offers numerous benefits:
- Nutritional Powerhouses: Microgreens are packed with vitamins, minerals, and antioxidants.
- Eco-Friendly: Indoor gardening reduces your carbon footprint by minimizing the need for store-bought greens.
- Cost-Effective: Growing your own microgreens can save you money in the long run.
- Therapeutic: Caring for plants is known to reduce stress and improve mental well-being.
Common Challenges and Solutions
Mold and Rot
Solution: Ensure proper drainage and avoid overwatering. Use sterilized equipment and a well-ventilated area.
Uneven Growth
Solution: Distribute seeds evenly and maintain consistent moisture and light levels.
Pests
Solution: Keep your growing area clean and use natural pest repellents if needed.
Conclusion
Growing microgreens at home is a delightful and rewarding experience. With the right seeds, growing trays, and a bit of patience, you can enjoy fresh, nutrient-rich greens right from your kitchen. Whether you're a seasoned gardener or a beginner, microgreens offer a simple and satisfying way to bring a touch of nature into your home. So, why not give it a try? Your taste buds and your health will thank you!
FAQs
How long does it take to grow microgreens?
- Microgreens typically take 7-14 days to grow, depending on the type of seed and growing conditions.
Can I grow microgreens without soil?
- Yes, you can grow microgreens hydroponically using a growing mat or coconut coir instead of soil.
What are the best microgreens to grow for beginners?
- Radish, broccoli, and arugula are great choices for beginners due to their quick growth and ease of care.
How often should I water my microgreens?
- Water your microgreens daily, ensuring the growing medium is consistently moist but not waterlogged.
Can I reuse the growing medium for multiple harvests?
- It's best to use fresh growing medium for each new batch of microgreens to prevent the spread of diseases and ensure optimal growth.


0 Response to "How to Grow Microgreens at Home: A Comprehensive Guide"
Post a Comment