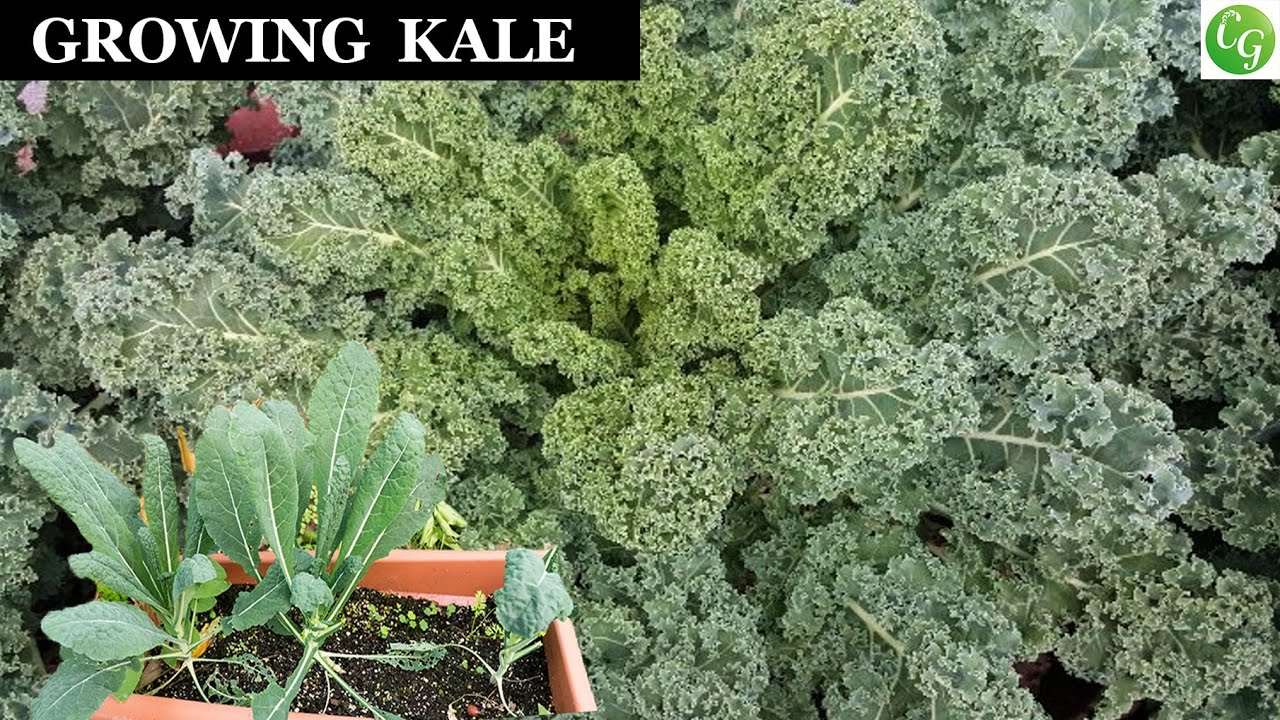
How to Grow Kale Indoors in Winter: A Comprehensive Guide
Imagine this: the cold winter months are upon us, and your garden is blanketed in snow. You long for the fresh, crisp taste of homegrown kale, but the frosty weather seems to stand in your way. What if I told you that you could enjoy fresh kale all winter long, right from the comfort of your own home? Growing kale indoors during the winter is not only possible but also incredibly rewarding. Let's dive into the world of indoor kale gardening and discover how you can turn your home into a thriving winter oasis.
Why Grow Kale Indoors in Winter?
Growing kale indoors during the winter months offers numerous benefits. Firstly, it ensures a steady supply of fresh, nutritious greens even when outdoor gardening is not an option. Secondly, indoor gardening can be a therapeutic hobby, providing a sense of accomplishment and connection to nature. Lastly, it's an eco-friendly way to reduce your carbon footprint by minimizing the need for store-bought produce.
Essential Tools and Materials
Before you embark on your indoor kale growing adventure, you'll need a few essential tools and materials. Here's a quick checklist:
- Seeds or Seedlings: Choose a variety of kale that is well-suited for indoor growing, such as 'Dwarf Siberian' or 'Dwarf Blue Scotch.'
- Containers: Opt for pots that are at least 8 inches deep and have good drainage.
- Potting Soil: Use a well-draining, nutrient-rich potting mix.
- Light Source: Kale requires plenty of light, so invest in a grow light if natural light is limited.
- Watering Can: A small watering can with a fine nozzle is ideal for indoor gardening.
Step-by-Step Guide to Growing Kale Indoors
Choosing the Right Variety
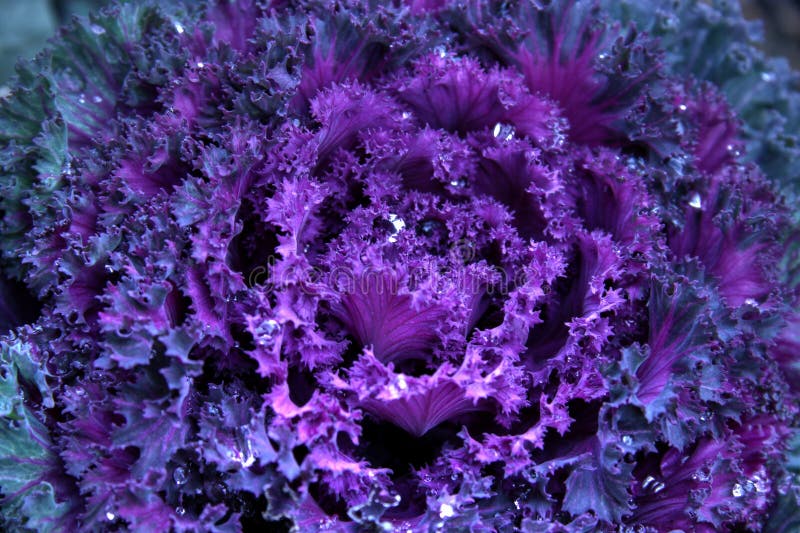
Selecting the right variety of kale is crucial for successful indoor gardening. Look for dwarf or compact varieties that are well-suited for container growing. Some popular choices include 'Dwarf Siberian,' 'Dwarf Blue Scotch,' and 'Red Russian.'
Preparing Your Containers
Choose containers that are at least 8 inches deep to provide ample room for root growth. Ensure that your pots have good drainage to prevent waterlogging. Fill the containers with a well-draining, nutrient-rich potting mix.
Planting Your Kale
If you're starting from seeds, plant them about 1/4 inch deep in the soil. Keep the soil consistently moist until the seeds germinate, which usually takes about 7-10 days. If you're using seedlings, transplant them carefully into the containers, ensuring the roots are well-covered with soil.
Providing Adequate Light
Kale thrives in bright, indirect light. Place your containers near a south-facing window if possible. If natural light is limited, supplement with a grow light. Aim for at least 6-8 hours of light per day to ensure healthy growth.
Watering and Fertilizing
Water your kale regularly, ensuring the soil remains consistently moist but not waterlogged. Allow the top inch of soil to dry out between waterings. Fertilize your kale every 4-6 weeks with a balanced, water-soluble fertilizer to provide essential nutrients.
Maintaining Optimal Temperature and Humidity
Kale prefers cool temperatures, ideally between 60-65°F (15-18°C) during the day and slightly cooler at night. Maintain a humidity level of around 50-60% to keep your kale happy and healthy.
Troubleshooting Common Issues
Even with the best care, you may encounter some challenges when growing kale indoors. Here are some common issues and their solutions:
- Yellowing Leaves: This could be a sign of overwatering or nutrient deficiency. Ensure your soil has good drainage and fertilize regularly.
- Leggy Growth: If your kale is growing tall and spindly, it may not be getting enough light. Move your containers to a brighter location or supplement with a grow light.
- Pests: Common indoor pests like aphids and spider mites can be a nuisance. Use insecticidal soap or neem oil to control infestations.
Expert Tips for Successful Indoor Kale Gardening
- Rotate Your Containers: To ensure even growth, rotate your containers regularly so that all sides of the plant receive equal amounts of light.
- Harvest Regularly: Regularly harvest the outer leaves to encourage new growth and prevent the plant from becoming too large.
- Monitor for Pests: Keep a close eye on your kale for signs of pests. Early detection can prevent major infestations.
Conclusion
Growing kale indoors during the winter is a rewarding endeavor that not only provides you with fresh, nutritious greens but also brings a touch of nature into your home. With the right tools, a bit of patience, and some expert tips, you can enjoy a thriving indoor kale garden all winter long. So, why wait? Embrace the challenge and reap the rewards of indoor vegetable gardening.
FAQs
What are the best varieties of kale for indoor growing?
- Dwarf Siberian, Dwarf Blue Scotch, and Red Russian are excellent choices for indoor growing due to their compact size and adaptability.
How much light does indoor kale need?
- Kale requires at least 6-8 hours of bright, indirect light per day. If natural light is limited, supplement with a grow light.
What is the ideal temperature for growing kale indoors?
- Kale prefers cool temperatures, ideally between 60-65°F (15-18°C) during the day and slightly cooler at night.
How often should I water my indoor kale?
- Water your kale regularly, ensuring the soil remains consistently moist but not waterlogged. Allow the top inch of soil to dry out between waterings.
What should I do if my kale starts to turn yellow?
- Yellowing leaves can be a sign of overwatering or nutrient deficiency. Ensure your soil has good drainage and fertilize regularly to address these issues.


0 Response to "How to Grow Kale Indoors in Winter: A Comprehensive Guide"
Post a Comment