How to Build a DIY Cold Frame for Winter Gardening
Are you a gardener who dreads the arrival of winter? Do you wish you could extend your growing season and protect your plants from the harsh cold? Building a DIY cold frame for winter gardening might be the perfect solution. Think of it as a miniature greenhouse that provides a cozy, frost-resistant environment for your plants. Let's dive into the step-by-step process of creating your own cold frame and explore the benefits it brings to your winter vegetable gardening.
Why Build a DIY Cold Frame?
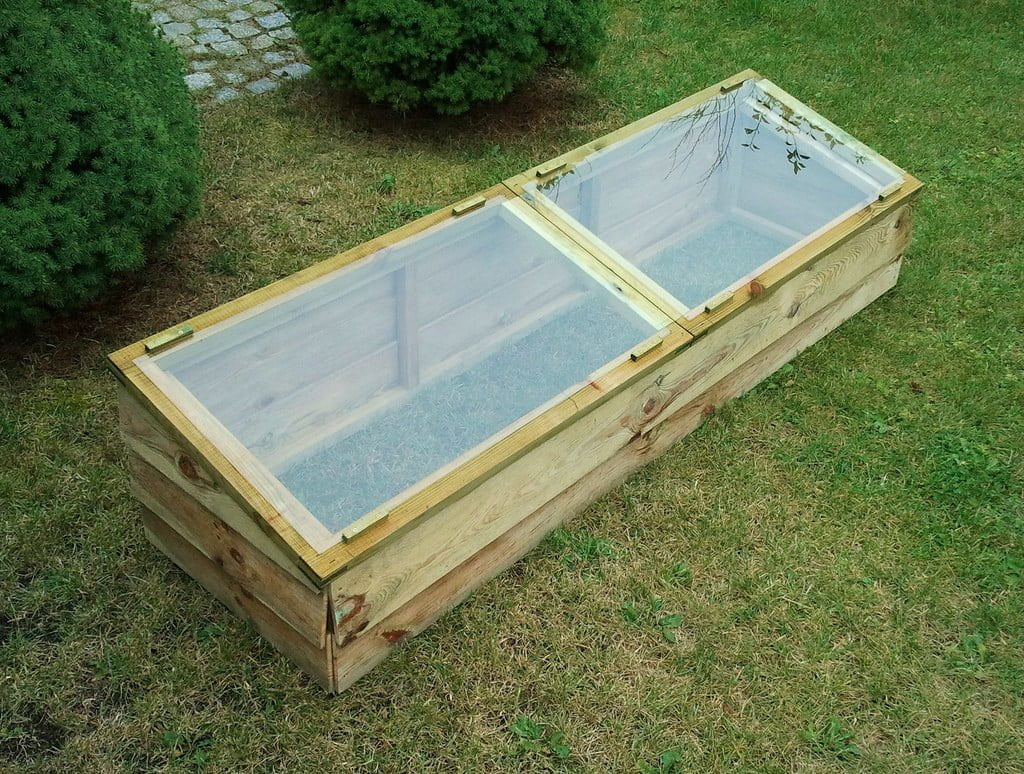
A cold frame is essentially a bottomless box with a transparent lid that captures sunlight and retains heat, creating a microclimate ideal for plant protection. It's a cost-effective alternative to a full-sized DIY greenhouse, perfect for small spaces and budget-conscious gardeners. Cold frames allow you to start seeds earlier in the spring, extend the growing season into late fall, and even grow hardy vegetables throughout the winter.
Materials Needed for Cold Frame Construction
Before you start, gather the following materials:
- Untreated lumber (2x4s, 1x6s, or plywood)
- Clear plastic sheeting or old window panes
- Hinges and screws
- Weather stripping
- Nails or screws
- Saw, drill, and hammer
- Measuring tape and pencil
Step-by-Step Guide to Building Your DIY Cold Frame
Step 1: Design and Measure
Decide on the size of your cold frame. A common size is 3 feet by 6 feet, but you can adjust this based on your needs and available space. Sketch out your design and measure the lumber accordingly.
Step 2: Cut the Lumber
Using your saw, cut the lumber to the lengths specified in your design. Be sure to wear safety gear and follow proper cutting techniques.
Step 3: Assemble the Frame
Lay out your cut pieces and begin assembling the frame. Use nails or screws to secure the corners. Ensure the frame is square and level.
Step 4: Attach the Lid
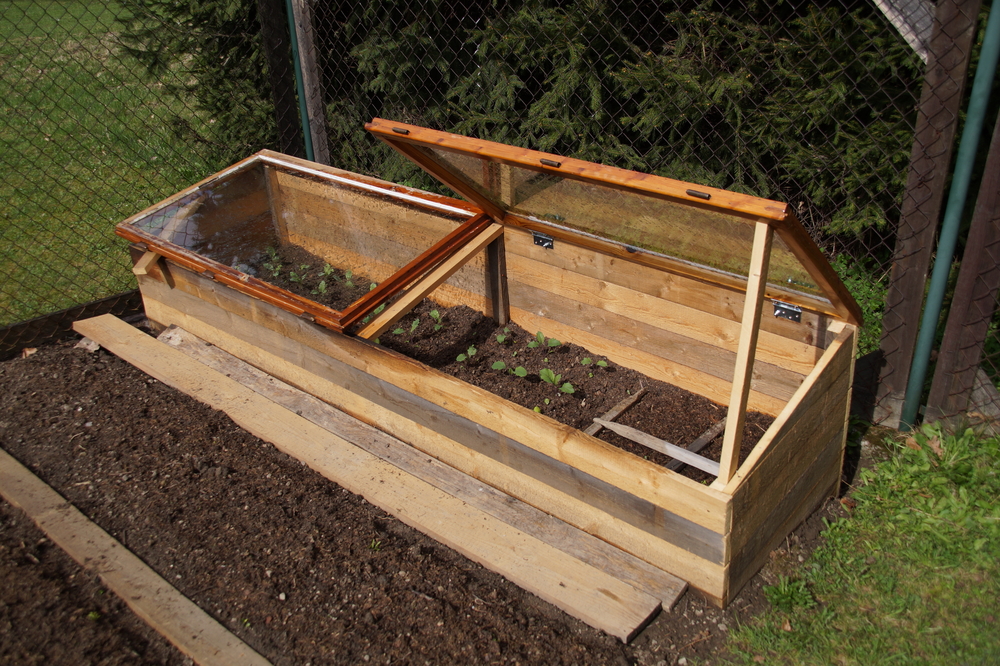
For the lid, you can use clear plastic sheeting or old window panes. If using plastic, stretch it tightly over the frame and secure it with staples or nails. For window panes, attach them with hinges to allow easy opening and closing.
Step 5: Add Weather Stripping
Apply weather stripping around the edges of the lid to create a tight seal. This will help retain heat and protect your plants from drafts.
Step 6: Place Your Cold Frame
Choose a sunny spot in your garden for your cold frame. Ensure it's level and well-drained. You can place it directly on the ground or on a raised bed.
Tips for Effective Winter Vegetable Gardening
Choose the Right Plants
Select cold-hardy vegetables like spinach, kale, lettuce, and radishes. These plants thrive in cooler temperatures and can withstand light frosts.
Monitor Temperature and Ventilation
On sunny days, the temperature inside your cold frame can rise quickly. Open the lid slightly to allow for ventilation and prevent overheating.
Water Wisely
Water your plants sparingly during the winter. Overwatering can lead to root rot and other issues. Aim to keep the soil consistently moist but not waterlogged.
Benefits of Using a Cold Frame
Extended Growing Season
A cold frame allows you to start seeds earlier in the spring and extend the growing season into late fall. This means you can enjoy fresh produce for a longer period.
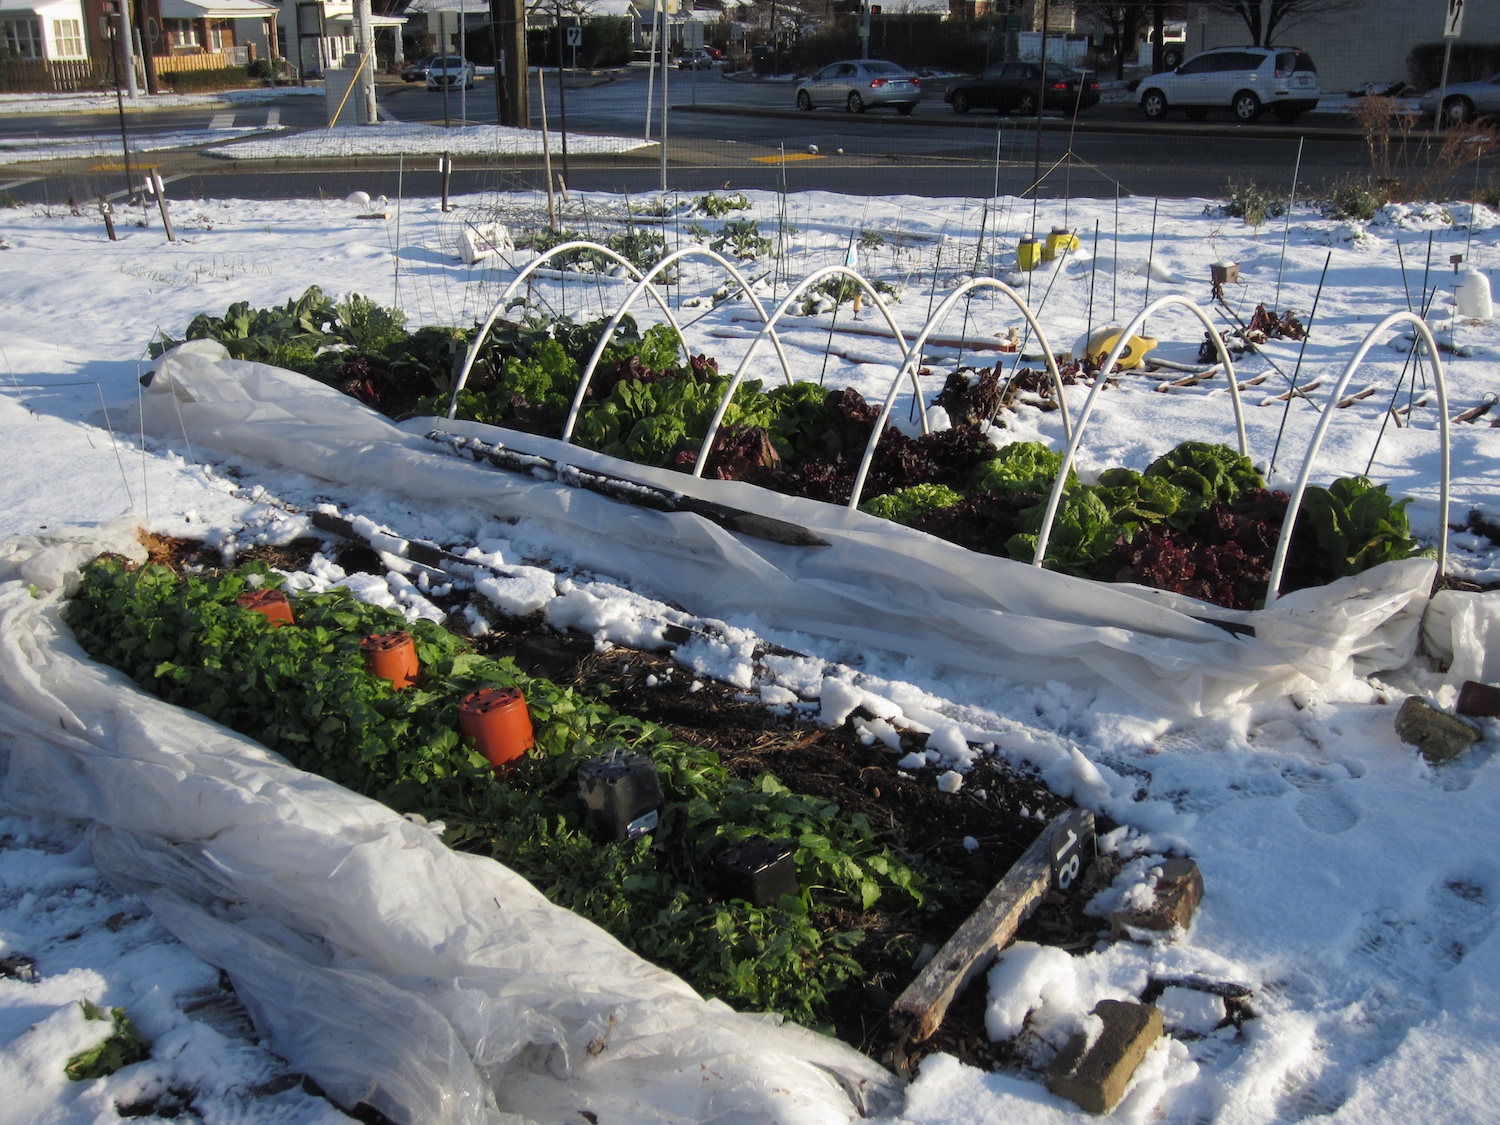
Plant Protection
Cold frames provide a protective environment for your plants, shielding them from frost, wind, and pests. This can significantly improve their health and yield.
Cost-Effective
Building a DIY cold frame is much more affordable than purchasing a full-sized greenhouse. It's a budget-friendly way to enhance your gardening experience.
Conclusion
Building a DIY cold frame for winter gardening is a rewarding project that can transform your gardening experience. With a little planning and some basic materials, you can create a cozy, frost-resistant environment for your plants. Whether you're looking to extend your growing season, protect your plants from harsh weather, or simply enjoy fresh produce year-round, a cold frame is an excellent investment.
So, are you ready to take your winter vegetable gardening to the next level? Grab your tools and get started on your DIY cold frame today!
FAQs
Q1: What is the best material for the lid of a cold frame?
A: The best material for the lid of a cold frame is either clear plastic sheeting or old window panes. Both options allow sunlight to pass through while retaining heat.
Q2: How do I prevent overheating in my cold frame?
A: To prevent overheating, open the lid slightly on sunny days to allow for ventilation. This will help regulate the temperature inside the cold frame.
Q3: What types of vegetables can I grow in a cold frame during winter?
A: Cold-hardy vegetables like spinach, kale, lettuce, and radishes are excellent choices for winter gardening in a cold frame.
Q4: How often should I water my plants in a cold frame?
A: Water your plants sparingly during the winter. Aim to keep the soil consistently moist but not waterlogged. Overwatering can lead to root rot and other issues.
Q5: Can I use a cold frame for starting seeds in the spring?
A: Yes, a cold frame is an excellent tool for starting seeds earlier in the spring. It provides a warm, protected environment that promotes seed germination and growth.

0 Response to "How to Build a DIY Cold Frame for Winter Gardening"
Post a Comment