Grow Microgreens at Home, Easy Steps
How to Grow Microgreens at Home: Easy Steps for a Fresh Harvest
Growing microgreens at home is like having a tiny, edible garden right at your fingertips. These little powerhouses are packed with flavor and nutrients, and they're incredibly easy to grow. Let's dive into the simple steps to get you started on your microgreen journey.
Why Grow Microgreens at Home?
Before we get our hands dirty, let's talk about why you should grow microgreens at home. Microgreens are the immature plants of various vegetables and herbs, harvested just after the first leaves have developed. They're not only cute but also packed with up to 40 times more nutrients than their mature counterparts. Plus, they add a delightful crunch and flavor to your meals. Convinced yet?
What You'll Need to Grow Microgreens
To start your microgreen adventure, you'll need a few essentials:
- Microgreen seeds: You can use various seeds like broccoli, kale, arugula, or basil. Make sure they're specifically labeled for microgreen use.
- Growing trays: These are shallow trays where your microgreens will grow. You can find them at garden stores or online.
- Soil mix: A good seed-raising mix is ideal for microgreens. It's fine-textured and sterile, which helps prevent diseases.
- Water: Microgreens need consistent moisture. Tap water is usually fine, but if you're concerned about water quality, you can use filtered or distilled water.
- Light source: A sunny windowsill or grow lights will do the trick.
Let's Get Started: Planting Your Microgreens
Alright, it's time to plant your microgreens. Follow these simple steps:
1. Prepare Your Growing Trays
Fill your growing trays with about an inch of soil mix. Gently pat it down to create a smooth, even surface.
2. Plant Your Microgreen Seeds
Sprinkle your microgreen seeds evenly across the soil. Don't worry about spacing; microgreens grow close together. Some seeds may need a light covering of soil, while others just need to be pressed into the surface. Check your seed packet for specific instructions.
3. Watering Microgreens
Gently mist your seeds with water. A spray bottle works great for this. Make sure the soil is damp but not waterlogged.
4. Let There Be Light
Place your tray in a warm, sunny spot or under grow lights. Most microgreens need about 4-6 hours of sunlight per day.
Caring for Your Microgreens
Now that your microgreens are planted, let's talk about how to care for them.
1. Keep Them Cozy
Most microgreens prefer temperatures between 65-75°F (18-24°C). Keep them away from drafty areas or direct heat sources.
2. Watering Microgreens
Keep the soil consistently moist. Use your spray bottle to mist them gently. Be careful not to overwater; soggy soil can lead to mold and rot.
3. Give Them a Haircut
Most microgreens will be ready to harvest in about 7-14 days, depending on the variety. You'll know they're ready when the first set of true leaves appears. To harvest, simply snip the greens just above the soil line with a pair of scissors.
Tips for Successful Microgreen Growing
Here are a few tips to help you grow the best microgreens:
- Rotate your trays regularly to ensure even growth and prevent your microgreens from leaning towards the light.
- Stagger your plantings so you have a continuous supply of fresh microgreens.
- Experiment with different seeds to find your favorites. Each variety has its unique flavor and texture.
Troubleshooting Common Microgreen Problems
Growing microgreens is pretty straightforward, but you might encounter a few hiccups. Here's how to tackle them:
- Mold: If you see mold, it's likely due to overwatering or poor air circulation. Reduce watering and increase airflow.
- Leggy plants: If your microgreens are tall and spindly, they're not getting enough light. Move them to a brighter spot.
- Poor germination: If your seeds aren't sprouting, they might be old or not viable. Try fresh seeds from a reputable source.
Harvesting Microgreens: The Fun Part
Harvesting microgreens is like giving your plants a tiny haircut. Grab your scissors and snip away! Here are a few tips:
- Harvest when ready: Most microgreens are ready to harvest in 7-14 days. Look for the first set of true leaves.
- Cut and come again: Some varieties, like peas and sunflowers, can regrow after harvesting. Just leave some stem behind and let them grow.
- Store properly: After harvesting, rinse your microgreens gently and pat them dry. Store them in an airtight container in the fridge for up to a week.
Using Microgreens in Your Meals
Microgreens are incredibly versatile. Toss them in salads, blend them into smoothies, or use them as garnishes. They add a delightful crunch and a burst of flavor to any dish. For some inspiration, check out this guide from Gardeners.com.
Conclusion
Growing microgreens at home is a fun and rewarding hobby. With just a few simple steps, you can enjoy fresh, nutritious greens year-round. So, what are you waiting for? Grab some seeds and get growing!
FAQs
1. What are the best microgreens to grow for beginners?
Some of the easiest microgreens to grow include broccoli, kale, arugula, and radish. They germinate quickly and require minimal care.
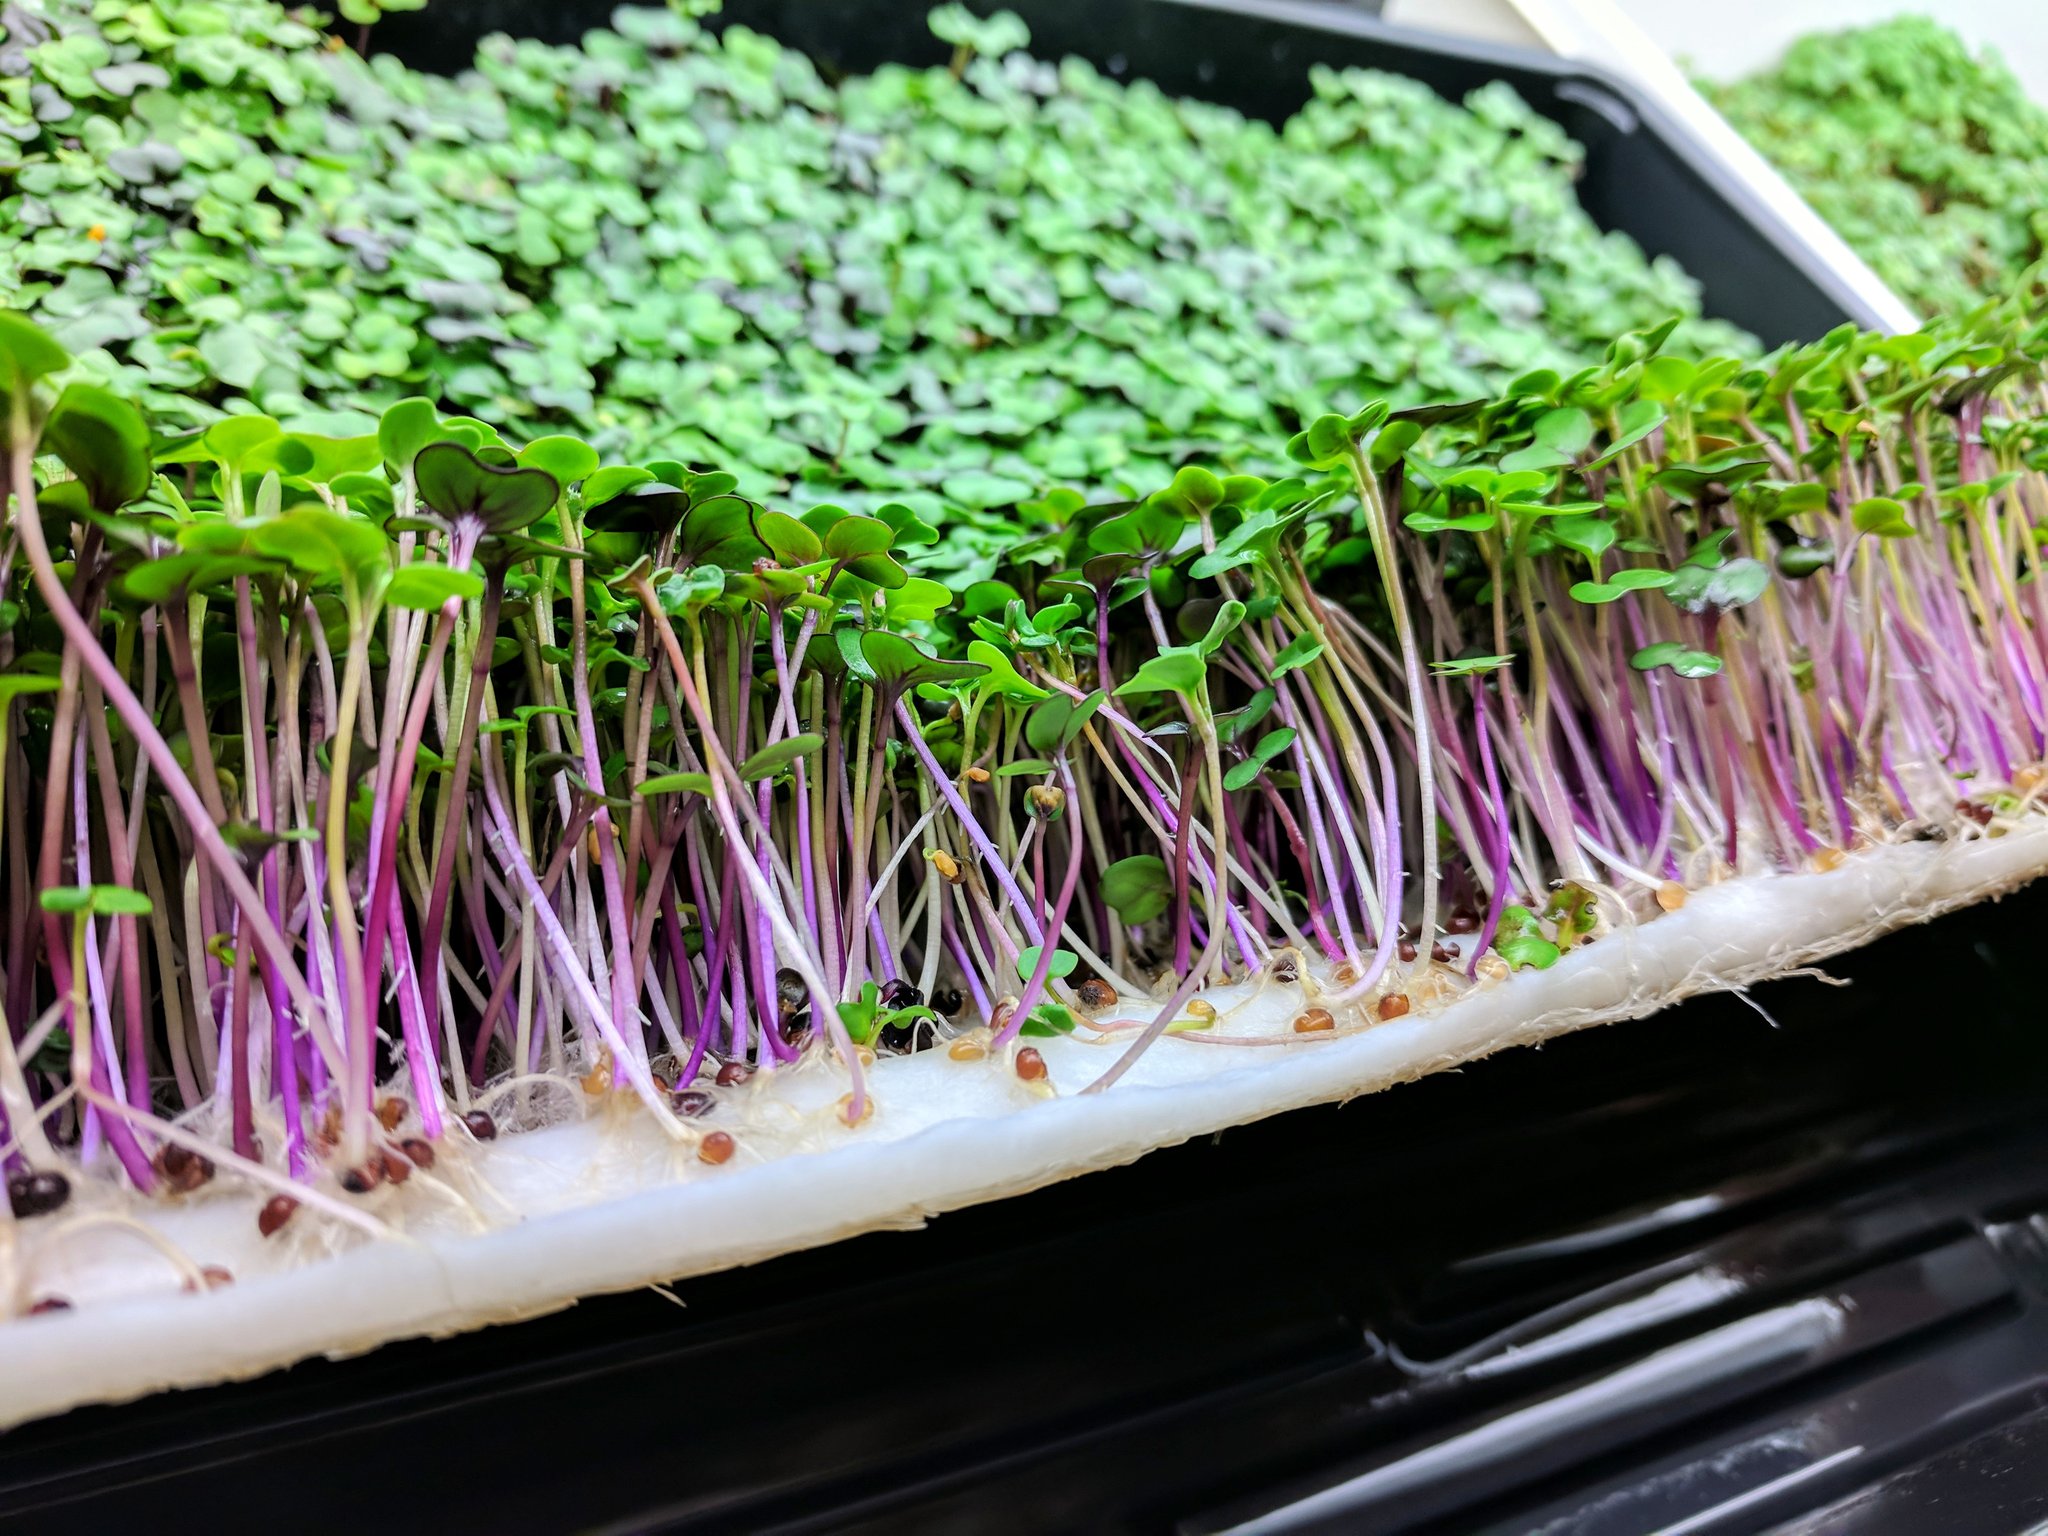
2. Can I grow microgreens without soil?
Yes, you can grow microgreens hydroponically using a growing mat or even a paper towel. This method is cleaner but requires more attention to watering.
3. How often should I water my microgreens?
Microgreens should be watered daily, or even twice a day in hot weather. The key is to keep the soil consistently moist but not waterlogged.
4. Can I reuse the soil from my microgreens?
It's not recommended to reuse soil from microgreens due to the risk of disease. Microgreens are densely planted, which can lead to mold and bacteria growth.
5. How do I know when my microgreens are ready to harvest?
Most microgreens are ready to harvest when the first set of true leaves appears, usually in 7-14 days. The true leaves are the ones that come after the initial seed leaves (cotyledons).

0 Response to " Grow Microgreens at Home, Easy Steps"
Post a Comment