Grow Microgreens at Home, Easy Steps
Grow Microgreens at Home: Easy Steps for Indoor Gardening
Growing microgreens at home is not just a trend; it's a rewarding way to add fresh, nutritious greens to your meals. Imagine having a tiny, edible garden right on your windowsill. Sounds exciting, right? Let's dive into the world of indoor gardening and explore how to grow microgreens at home with ease.
Why Grow Microgreens at Home?
Before we get our hands dirty, let's talk about why you should consider growing microgreens at home. Microgreens are immature plants, harvested just after the first true leaves develop. They're packed with nutritional benefits, often containing higher concentrations of vitamins and antioxidants than their fully-grown counterparts. Plus, they add a delightful crunch and a burst of flavor to your dishes.
Getting Started: What You'll Need
You don't need a green thumb or fancy equipment to start growing microgreens at home. Here's what you'll need:
- Seeds (we'll talk about microgreen varieties later)
- A shallow container or tray (about 2 inches deep)
- Potting soil or seed-raising mix
- Water
- Light (a sunny windowsill will do)
Choosing Your Microgreen Varieties
There's a wide range of microgreen varieties to choose from. Some popular options include:
- Brassicas: Broccoli, cabbage, kale, and radish
- Herbs: Basil, cilantro, and parsley
- Other greens: Arugula, beets, spinach, and Swiss chard
Each variety has its unique flavor and nutritional profile, so feel free to experiment and find your favorites.
Step-by-Step Guide to Growing Microgreens at Home
Alright, let's get down to business. Here's a simple, step-by-step guide to growing microgreens at home.
1. Prepare Your Container
First, fill your container with about an inch of potting soil. Make sure the soil is evenly distributed and gently pat it down.
2. Plant Your Seeds
Scatter your seeds evenly across the soil. Don't worry about spacing; microgreens grow well when sown densely. Just make sure they're in a single layer.
3. Cover the Seeds
Sprinkle a thin layer of soil over the seeds. The general rule is to cover them with a layer of soil equal to their size.
4. Water Gently
Using a spray bottle, gently mist the soil until it's evenly moist. Be careful not to overwater; the soil should be damp, not soggy.
5. Provide Light and Warmth
Place your container in a warm spot with plenty of light. A sunny windowsill is perfect. If you don't have enough natural light, you can use a grow light.
6. Keep the Soil Moist
While you're waiting for your microgreens to sprout, make sure the soil stays consistently moist. Water gently as needed.
7. Watch Them Grow
Most microgreens will germinate in about 3-7 days. Once they sprout, they'll grow quickly.
Growing Tips for Success
Here are some growing tips to help you get the most out of your microgreens:
- Rotate your tray occasionally to ensure all your microgreens get equal light.
- Maintain consistent moisture to prevent mold growth.
- Don't overcrowd your microgreens; they need some room to grow.
Harvesting Microgreens
Harvesting microgreens is easy. Once your microgreens have developed their first set of true leaves (the leaves that look like the plant's mature leaves), they're ready to harvest. Simply snip them just above the soil line with a pair of scissors.
Storing and Using Your Microgreens
After harvesting microgreens, you can store them in the refrigerator for up to a week. Make sure they're dry, then place them in an airtight container lined with a paper towel.
Use your microgreens to add a burst of flavor and nutrition to salads, sandwiches, smoothies, and more. The possibilities are endless!
Troubleshooting Common Problems
Even with the best care, you might encounter some issues. Here are some common problems and solutions:
- Mold: If you see mold, it's likely due to overwatering or poor air circulation. Try watering less and improving airflow.
- Poor germination: If your seeds aren't sprouting, they might be old or not viable. Try using fresh seeds.
- Leggy plants: If your microgreens are tall and spindly, they're not getting enough light. Move them to a brighter spot.
The Joy of Indoor Gardening
Growing microgreens at home is more than just a way to add fresh greens to your meals. It's a rewarding hobby that brings a bit of nature into your home. Plus, it's a great way to teach kids about where food comes from.
For more detailed information, check out this guide on growing microgreens.
Conclusion
Growing microgreens at home is a fun and rewarding way to add fresh, nutritious greens to your diet. With a little bit of care and patience, you can enjoy a tiny, edible garden right in your own home. So, what are you waiting for? Get started today!
FAQs
Q: How long does it take to grow microgreens? A: Most microgreens will be ready to harvest in about 1-3 weeks, depending on the variety.
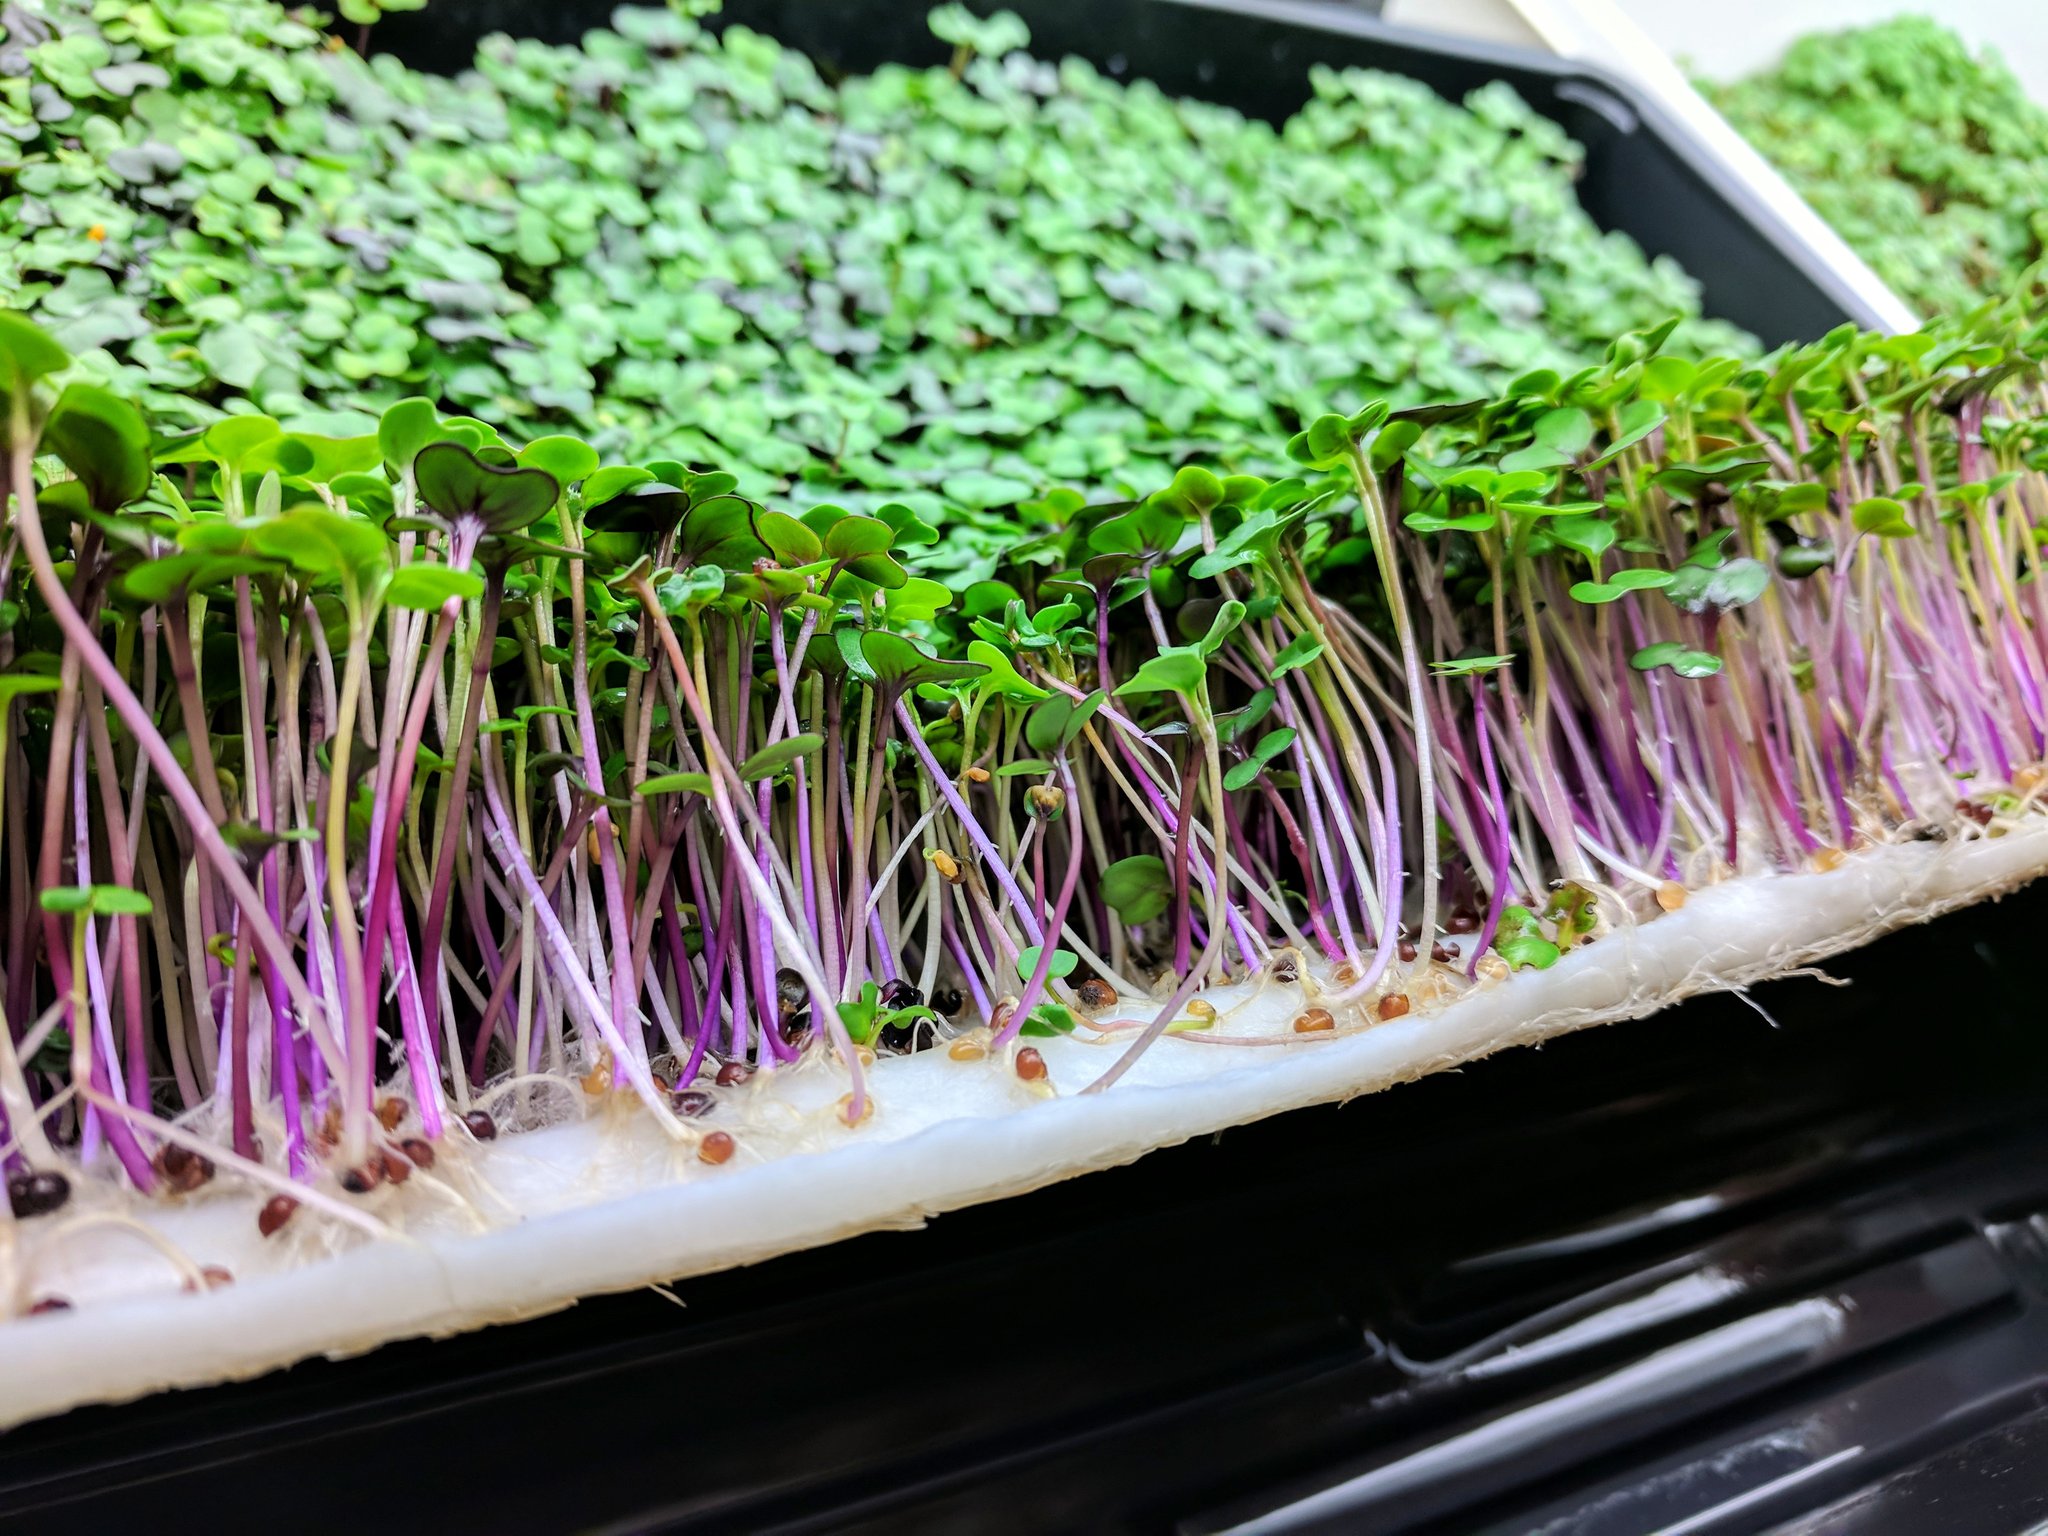
Q: Can I grow microgreens without soil? A: Yes, you can grow microgreens hydroponically, using a growing mat or even a paper towel.
Q: Can I regrow microgreens after harvesting? A: Some varieties, like peas and sunflowers, can regrow after harvesting. However, most microgreens are not suited for regrowth.
Q: How often should I water my microgreens? A: Water your microgreens when the soil feels dry to the touch. Usually, this is about once a day.
Q: What if my microgreens fall over? A: If your microgreens fall over, it's likely due to overcrowding or not enough light. Try thinning them out and moving them to a brighter spot.

0 Response to " Grow Microgreens at Home, Easy Steps"
Post a Comment