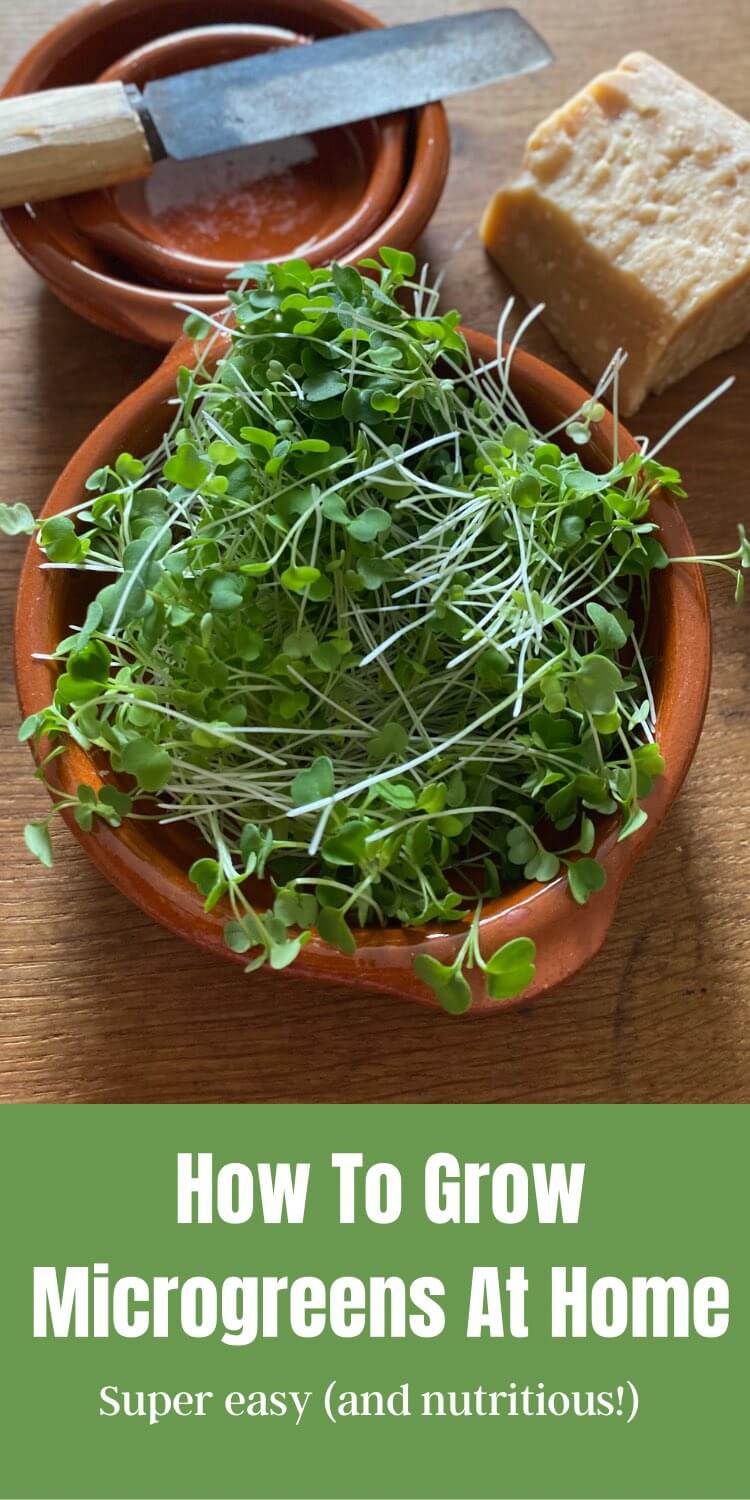
Master Growing Microgreens at Home Easily

Imagine transforming your kitchen windowsill into a lush, miniature garden that provides fresh, nutrient-dense greens year-round. Sounds like a dream, right? Well, it's not just a dream—it's a reality when you master growing microgreens at home easily. Microgreens are the immature plants of vegetables and herbs, harvested just after the first leaves have developed. They're not only delicious but also packed with vitamins and antioxidants. So, are you ready to dive into the world of microgreens and discover how to grow microgreens at home easily? Let's get started!
Why Grow Microgreens at Home?
Before we dive into the how-to, let's explore the benefits of growing microgreens at home. Microgreens are a fantastic source of essential nutrients. They contain up to 40 times more nutrients than their mature counterparts. Plus, they add a burst of flavor and color to your dishes. Growing microgreens indoors is also a sustainable practice, reducing your carbon footprint by minimizing the need for store-bought greens.
Getting Started: What You Need
To start your microgreens journey, you'll need a few essential items:
- Microgreens Seeds: Choose from a variety of seeds like broccoli, kale, arugula, and radish. You can find these at local nurseries or online.
- Growing Medium: A good-quality seed-raising mix or coconut coir works well.
- Containers: Shallow trays or pots with drainage holes are ideal. You can also use a microgreens kit for convenience.
- Light Source: A sunny windowsill or grow lights will do the trick.
- Watering Tool: A spray bottle for gentle misting.
Step-by-Step Guide to Growing Microgreens
Preparing Your Seeds and Containers
- Soak Your Seeds: Some seeds, like chia and basil, benefit from a pre-soak. Check the seed packet for specific instructions.
- Fill Your Containers: Add your growing medium to the containers, filling them about 2/3 full.
- Sow Your Seeds: Sprinkle your microgreens seeds evenly across the surface. Aim for a dense but not overcrowded distribution.
Providing the Right Environment
- Cover Your Seeds: Lightly cover the seeds with a thin layer of growing medium.
- Water Gently: Use your spray bottle to mist the seeds until the soil is damp but not waterlogged.
- Create a Humid Environment: Cover the container with a clear lid or plastic wrap to retain moisture.
Germination and Growth
- Place in a Dark Spot: Initially, place your container in a dark, warm spot (around 70°F or 21°C) to encourage germination.
- Check Daily: Keep the soil moist by misting as needed.
- Move to Light: Once the seeds germinate (usually within 3-7 days), move the container to a well-lit area. A sunny windowsill or under grow lights works perfectly.
Caring for Your Microgreens
- Water Regularly: Continue to mist your microgreens daily to keep the soil moist.
- Rotate for Even Growth: If using a windowsill, rotate the container to ensure even light exposure.
- Monitor Growth: Watch as your microgreens grow, reaching for the light and developing their first true leaves.
Harvesting Your Microgreens
Microgreens harvesting is a rewarding experience. Here’s how to do it:
- Timing: Harvest your microgreens when they are about 1-3 inches tall and have developed their first set of true leaves.
- Cutting: Use a sharp pair of scissors or kitchen shears to cut the microgreens just above the soil line.
- Storage: Rinse and dry your microgreens, then store them in an airtight container in the refrigerator. They should keep for about a week.
Enjoying Your Microgreens
Now that you've mastered growing microgreens at home easily, it's time to enjoy the fruits (or rather, greens) of your labor. Microgreens are versatile and can be used in a variety of dishes. Sprinkle them on salads, sandwiches, soups, or use them as a garnish for your favorite meals. Their vibrant colors and flavors will elevate any dish.
Troubleshooting Common Issues
Growing microgreens indoors can sometimes present challenges. Here are some common issues and how to address them:
- Mold: Ensure good air circulation and avoid overwatering.
- Uneven Growth: Rotate your container regularly to ensure even light exposure.
- Pests: Keep your growing area clean and use organic pest control methods if needed.
Microgreens Benefits: Beyond the Plate
Microgreens benefits extend beyond their culinary uses. They are a powerhouse of nutrients, containing high levels of vitamins C, E, and K, as well as antioxidants. Including microgreens in your diet can boost your immune system, improve digestion, and even enhance your skin health. Plus, growing your own microgreens is a fun and educational activity for the whole family.

Conclusion
Mastering how to grow microgreens at home easily is a rewarding journey that brings fresh, nutritious greens right to your table. With a little patience and the right techniques, you can transform your indoor space into a thriving microgreens garden. So, why wait? Start your microgreens adventure today and enjoy the countless benefits they offer. Happy growing!
FAQs
What are the best seeds for growing microgreens? Some of the best seeds for growing microgreens include broccoli, kale, arugula, radish, and mustard. These seeds are easy to germinate and grow quickly.
How long does it take to grow microgreens? Microgreens typically take about 7-14 days to grow from seed to harvest, depending on the type of seed and growing conditions.
Can I grow microgreens without soil? Yes, you can grow microgreens without soil using hydroponic methods. A hydroponic microgreens kit can make this process easier.
What are the health benefits of microgreens? Microgreens are packed with nutrients, including vitamins C, E, and K, as well as antioxidants. They can boost your immune system, improve digestion, and enhance skin health.
How do I store microgreens after harvesting? After harvesting, rinse and dry your microgreens, then store them in an airtight container in the refrigerator. They should keep for about a week.
0 Response to "Master Growing Microgreens at Home Easily"
Post a Comment