How to Set Up a Drip Irrigation System: A Comprehensive Guide

Imagine your garden as a symphony, where every plant, flower, and tree plays a vital role in creating a harmonious melody. Now, picture drip irrigation as the conductor, ensuring each element receives the precise amount of water it needs to thrive. Setting up a drip irrigation system is like composing a masterpiece that will keep your garden lush and vibrant with minimal effort. Let's dive into the world of drip irrigation and discover how you can transform your garden into a well-orchestrated oasis.
Understanding Drip Irrigation
Drip irrigation is an efficient and eco-friendly way to water your garden. Unlike traditional sprinklers, which can waste water through evaporation and runoff, drip irrigation delivers water directly to the roots of your plants. This targeted approach not only conserves water but also promotes healthier plant growth.
Benefits of Drip Irrigation
Water Conservation
Drip irrigation systems use up to 50% less water than traditional methods. By delivering water directly to the roots, you minimize waste and ensure that every drop counts.
Healthier Plants
With drip irrigation, plants receive a consistent supply of water, which promotes stronger root systems and overall plant health. This method also reduces the risk of fungal diseases that can occur with overwatering.
Time and Effort Savings
Once installed, a drip irrigation system can be automated, freeing you from the daily chore of watering your garden. You can set it and forget it, knowing your plants are well-cared for.
How to Set Up a Drip Irrigation System
Step 1: Planning Your System
Before you start, it's crucial to map out your garden. Consider the layout, the types of plants, and their watering needs. Sketch a rough plan of where you'll place the drip lines and emitters. This will serve as your blueprint for installation.
Step 2: Gather Your Materials
You'll need the following materials for your drip irrigation installation:
- Drip tubing
- Emitters
- Fittings (elbows, tees, and couplers)
- Stakes or clamps
- Timer (optional, for automatic watering)
- Pressure regulator
- Filter
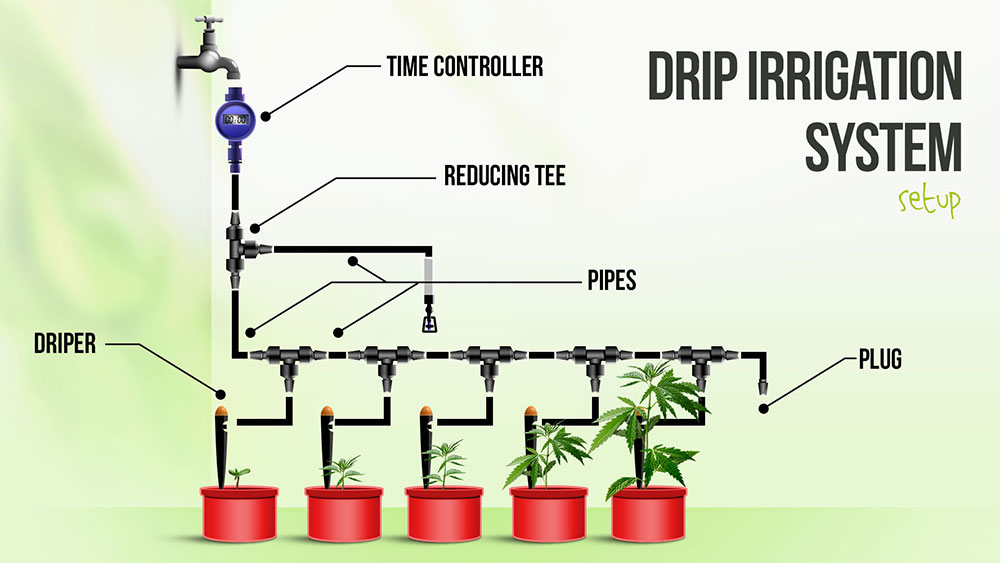
Step 3: Assembling the Components
Connecting to the Water Source
Start by connecting the drip tubing to your water source. This could be a hose bib or a dedicated irrigation line. Use a pressure regulator to ensure the water pressure is suitable for your system, typically around 20-30 PSI.
Installing the Filter
A filter is essential to prevent debris from clogging your emitters. Install it after the pressure regulator to keep your system running smoothly.
Laying Out the Drip Tubing
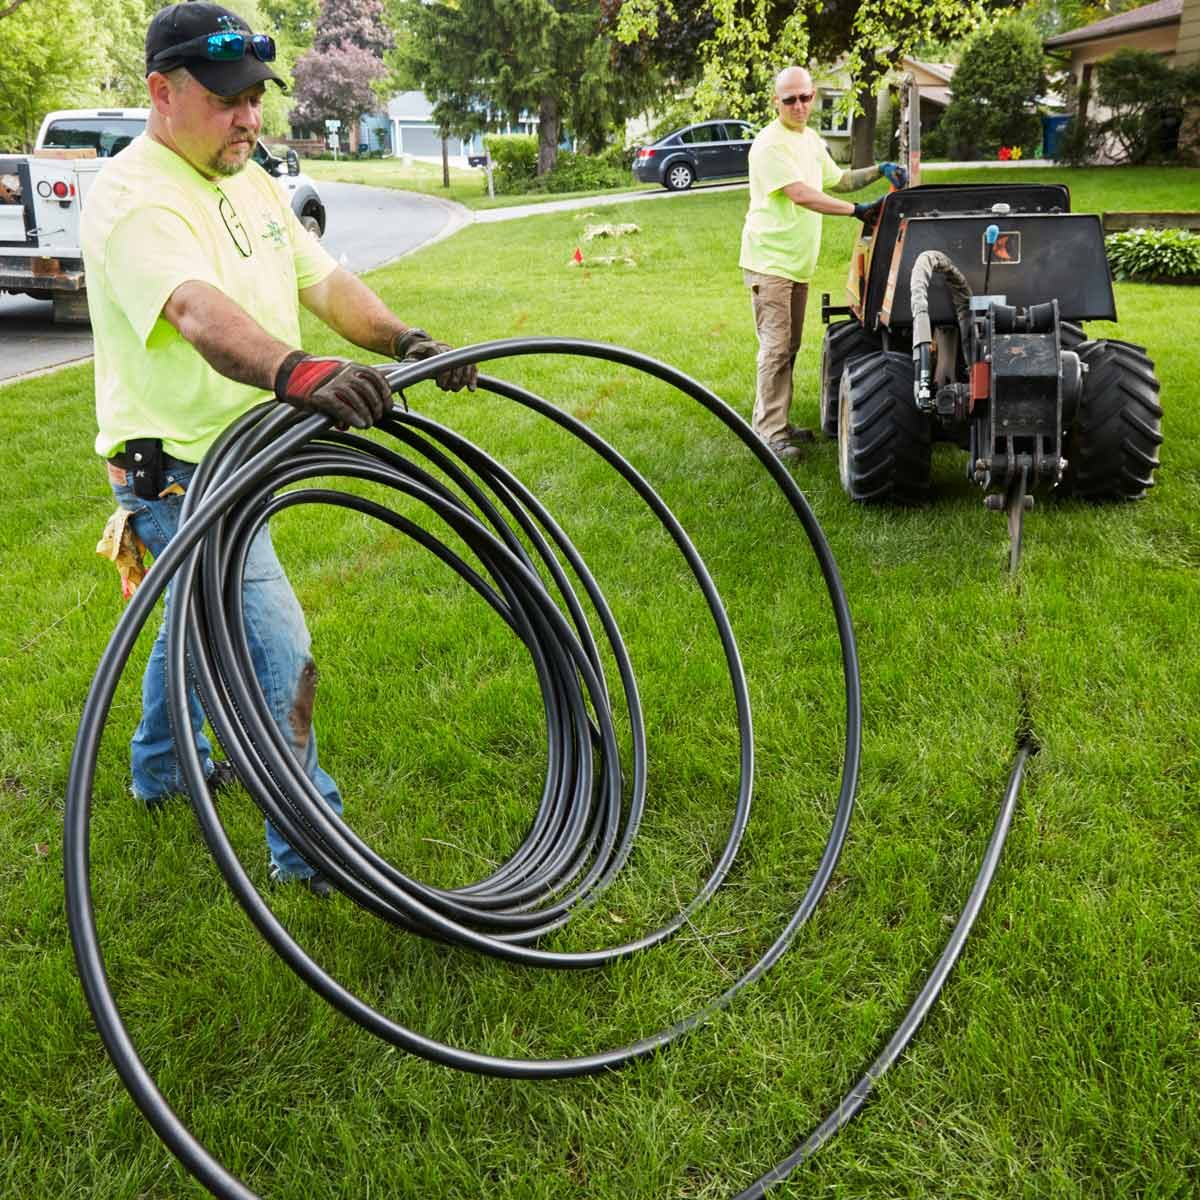
Lay the drip tubing along the paths you've planned. Use stakes or clamps to secure the tubing in place. Make sure the tubing is level to ensure even water distribution.
Adding Emitters
Emitters are the heart of your drip irrigation system. They control the flow of water to each plant. Insert emitters into the drip tubing at the base of each plant. The number and type of emitters will depend on the plant's watering needs.
Step 4: Testing Your System
Once everything is in place, it's time to test your system. Turn on the water and check for leaks. Adjust the emitters as needed to ensure each plant is receiving the right amount of water.
Step 5: Automating Your System
For added convenience, consider installing a timer. This will allow you to set a watering schedule, ensuring your plants are watered consistently, even when you're away.
Maintaining Your Drip Irrigation System
Regular irrigation maintenance is key to keeping your system running efficiently. Here are some tips to keep in mind:
Inspect Regularly
Check your system for leaks, clogs, and damage. Replace any worn-out components promptly.
Clean the Filter
Clean the filter regularly to prevent debris buildup. This will help maintain optimal water flow.
Winterize Your System
If you live in a cold climate, it's important to winterize your system. Drain the water from the tubing and store it indoors to prevent freezing and damage.
Conclusion
Setting up a drip irrigation system is a rewarding project that will transform your garden into a thriving oasis. By following these steps, you can create an efficient and eco-friendly watering solution that will save you time and effort. Whether you're a seasoned gardener or a beginner, drip irrigation is a smart investment that will pay off in lush, healthy plants.
So, are you ready to take your garden watering to the next level? With a drip irrigation system, you can enjoy the beauty of a well-maintained garden without the daily hassle. Embrace the power of automation and watch your garden flourish.
FAQs
1. How much does a drip irrigation system cost?
The cost of a drip irrigation system can vary depending on the size of your garden and the complexity of the setup. Basic kits start around $50, while more advanced systems can cost several hundred dollars.
2. Can I install a drip irrigation system myself?
Yes, installing a drip irrigation system is a DIY-friendly project. With the right materials and a bit of planning, you can set up your system in a few hours.
3. How often should I water my plants with a drip irrigation system?
The frequency of watering depends on the type of plants and the climate. Generally, watering once or twice a week is sufficient. A timer can help you maintain a consistent watering schedule.
4. What if my drip irrigation system leaks?
If your system leaks, check for loose fittings or damaged tubing. Tighten any loose connections and replace any damaged components. Regular inspections can help prevent leaks.
5. Can I use a drip irrigation system for potted plants?
Yes, drip irrigation systems are highly versatile and can be used for potted plants. Simply adjust the emitters to suit the watering needs of your container garden.


By following this comprehensive guide, you'll be well on your way to creating a beautiful and efficient garden watering system. Happy gardening!
0 Response to "How to Set Up a Drip Irrigation System: A Comprehensive Guide"
Post a Comment