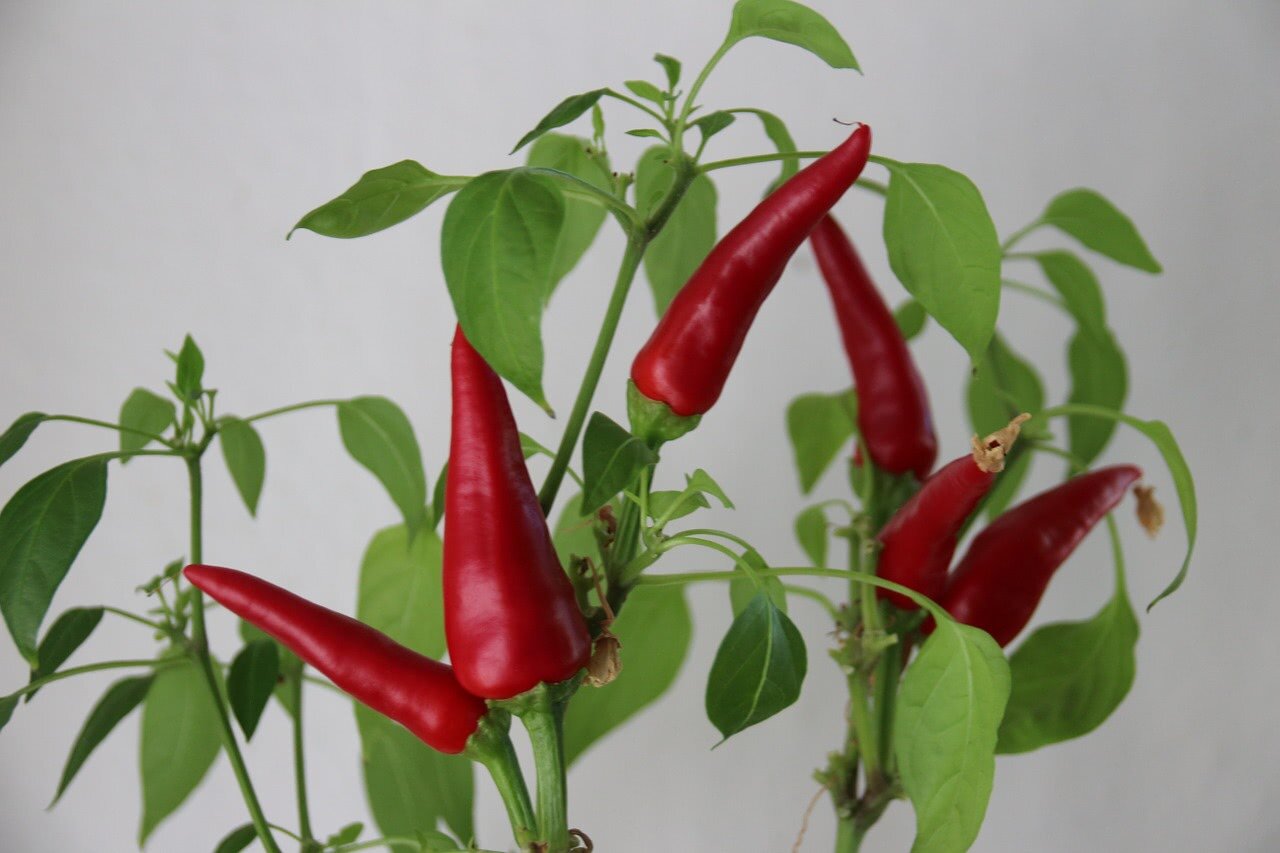
How to Grow Chilies Indoors: Step-by-Step Guide

Are you a fan of spicy food but lack the outdoor space to grow your own chilies? Don't worry, you can still enjoy the fiery fruits of your labor with indoor chili cultivation. Imagine having a constant supply of fresh, homegrown chilies to spice up your meals. Sounds exciting, right? Let's dive into this comprehensive guide on how to grow chilies indoors, packed with chili planting tips and everything you need to know about indoor vegetable gardening.
Why Grow Chilies Indoors?
Growing peppers indoors is not just a hobby; it's a rewarding experience. You get to control the environment, protect your plants from pests, and enjoy the satisfaction of nurturing something from seed to harvest. Plus, fresh chilies add a zing to your dishes that store-bought ones can't match.
Getting Started: Essential Tools and Materials
Before you embark on your indoor chili cultivation journey, you'll need a few essentials:
- Seeds: Choose varieties suitable for indoor growing, such as Jalapeño, Cayenne, or Thai chilies.
- Pots: Use small pots for seedlings and larger ones for mature plants.
- Soil: Opt for well-draining potting mix.
- Light: Grow lights or a sunny windowsill.
- Watering Can: To keep your plants hydrated.
- Fertilizer: A balanced, water-soluble fertilizer.
Step-by-Step Guide to Growing Chilies Indoors
Step 1: Choosing the Right Seeds
Selecting the right seeds is crucial. Some varieties are better suited for indoor vegetable gardening. Look for compact plants that don't require much space. Popular choices include Jalapeño, Cayenne, and Thai chilies.
Step 2: Planting Your Seeds
Fill small pots with a well-draining potting mix. Plant your seeds about 1/4 inch deep and water them gently. Cover the pots with plastic wrap to create a humid environment, which helps with germination. Place the pots in a warm spot, around 70-80°F (21-27°C).
Step 3: Providing the Right Light
Chilies need plenty of light, at least 6-8 hours a day. A south-facing window is ideal, but if natural light is scarce, consider using grow lights. LED grow lights are energy-efficient and provide the full spectrum of light that chilies need.
Step 4: Watering and Fertilizing
Water your chili plants regularly, ensuring the soil is consistently moist but not waterlogged. Overwatering can lead to root rot, so be cautious. Once your seedlings have their first set of true leaves, start fertilizing with a balanced, water-soluble fertilizer every two weeks.
Step 5: Transplanting
When your seedlings have 2-3 sets of true leaves, it's time to transplant them into larger pots. Choose pots that are at least 6 inches in diameter to give your plants room to grow. Fill the pots with fresh potting mix and gently transfer the seedlings, ensuring the roots are well-covered.
Step 6: Caring for Your Chili Plants
Regular care is essential for healthy chili plants. Keep an eye out for pests and diseases, and provide consistent light and water. Pruning can also help encourage bushier growth and more fruit production.

Chili Care Guide: Tips for Success
Temperature and Humidity
Chilies thrive in warm temperatures, ideally between 70-85°F (21-29°C) during the day and slightly cooler at night. Maintain a humidity level of around 50-60% to keep your plants happy.
Pollination
Indoor chili plants may need a helping hand with pollination. Gently shake the plants or use a small paintbrush to transfer pollen from one flower to another.
Harvesting
Chilies are ready to harvest when they reach their full size and color. Use sharp scissors to cut the peppers from the plant, leaving a small stem attached. Enjoy your fresh chilies in your favorite dishes!
Troubleshooting Common Issues
Yellowing Leaves
Yellowing leaves can indicate overwatering or a nutrient deficiency. Check the soil moisture and adjust your watering schedule. If the problem persists, consider using a fertilizer with higher nitrogen content.
Pests
Indoor plants can attract pests like aphids and spider mites. Regularly inspect your plants and treat any infestations promptly with insecticidal soap or neem oil.
Slow Growth
If your chili plants are growing slowly, they may not be getting enough light or nutrients. Ensure they receive at least 6-8 hours of light daily and fertilize regularly.

Conclusion
Growing chilies indoors is a rewarding experience that brings the joy of gardening right into your home. With the right tools, a bit of patience, and this comprehensive guide, you'll be harvesting your own fresh chilies in no time. So, why wait? Start your indoor chili cultivation journey today and spice up your life!
FAQs
1. What are the best chili varieties for indoor growing?
Compact varieties like Jalapeño, Cayenne, and Thai chilies are well-suited for indoor growing due to their smaller size and lower space requirements.
2. How much light do chili plants need?
Chili plants need at least 6-8 hours of light per day. A south-facing window or grow lights can provide the necessary light for healthy growth.
3. How often should I water my chili plants?
Water your chili plants regularly, ensuring the soil is consistently moist but not waterlogged. Overwatering can lead to root rot, so be cautious.
4. What temperature is ideal for growing chilies indoors?
Chilies thrive in warm temperatures, ideally between 70-85°F (21-29°C) during the day and slightly cooler at night.
5. How do I pollinate my indoor chili plants?
Indoor chili plants may need a helping hand with pollination. Gently shake the plants or use a small paintbrush to transfer pollen from one flower to another.
0 Response to "How to Grow Chilies Indoors: Step-by-Step Guide"
Post a Comment