How to Build a Vertical Strawberry Planter: A Comprehensive Guide

Imagine a lush, vibrant garden bursting with ripe, juicy strawberries—all within arm's reach. Vertical gardening is the perfect solution for those with limited space, transforming small areas into productive, beautiful oases. In this guide, we'll walk you through the process of building your own vertical strawberry planter, offering vertical gardening tips, a strawberry planting guide, and DIY vertical planter instructions. Let's dive in!
Why Choose Vertical Gardening?
Vertical gardening is not just a trend; it's a practical solution for urban dwellers and those with limited space. By growing upwards, you can maximize your garden's productivity and create a stunning visual display. Vertical strawberry planters are particularly beneficial because they allow for better air circulation, reducing the risk of pests and diseases.
Materials Needed
Before you start, gather the following materials:
- 5-gallon bucket
- Drill
- 1/4-inch drill bit
- Potting soil
- Strawberry plants
- Scissors
- Landscape fabric
- String or twine

Step-by-Step Guide to Building Your Vertical Strawberry Planter
Step 1: Prepare Your Bucket
Begin by drilling several 1/4-inch holes in the bottom of your 5-gallon bucket for drainage. This step is crucial to prevent waterlogging, which can harm your strawberry plants.
Step 2: Create Planting Pockets
Next, drill a series of 1/4-inch holes around the sides of the bucket, spaced about 6 inches apart. These holes will serve as planting pockets for your strawberries. Make sure to stagger the holes to maximize space and ensure even distribution of plants.
Step 3: Add Landscape Fabric
Cut a piece of landscape fabric large enough to cover the inside of the bucket. This fabric will help retain moisture and prevent soil from escaping through the holes. Secure the fabric with string or twine, making sure it stays in place.
Step 4: Fill with Potting Soil
Fill the bucket with high-quality potting soil, leaving about 2 inches from the top. As you fill, gently press the soil to remove any air pockets. Ensure the soil is well-draining to promote healthy root growth.
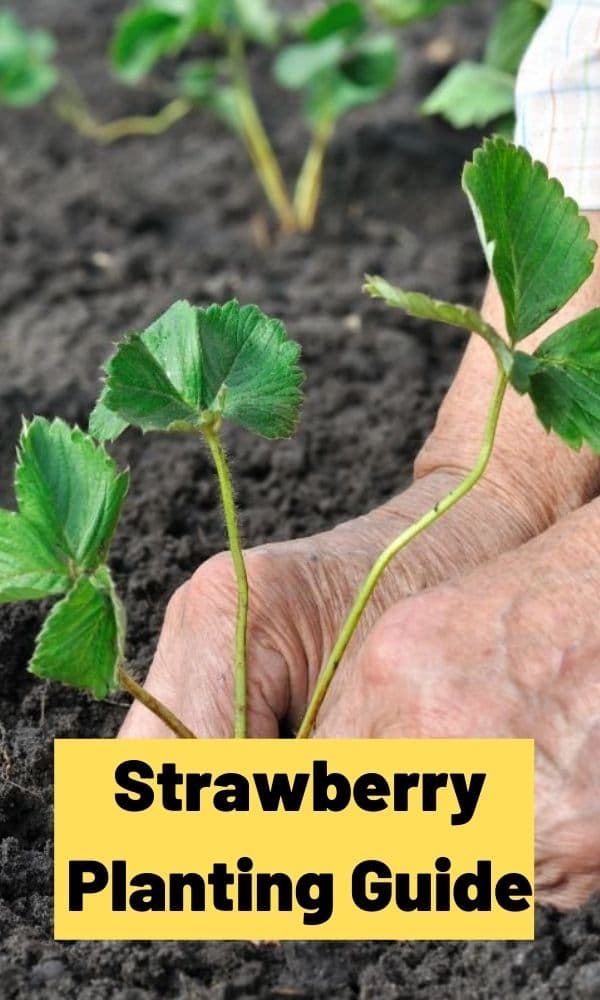
Step 5: Plant Your Strawberries
Carefully insert your strawberry plants through the holes, making sure the roots are well-covered with soil. Gently press the soil around the plants to secure them in place. Water the plants thoroughly to settle the soil and encourage root growth.
Step 6: Hang or Place Your Planter
Your vertical strawberry planter is now ready to be hung or placed in a sunny location. Ensure it receives at least 6-8 hours of sunlight daily for optimal growth. You can hang the planter using a sturdy hook or place it on a stand for easy access.
Vertical Gardening Tips
Watering Techniques
Water your vertical strawberry planter regularly, ensuring the soil remains consistently moist but not waterlogged. Use a watering can with a gentle spray to avoid dislodging the soil.
Fertilizing
Strawberries benefit from regular fertilization. Use a balanced, slow-release fertilizer to provide the necessary nutrients for healthy growth and abundant fruit production.
Pruning and Maintenance
Regularly prune your strawberry plants to remove dead leaves and runners. This practice encourages bushier growth and better fruit production. Keep an eye out for pests and diseases, treating them promptly to maintain plant health.
Strawberry Growing Techniques
Choosing the Right Variety
Select strawberry varieties that are well-suited to your climate and growing conditions. Ever-bearing and day-neutral varieties are popular choices for vertical planters as they produce fruit throughout the growing season.
Providing Adequate Light
Strawberries thrive in full sun, so ensure your vertical planter is placed in a location that receives at least 6-8 hours of sunlight daily. This will promote healthy growth and abundant fruit production.
Monitoring Soil pH
Strawberries prefer slightly acidic soil with a pH between 6.0 and 6.5. Test your soil regularly and adjust the pH as needed to ensure optimal growing conditions.
Conclusion
Building a vertical strawberry planter is a rewarding project that combines creativity with practicality. By following this comprehensive guide, you can transform a small space into a thriving garden filled with delicious strawberries. Vertical gardening not only saves space but also adds a unique aesthetic to your outdoor area. So, why wait? Get started on your DIY vertical planter today and enjoy the fruits of your labor!
FAQs
What are the best strawberry varieties for vertical planters? Ever-bearing and day-neutral varieties, such as 'Seascape' and 'Tristar,' are excellent choices for vertical planters due to their continuous fruit production throughout the growing season.
How often should I water my vertical strawberry planter? Water your planter regularly, ensuring the soil remains consistently moist but not waterlogged. Aim for about 1-2 inches of water per week, adjusting based on weather conditions and plant needs.
Can I use a different container for my vertical planter? Yes, you can use various containers for your vertical planter, such as wooden crates, fabric grow bags, or even repurposed pallets. Ensure the container has adequate drainage and is sturdy enough to support the weight of the soil and plants.
How do I prevent pests and diseases in my vertical strawberry planter? Regularly inspect your plants for signs of pests and diseases. Use organic or chemical treatments as needed, and practice good garden hygiene by removing dead leaves and debris. Proper spacing and air circulation also help prevent issues.
Can I grow other plants in my vertical strawberry planter? Yes, you can incorporate other plants into your vertical planter, such as herbs, flowers, or other small fruits. Choose companion plants that have similar water and light requirements to ensure harmonious growth.

0 Response to "How to Build a Vertical Strawberry Planter: A Comprehensive Guide"
Post a Comment