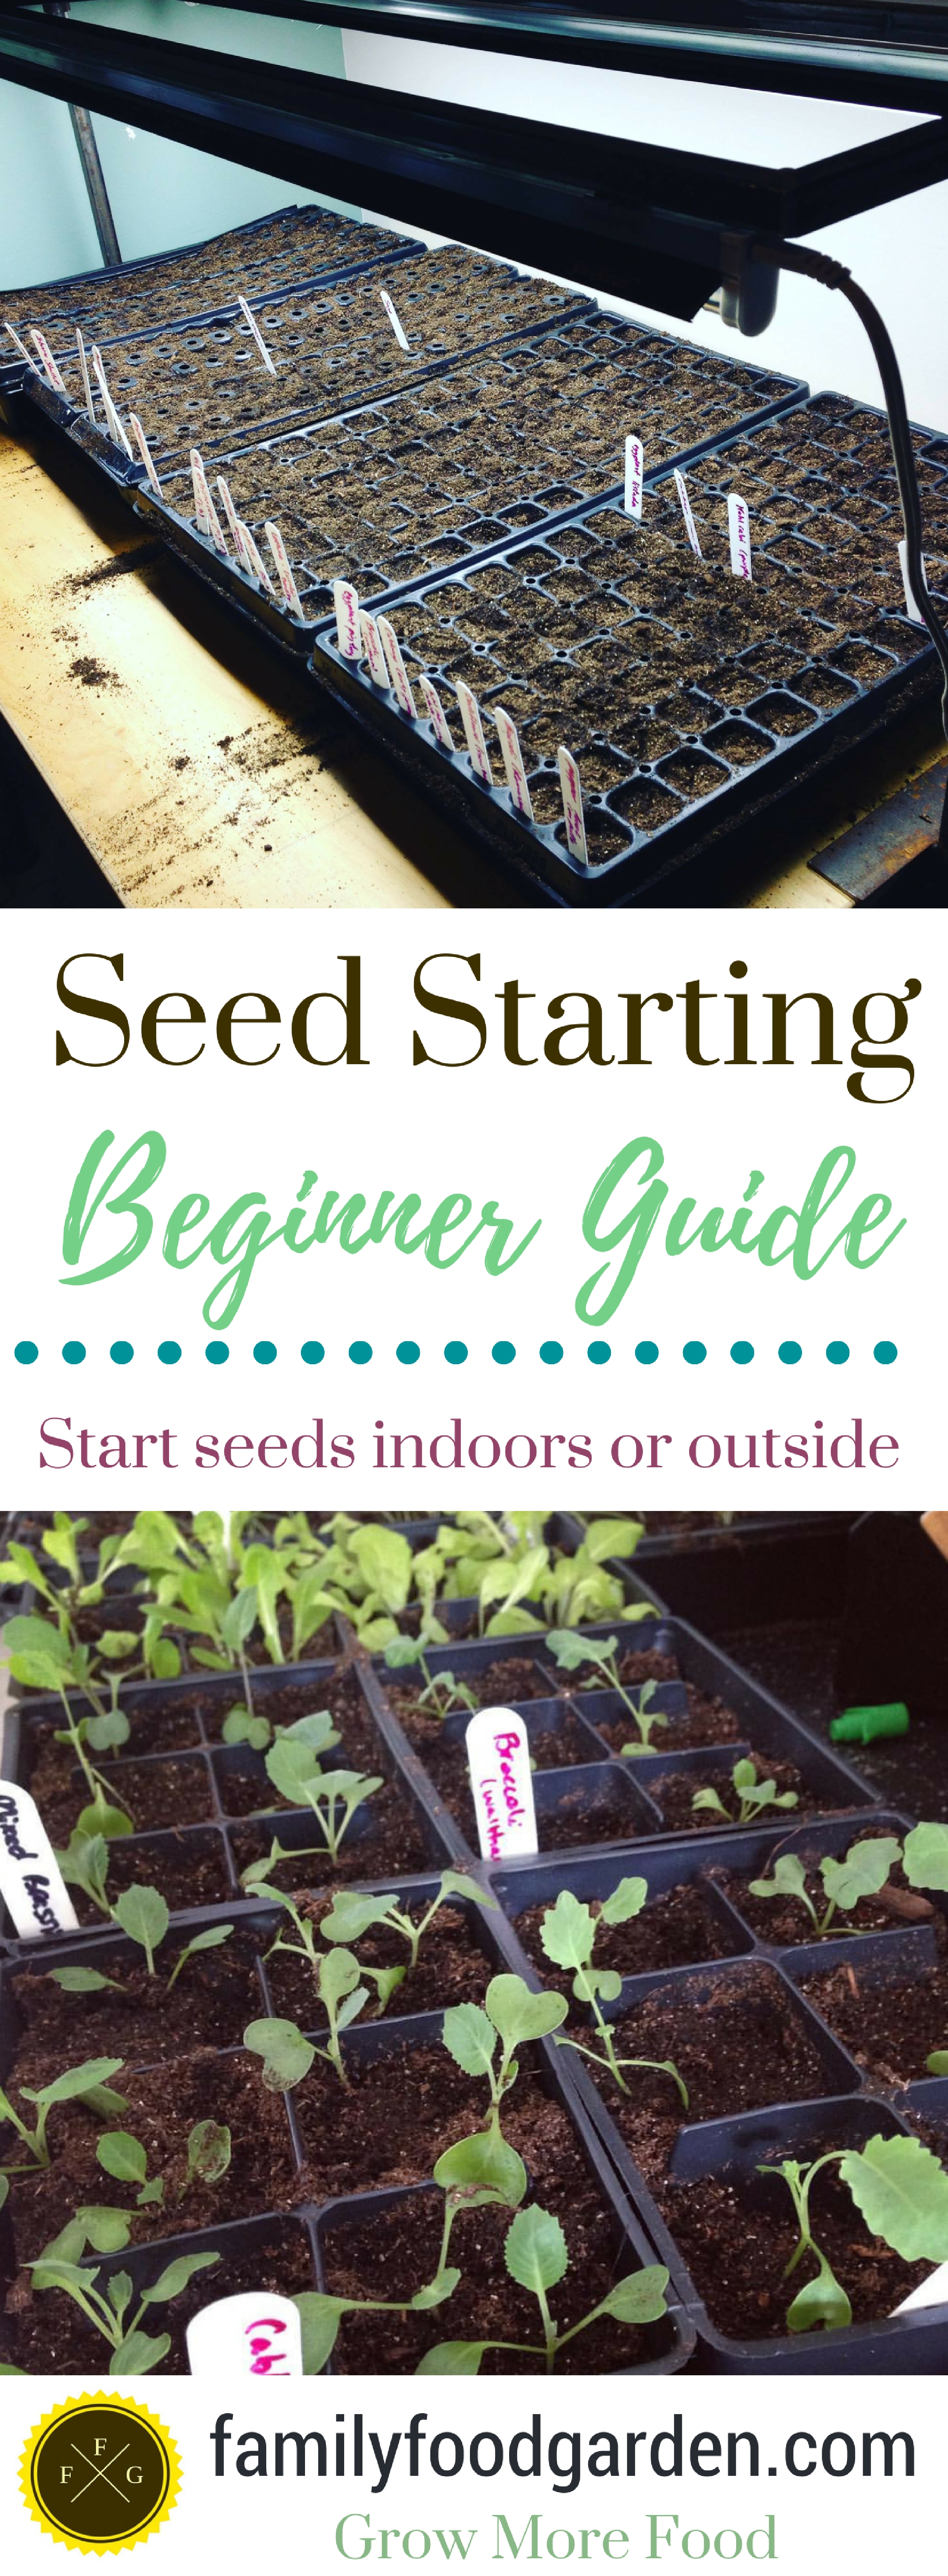
Master Seed Starting, Home Tips for Success

Mastering Seed Starting: Home Tips for Success
Starting from Scratch: Why Seed Starting Matters
Ever felt that spark of joy seeing a tiny green shoot push through the soil? That's the magic of seed starting. It's not just about saving money (though it does that too); it's about nurturing life from the very beginning. So, let's dive into tips for successful seed starting at home.
Understanding Seed Germination: The Birth of a Plant
Before we start, let's understand seed germination. It's like a plant's birth story. Every seed has its preferences - light or dark, warm or cool, moist or dry. Your job is to create the perfect baby shower environment for your seeds.
Setting Up Your Home Garden Nursery
You don't need a fancy greenhouse. A sunny windowsill, a tray, some pots, and seeds are enough. Consider it your plant's first home.
Choosing the Right Seeds: Your Plant's DNA
Not all seeds are created equal. Some are easier to grow than others. Start with simple ones like beans, peas, or sunflowers. Remember, every expert was once a beginner.
The Soil Story: Creating the Perfect Bed
Regular garden soil is too heavy for seed starting. Instead, use a light, well-draining seed-starting mix. It's like giving your seeds a comfy mattress to snuggle into.
Let There Be Light: The Sunshine Factor
Most seeds need light to germinate. A south-facing window is ideal. But if your seeds need darkness, mimic it with a cloth or cardboard cover.
Water Wisely: The Goldilocks Zone
Too much water drowns your seeds, too little leaves them parched. Aim for moist but not soggy soil. A spray bottle is your best friend here.
Warmth Matters: Cozying Up Your Seeds
Some seeds need warmth to germinate. A heating pad or the top of your fridge can provide that extra heat. Just ensure it's not too hot.
Gentle Care: Handling Seedlings
Once your seeds sprout, they're officially seedlings. They're fragile, so handle with care. Think of them as tiny plant babies.
Feeding Time: Nutrients for Growth
Once your seedlings have a few leaves, they need food. A diluted liquid fertilizer gives them the nutrients they need to grow strong.
Hardening Off: Preparing for the Real World
Before transplanting, your seedlings need to toughen up. Gradually introduce them to outdoor conditions. It's like boot camp for plants.
Transplanting: The Big Move
Finally, it's time for your seedlings to move to their forever home in your home garden. Be gentle, water well, and provide some shade initially. They'll thank you later.
Troubleshooting: When Things Go Wrong
Even with the best plant care, things can go awry. Seeds may not germinate, seedlings may wilt. Don't be disheartened. Learn, adjust, and try again.
For more detailed guidance, check out this comprehensive guide on seed starting.
Conclusion: The Joy of Seed Starting
Seed starting is more than just a hobby. It's a journey filled with anticipation, joy, and sometimes, disappointment. But every tiny green shoot makes it all worthwhile. So, go ahead, get your hands dirty. Your garden awaits!
FAQs
Q: What if my seeds don't germinate? A: Don't worry, it happens. Check your soil moisture, temperature, and light conditions. If all else fails, your seeds might just be duds.
Q: Can I reuse seed-starting trays? A: Yes, but clean them thoroughly to prevent disease.
Q: How often should I water my seedlings? A: Keep the soil moist but not soggy. Water when the top layer of soil feels dry.
Q: When should I transplant my seedlings? A: When they have a few sets of true leaves and are sturdy enough to handle.
Q: What if my seedlings become leggy? A: They're likely not getting enough light. Move them to a brighter spot or provide artificial light.
0 Response to " Master Seed Starting, Home Tips for Success"
Post a Comment